Tuesday, April 29, 2014

bbq party!

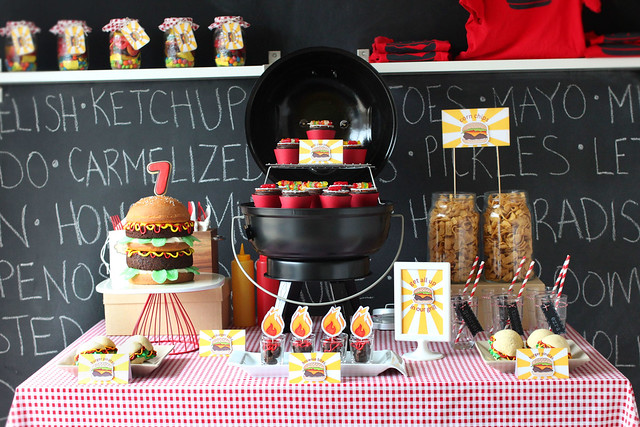
It was not exactly the kind of day you'd like when you're hosting a bbq party, all dark and rainy, but we had a great time celebrating Thomas' 7th birthday:

bbq party!

No need for a backdrop when you have a whole chalkboard wall in your home.  I wrote all kinds of burger toppings on the board, and called it a day.

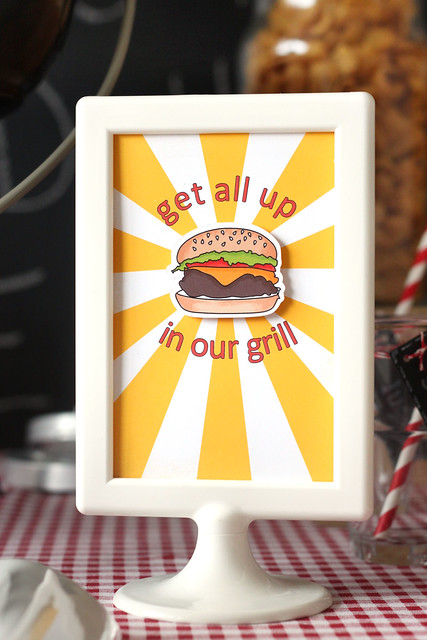
Now, time to get all up in our grill.

bbq party!

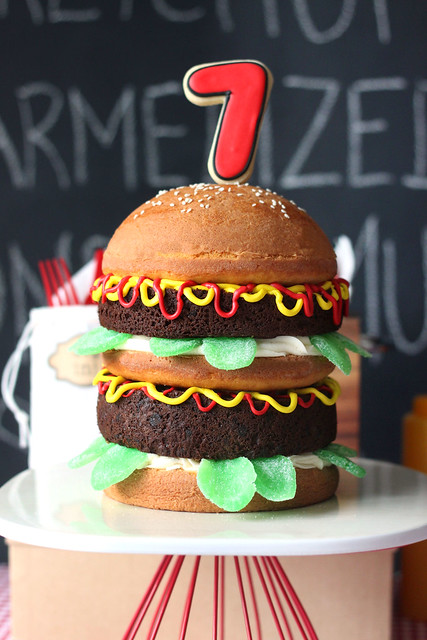
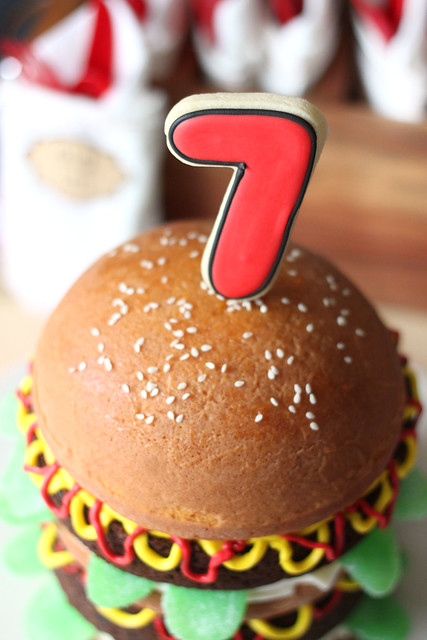
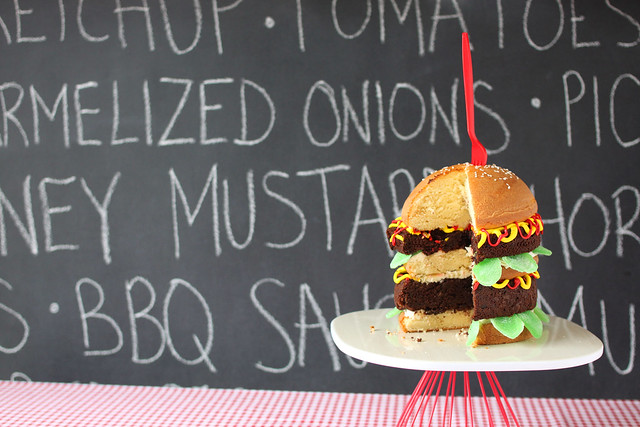
After scouring Pinterest, and talking with my favorite baker, Marlyn, I created this giant cake for the occasion.

bbq party!


One recipe of vanilla cake, and one recipe of chocolate cake, cut down to look like a big mac.  I found spearmint gummy leaves that I rolled out to look more like lettuce, and left them hanging out of the burger. Red icing for ketchup, yellow for mustard, and a plain buttercream for the mayo.

bbq party!


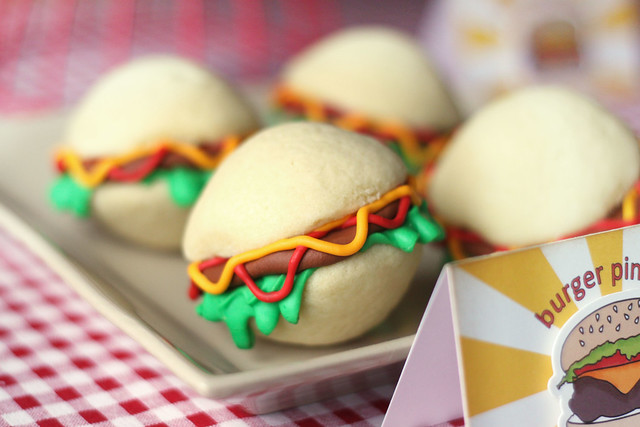
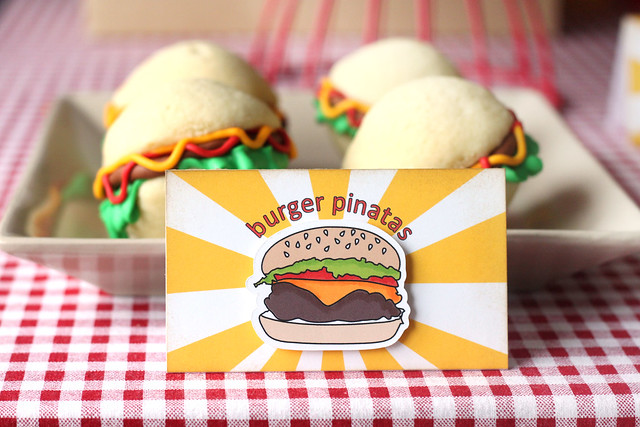
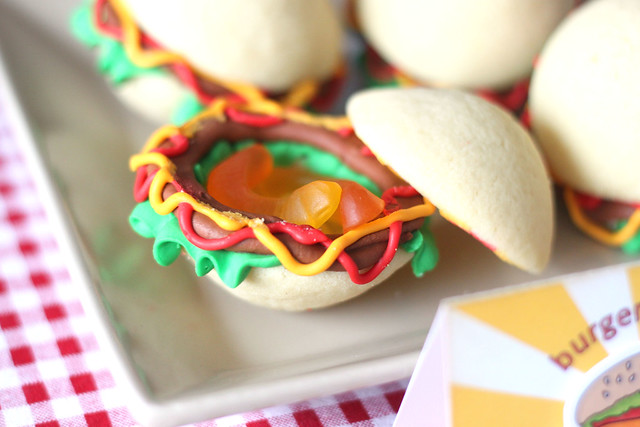
Marlyn (of Montreal Confections) made amazing goodies for our party.  Including the "7" that I added to the top of the cake, and these burger pinatas:
bbq party!

bbq party!

The kids picked them up, shook them around, and loved them.  Inside, a little tongue and cheek when they found gummy worms.
bbq party!

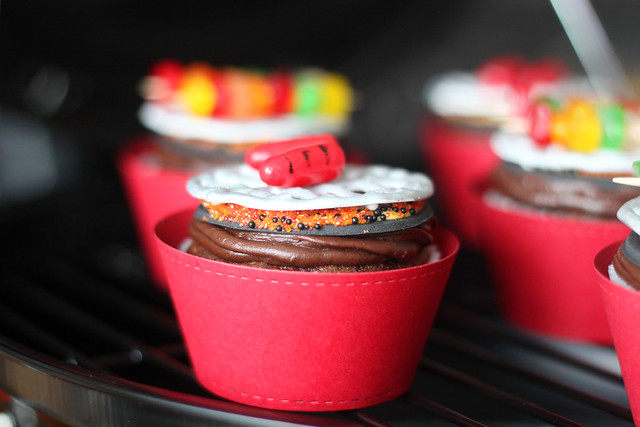
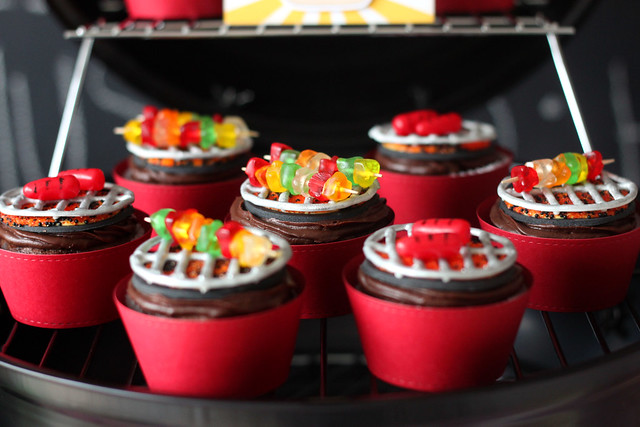
My absolute favorite thing that Marlyn created were the grill toppers for my cupcakes:
bbq party!

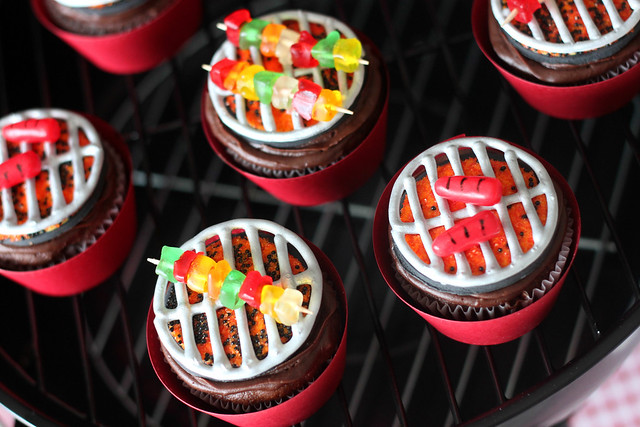
They are amazing! I added mini gummy kebabs and some hot tamale "franks" to the tops.
bbq party!

mmm.... gummy kebabs...

bbq party!

Marlyn has a video up on her youtube channel, for how to create these grill toppers.
bbq party!

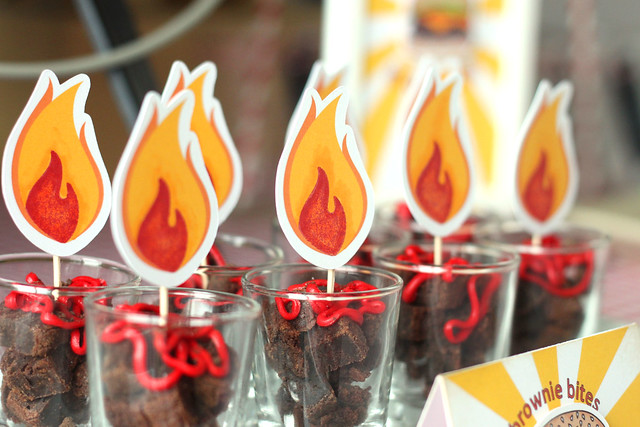
Using printables I found online, I added flame toppers to these cut-up brownies... I was hoping they'd look like coals, with red flames... the jury's still out, but they were yummy!

bbq party!

I made a few party favors to hand out. One, at the beginning of the party, and the other at the end.
bbq party!

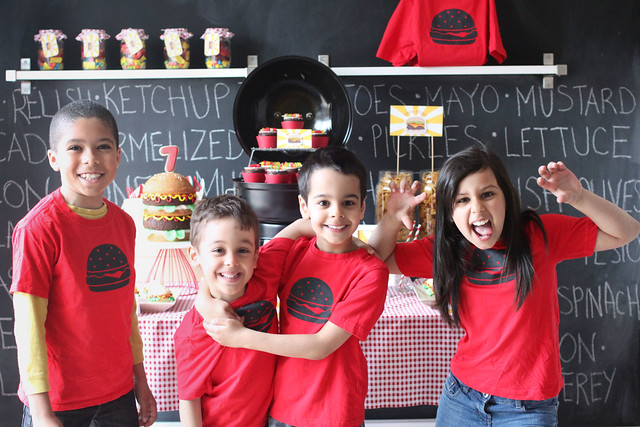
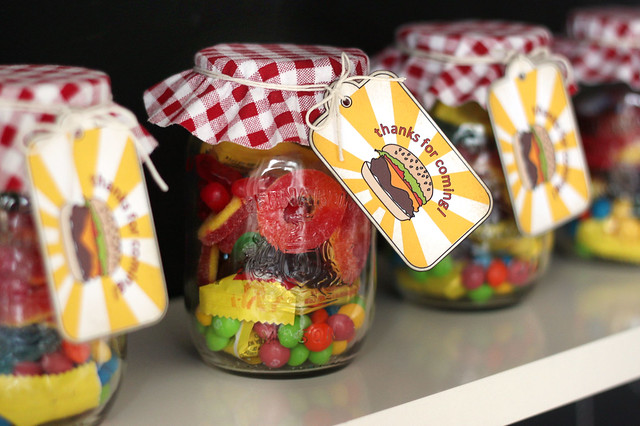
I don't really know what's going on with Sofia, but keep yours eyes on the boys, hee hee.  I stenciled hamburger tshirts for everyone to wear at the party, and gave them mason jars full of candy to take home.
bbq party!

Stick a fork in me, I'm almost done. One more party weekend to go...
bbq party!

♥.

Monday, April 28, 2014

BBQ party invitations.


Happy Monday!

We celebrated Thomas' 7th birthday with a hamburger-themed birthday party this past Saturday.


I used absolutely no stamps for these invites, but they still look perfectly handmade.  I purchased 2 silhouette files: the starburst background and the hamburger.

To make the hamburger look more like a stamp, I gave it a black outline.  I did the same for all of the lettering.  Once it was printed, I swiped in some shading with copic markers and sponged all of the edges.


For some reason, half of the invites printed with the "you're invited" right above the burger, and the other half with a space between the two elements. Like I said, I'm no digital expert. ha.

I'll share pictures of the party tomorrow, but here's a sneak that I already shared on facebook:

Yup. A giant hamburger cake. My friend said I made him crave chocolate cake and 5 Guys Burgers all at once. You're welcome, hee hee.

♥.
Friday, April 25, 2014

thank you tags {stampin' up}

thank you tags {stampin' up}

Do you know how I got started stamping?  I saw a tiny ad on the side of my facebook page - it featured a stamped card with the title "stampin' up!" at the top.  I saw it a few separate times before I clicked the link.  I never click links.  But it led me to the SU! main page, and I loved everything I saw.  I found a local demo, who came to my house and showed me a few techniques and stamps for over an hour without pressuring me to buy anything.  The stamps sold themselves.  I've since branched away from Stampin' Up, but I will always love it for introducing me to this amazing hobby.

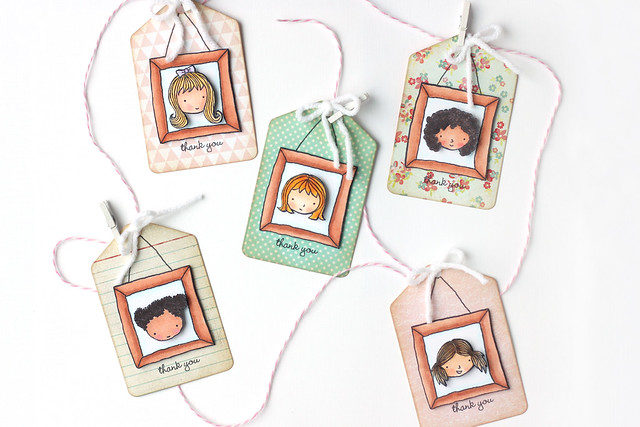
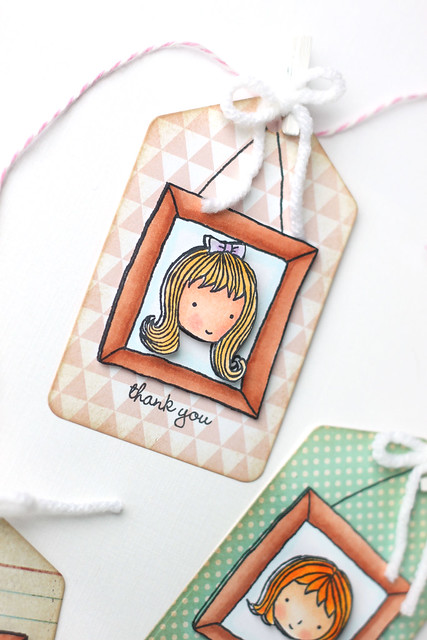
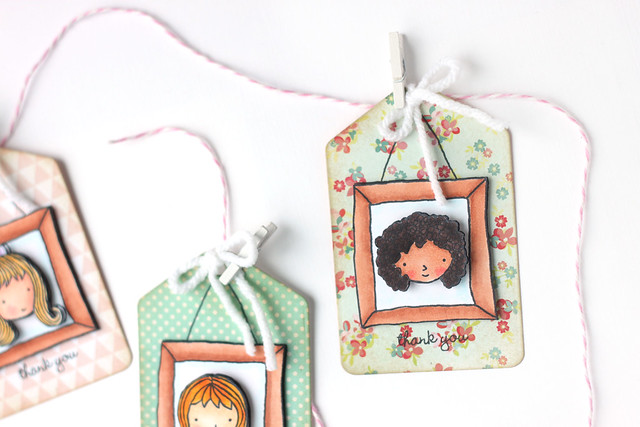
Recently, I spied clear stamps in their store that I had to own.  These sweetie pies and their frames are too cute for words.  I couldn't help but whip up a set of thank you tags with them.

A little redhead,

thank you tags {stampin' up}

a cute blond,
thank you tags {stampin' up}

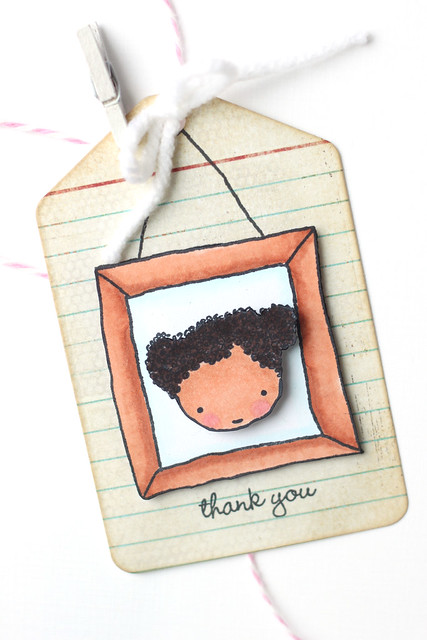
a curly-haired brunette,

thank you tags {stampin' up}

an adorable girl with an unsure smile,

thank you tags {stampin' up}

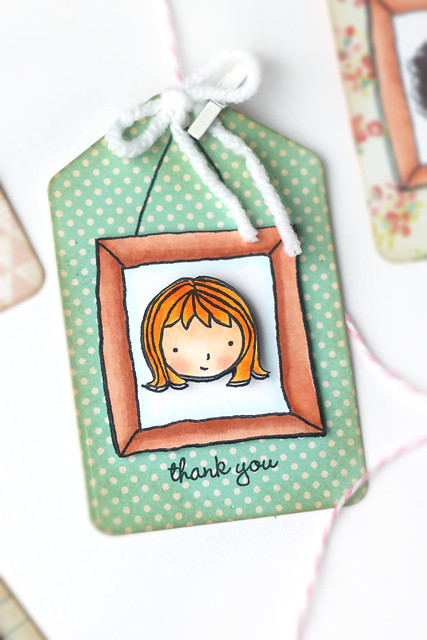
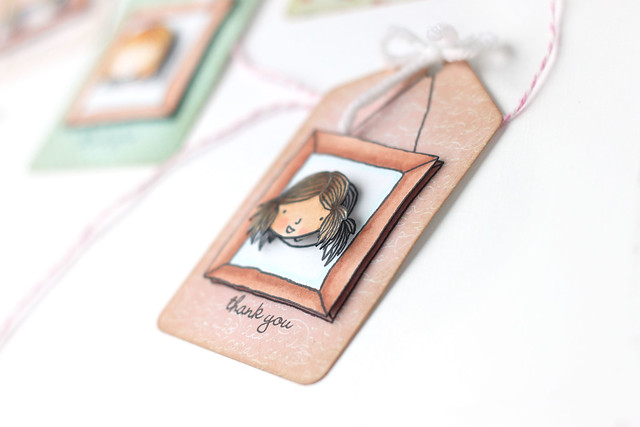
and, just to show you the layers on the tag, a pony-tailed imp:

thank you tags {stampin' up}

I popped up the frame using SU! dimensionals.  I love them - they are the thinnest pop-up dots I could find, and give a very subtle raise to the frame.  For the girls' faces I used  thicker foam squares.  I was really happy with the quality of the clear stamps!  I wasn't sure how well they would work, as SU is more known for their rubber stamps, but I was pleasantly surprised.  If they keep making whimsical designs like these 2 stamps sets, I'll be buying.

All of the links will lead you to my friend Veronica's SU! page.  If you live in the US and would like to order SU! goodies, she'll be more than happy to help you out.

Tomorrow is Thomas' BBQ party!  If you'd like to see a few behind the scenes shots, find me on instagram (mom2sofia.)  I'll share the invites and the entire party next week. Happy weekend!

♥.


Wednesday, April 23, 2014

every good gift...

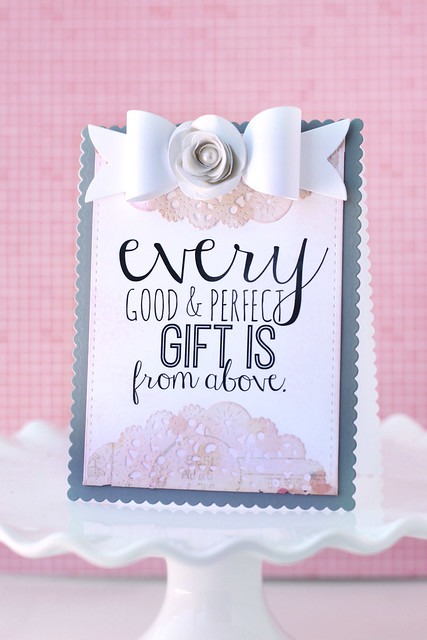
Once in a blue moon, I still accept to make custom cards for order.  This one is for a little girl's baptism, and the verse was to be the focal point.

every good gift...

I created the sentiment using the free online photo editing service, PicMonkey.  Once I designed the fonts and arranged them all to my liking, I saved the file as large as the program would allow me to.  I then formatted it to print out in the size that I needed, and added handmade touches to soften the more modern lettering.

I hope you like it!

♥.
Monday, April 21, 2014

Simon Says Stamp + Mama Elephant Summer Garden Blog Hop

Hi there!  Mama Elephant and Simon Says Stamp are collaborating for a fun blog hop, featuring the new stamp and die set, Summer Garden.

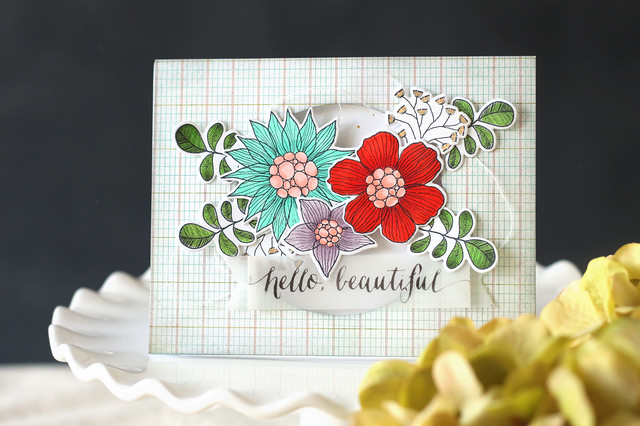
This beautiful stamp set was designed in collaboration with Mama Elephant and features the most beautiful flowers and elegant font.

hello beautiful {summer garden blog hop}

I stamped, colored and die-cut the flowers and the leaf sprigs and mounted them with foam squares into the negative space of a circle cut.  I didn't want to cover any of the blooms, so I stamped the sentiment onto a vellum banner.

hello beautiful {summer garden blog hop}

I hope you like it!  Simon Says Stamp is giving away a 25$ voucher, gleaned from among the comments left on all participating blogs.


Be sure to hop over to all of these blogs for a chance to win:


Sunday, April 20, 2014

Easter bunny party!

Hip hop hooray and happy easter!  Sofia had her birthday party yesterday and I worked extra hard to get pictures ready for you right away. Who wants to see bunnies the day after Easter? ha. I don't know about you, but after the holiday is done, so am I. I don't want to see bunnies again for awhile... same goes for Santas the day after Christmas. 

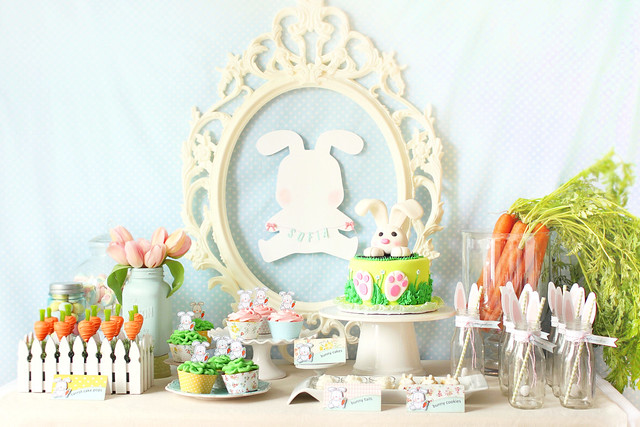
Sofia turns 9 on Tuesday (I can't believe it.) When we realized that Easter fell on the same weekend that we were planning her party, the theme was easily decided.  I went with bunnies, and no real color scheme except that I wanted you to look at the full table and think "spring garden."

Easter bunny party!

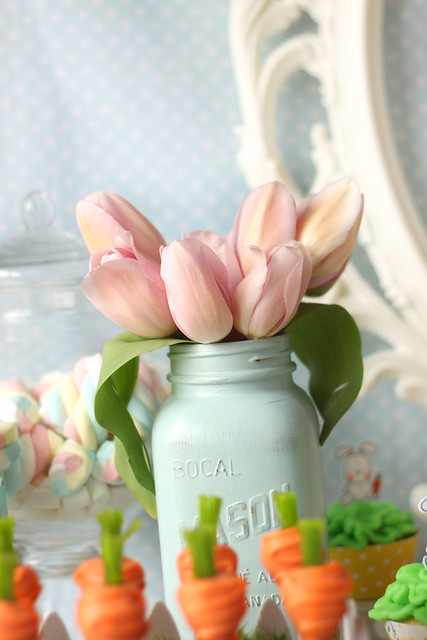
Nothing says spring like a small arrangement of tulips,

Easter bunny party!


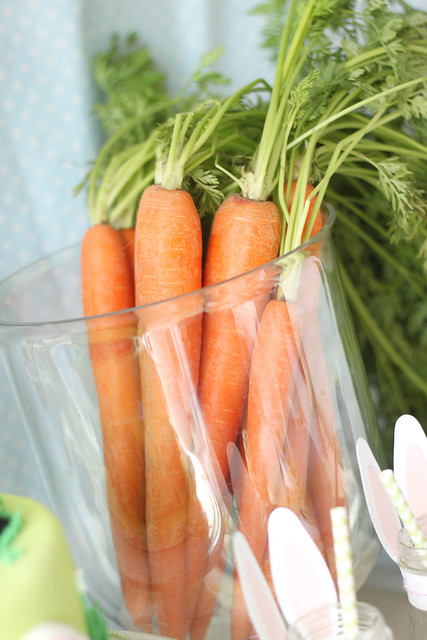
and fresh, organic carrots,

Easter bunny party!


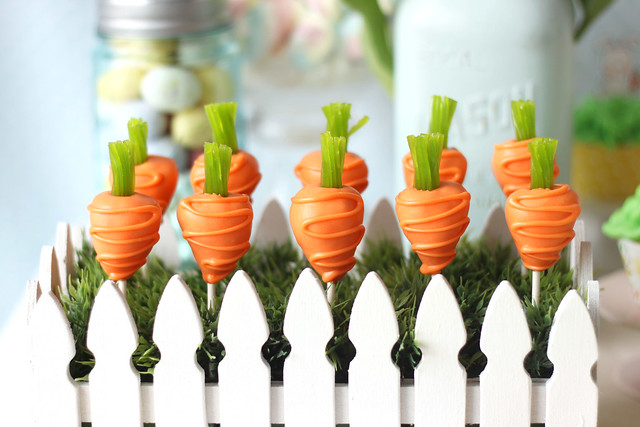
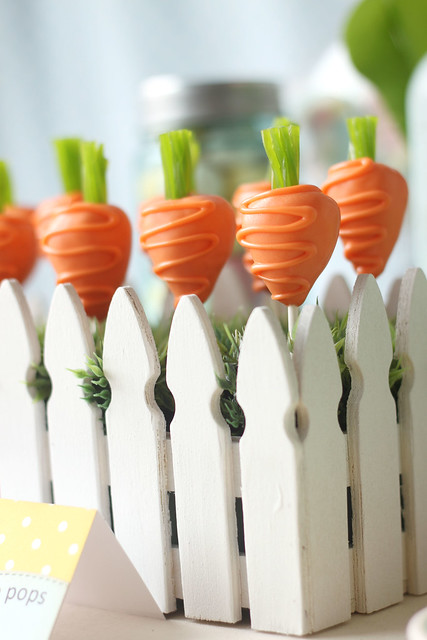
except maybe carrot cake pops.

Easter bunny party!

You guys. I was so proud of myself for these. They actually turned out just how I envisioned, a first for me when making cake pops.

Easter bunny party!


Lemon cake inside, orange candy melts and a sprig of apple-flavored twizzlers on top.  I poked the sticks into a styrofoam block and into a little wooden container I found on clearance at Joann's the last time we were down south.  I pushed some fake grass into the box to cover the styrofoam block.

Easter bunny party!


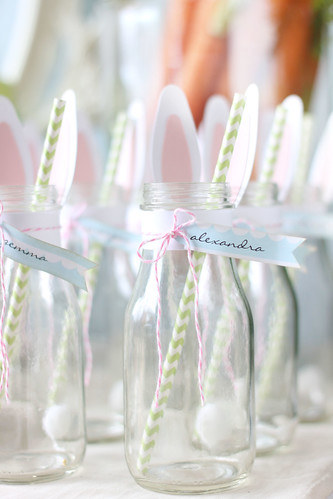
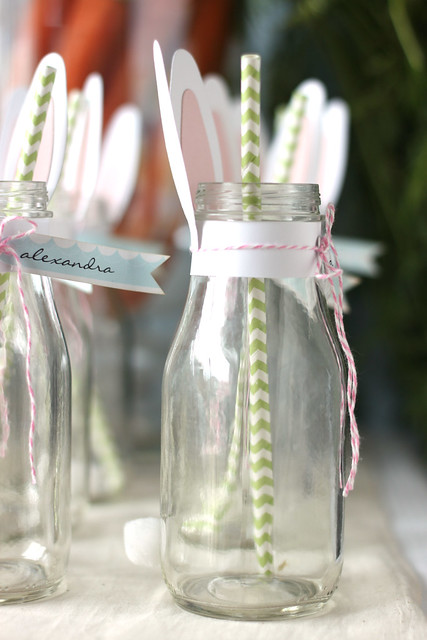
I kind of love the drinking bottles.  Bunny ears on top, and a tail in behind:

Easter bunny party!


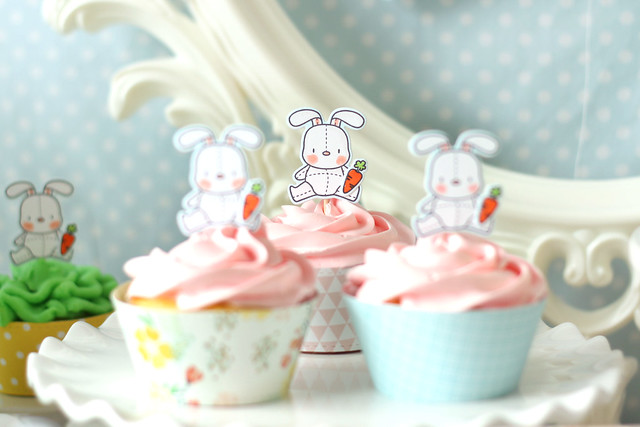
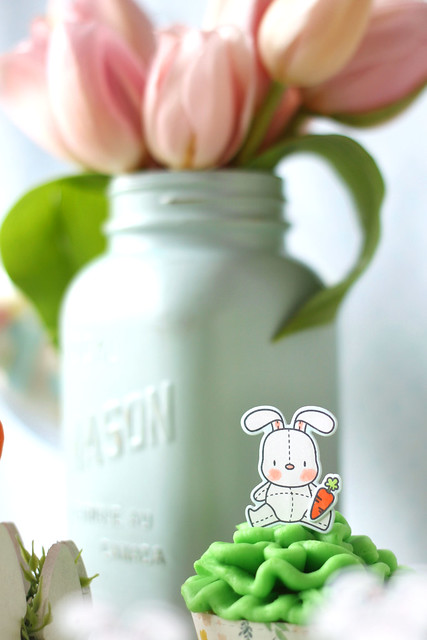
I made all of the cupcake toppers using Mama Elephant's "honey bunny" stamp set.

Easter bunny party!

A pink cream cheese icing, and a green lemon flavored buttercream...

Easter bunny party!


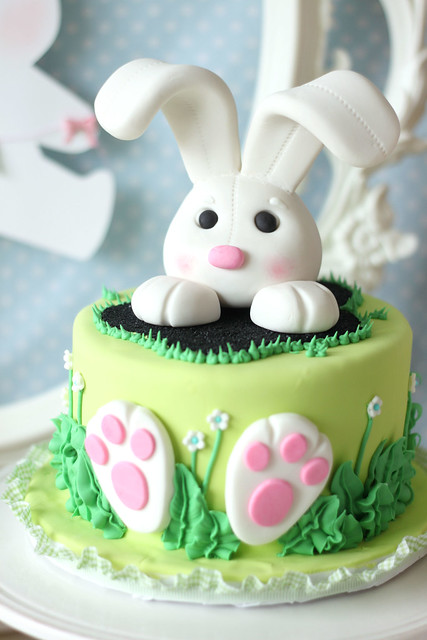
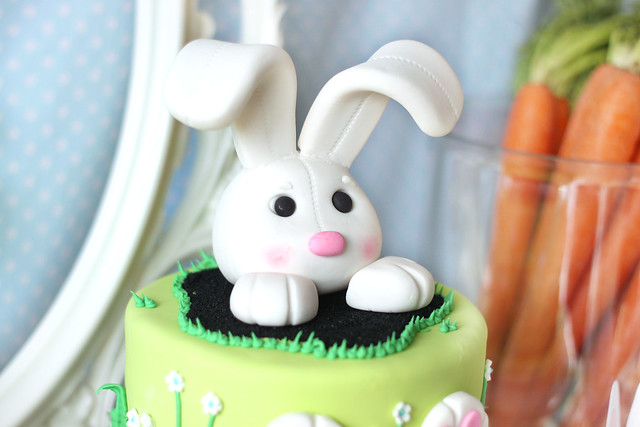
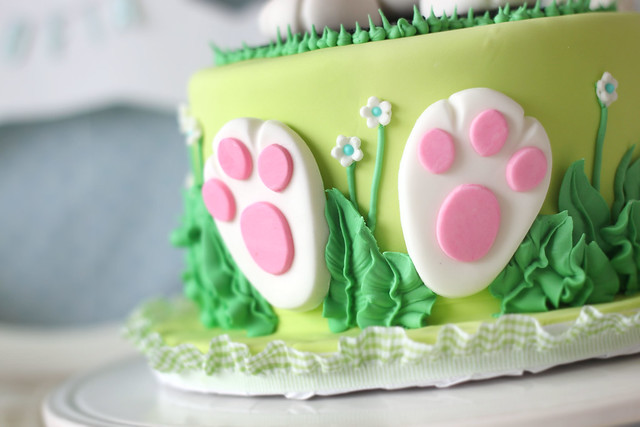
The highlight of the day for all of the girls is always whatever Marlyn (Montreal Confections) bakes for us.  This cake got full-on girly squeals, and not just from me.

Easter bunny party!


Easter bunny party!

I love that she gave the bunny floppy ears, to match the honey bunny image I was using throughout.

Easter bunny party!

I found an amazing ruffled gingham ribbon in my May Arts stash, and tied it around the base of the cake plate.

Easter bunny party!

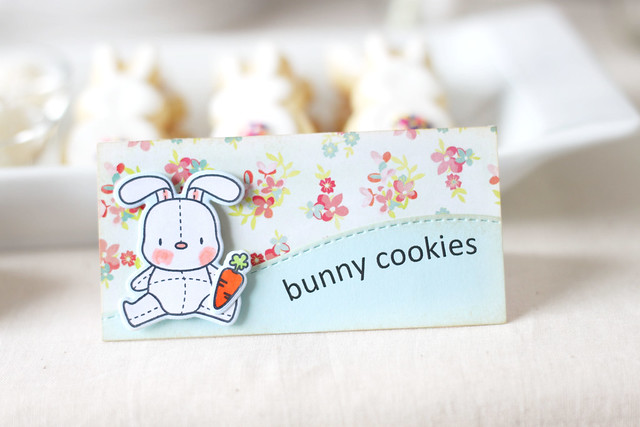
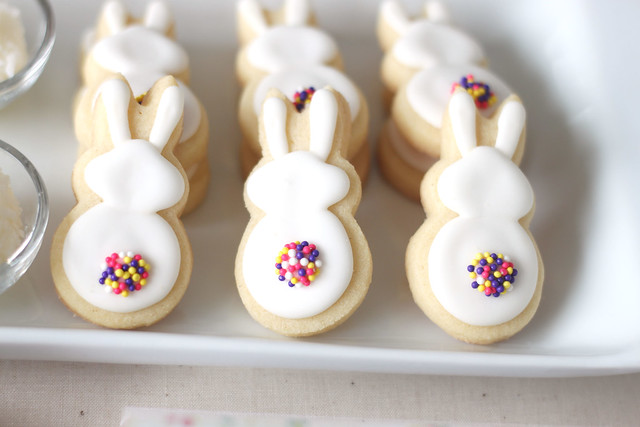
There were bunny cookies.

Easter bunny party!

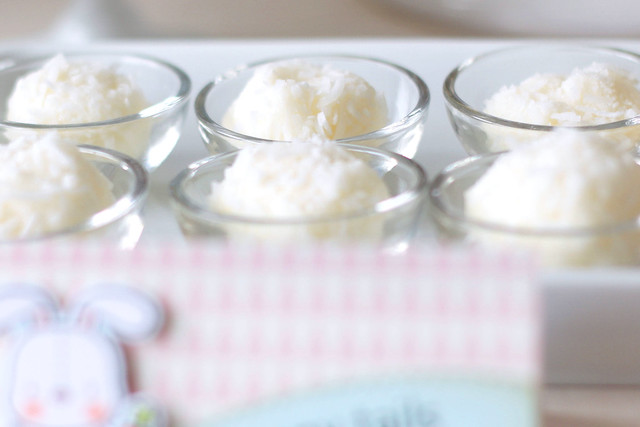
And bunny tails; little truffles rolled in shredded coconut.

Easter bunny party!

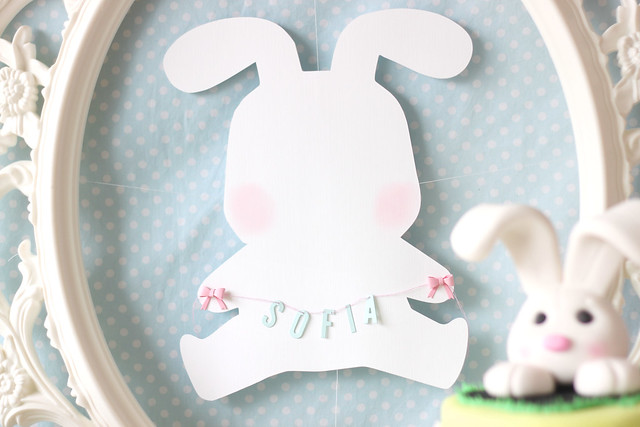
Did you notice the big bunny silhouette in the empty Ikea frame? With files that Kryssi allowed me to use, I was able to cut a giant honey bunny!

Easter bunny party!

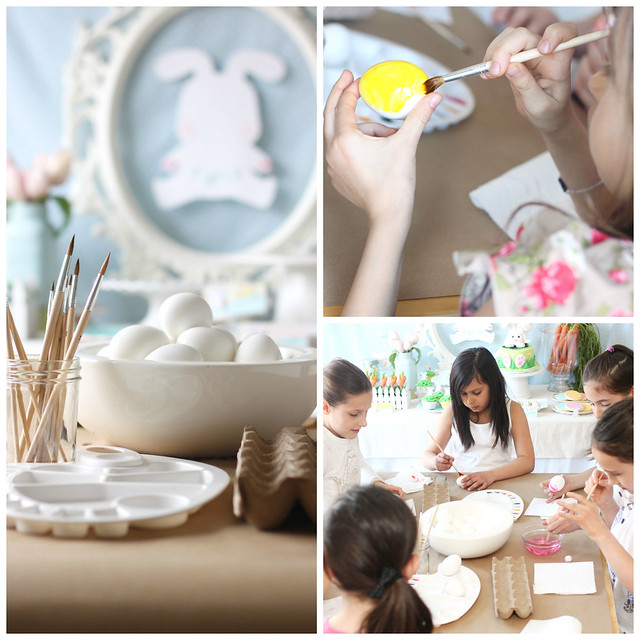
We had a few activities lined up for the girls.  The first one, watercoloring on eggs:

Easter bunny party!

They also sewed up felt bunnies:

Easter bunny party!

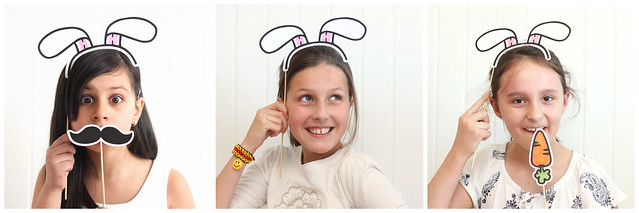
And, using the same giant honey bunny images, I cut some photobooth props for the girls.  I plan on printing out the photos and sending them inside of thank you cards.

Easter bunny party!

I love Sofia's huge eyes. What a goof.

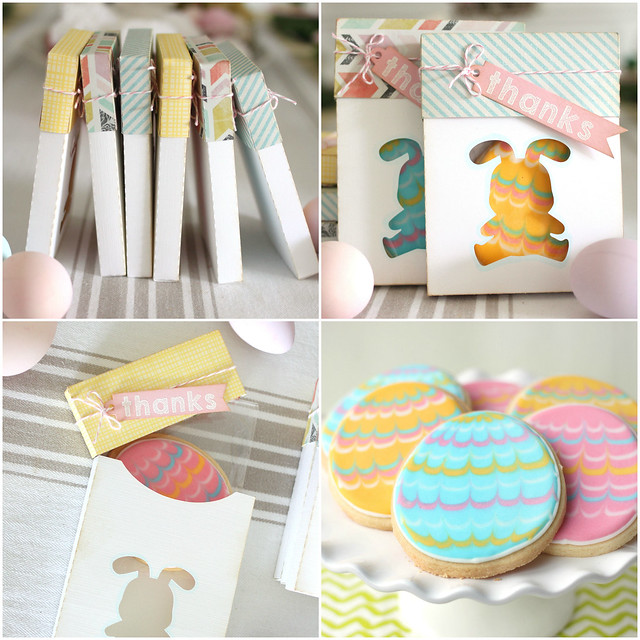
Are you still with me?  I know this is a huge post!  I already shared the thank you baskets *here* but Marlyn also created the most beautiful egg-shaped cookies, and they needed to be packaged in a special way.

Easter bunny party!

I cut a card box out with the silhouette cameo, and slid the packaged cookie inside. All you see at first glance is the pattern through the negative bunny space. And then, when you open the box, it's a surprise to see an egg-shaped cookie! I love this idea. I could see this being fun for all kinds of holidays.

whew. I hope you've enjoyed this look into Sofia's Easter bunny party! Happy Easter, everyone!

♥.