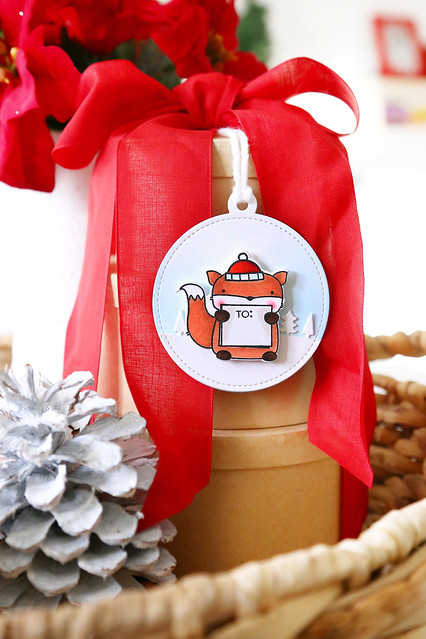
I can't believe today is the 21st. Can you? It creeps up every year, faster than the last.
My last project before the holidays is a set of holiday place cards. I made these to decorate the kids' table for Christmas dinner.
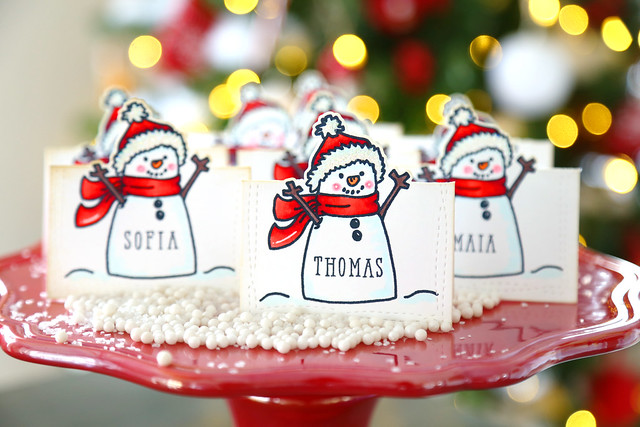
I used the Be Jolly snowman from Avery Elle, its matching die, and the smaller rectangle from the Wonky Stitches die set. I chose the snoman not only because he is adorable, but.... minimal coloring! haha. If you are pressed for time right before Christmas, a snowman is a great image to work with because you leave most of him white!
For the place cards: I first cut all of the rectangles I would need. Then, I stamped the snowman image (it comes with the snowdrifts and everything, so one stamping per place card made quick work of the entire lot!)
Then, I placed the open die over the snowman, and only ran it through the die-cutter to where the centre line would be. Then, when folded, the top of the snowman could pop up. So simple, but very fun!
To stamp all of the names, I used Elle's Alphas. As long as you draw a straight pencil line, they are easy to line up. I like that they are small enough to use for this sort of project, but not too tiny that I am losing my mind.
I hope you like them!
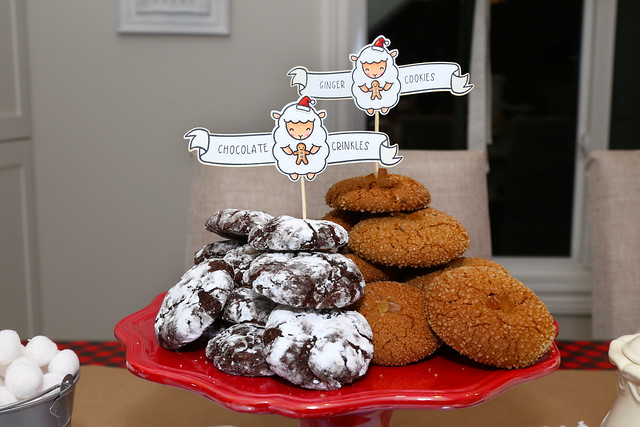
And, from my family to yours, have a very merry Christmas! (photo by the amazing Tanya Zaleski.)

♥.
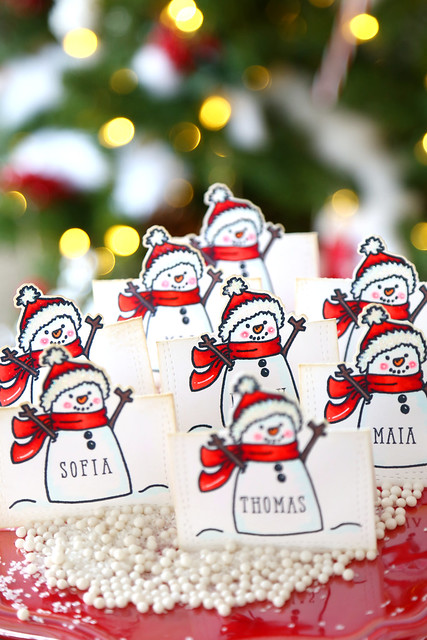
My last project before the holidays is a set of holiday place cards. I made these to decorate the kids' table for Christmas dinner.
I used the Be Jolly snowman from Avery Elle, its matching die, and the smaller rectangle from the Wonky Stitches die set. I chose the snoman not only because he is adorable, but.... minimal coloring! haha. If you are pressed for time right before Christmas, a snowman is a great image to work with because you leave most of him white!
For the place cards: I first cut all of the rectangles I would need. Then, I stamped the snowman image (it comes with the snowdrifts and everything, so one stamping per place card made quick work of the entire lot!)
Then, I placed the open die over the snowman, and only ran it through the die-cutter to where the centre line would be. Then, when folded, the top of the snowman could pop up. So simple, but very fun!
To stamp all of the names, I used Elle's Alphas. As long as you draw a straight pencil line, they are easy to line up. I like that they are small enough to use for this sort of project, but not too tiny that I am losing my mind.
I hope you like them!
And, from my family to yours, have a very merry Christmas! (photo by the amazing Tanya Zaleski.)

♥.