Hi there!

Ellen Hutson is celebrating 12 years! The design team has gotten together to celebrate, by creating cards with our favorite Essentials by Ellen stamp sets. It was too hard to choose one, so I chose 2:
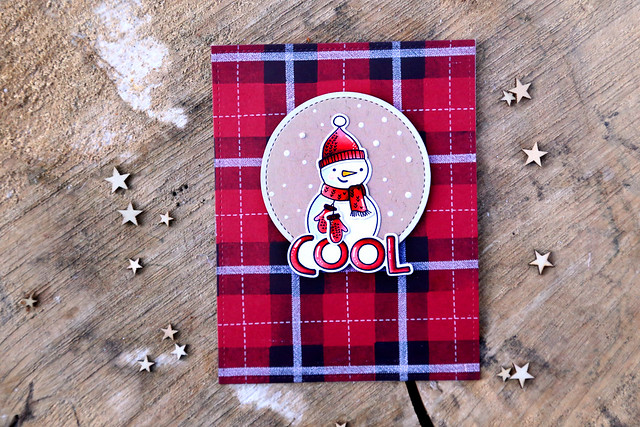
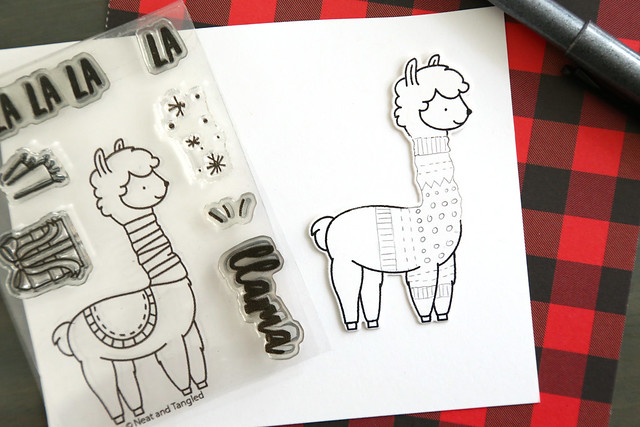
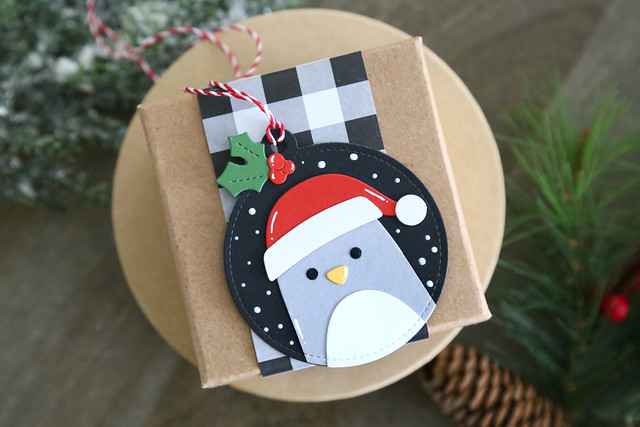
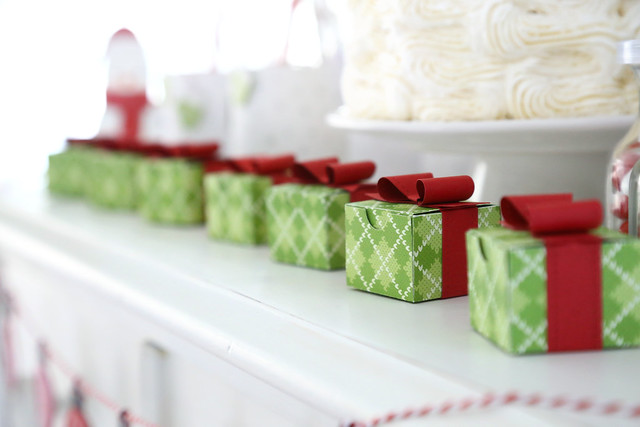
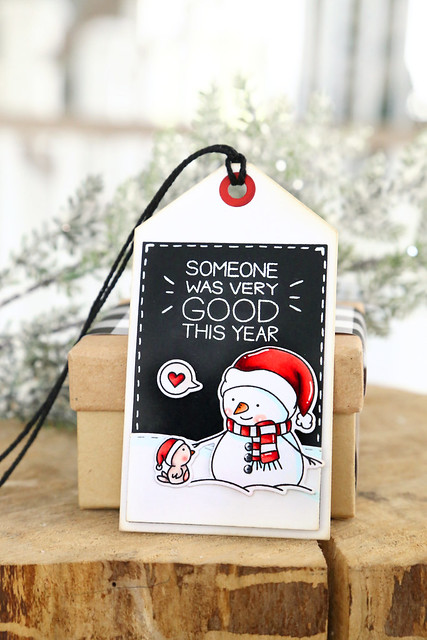
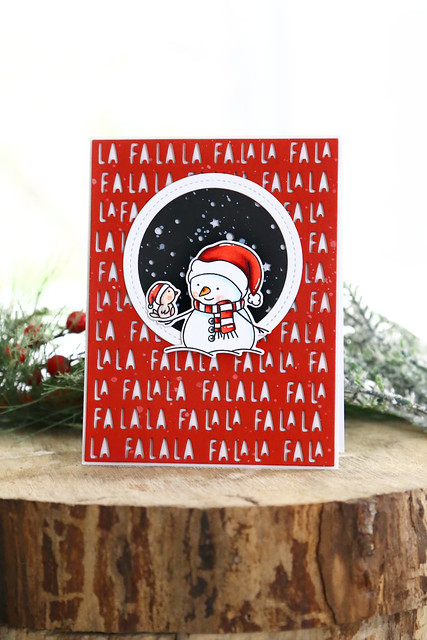
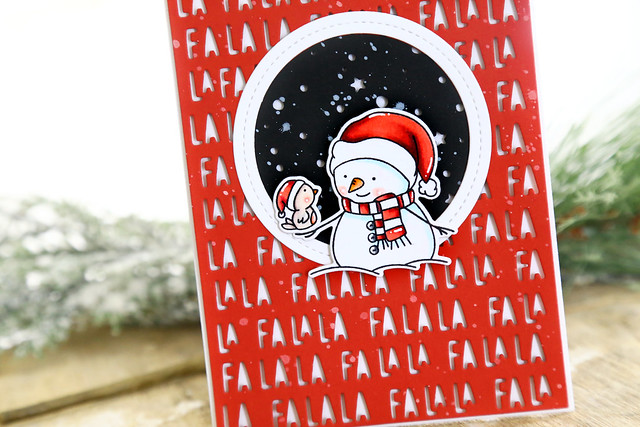
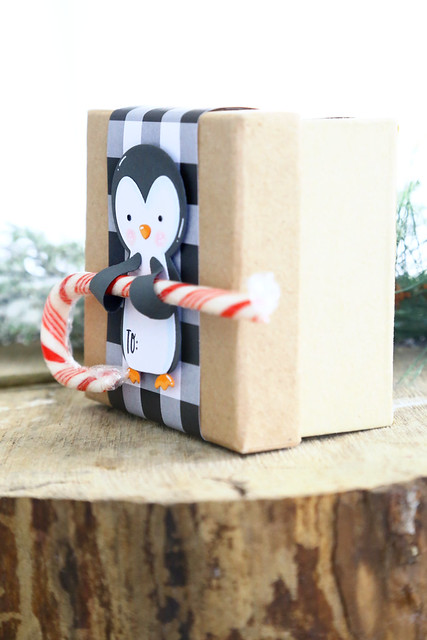
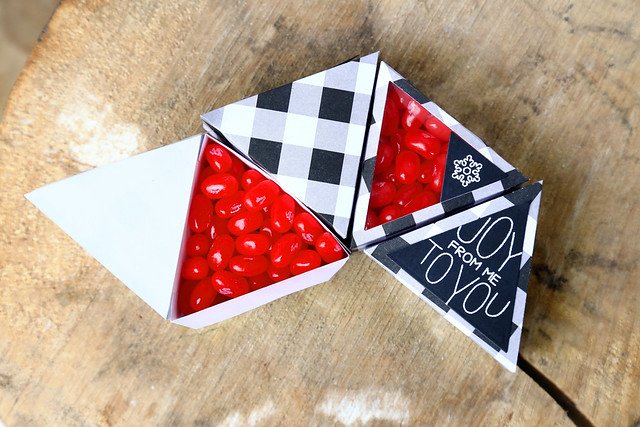
I used Plaid Maker to create my background. I stamped the solid block image in black ink onto red cardstock. To create the lighter squares, I first stamped off onto scrap paper before pressing down onto my red card. I usually take more time to make sure the plaid is perfect, but I eyeballed everything here. I wanted it to look homespun and hand-painted. To finish off the plaid, I inked up some stripes in white ink. It looks so cozy!
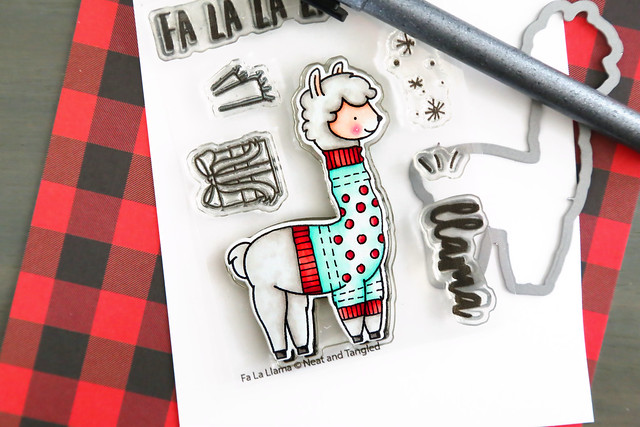
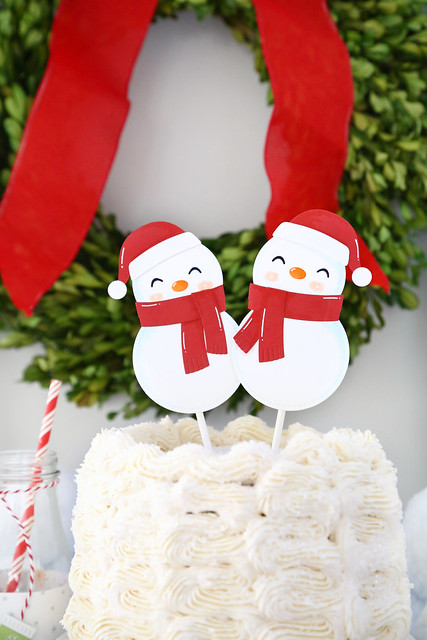
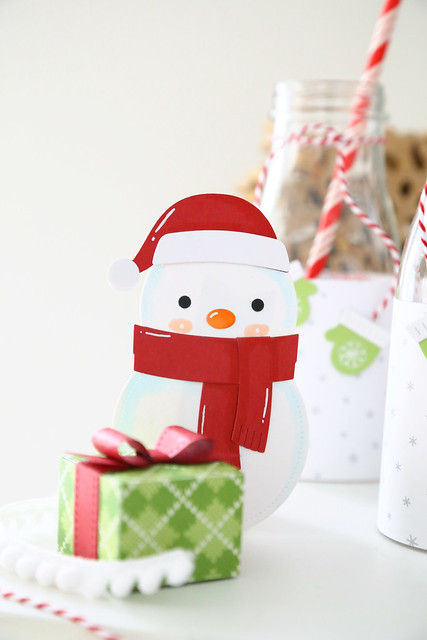
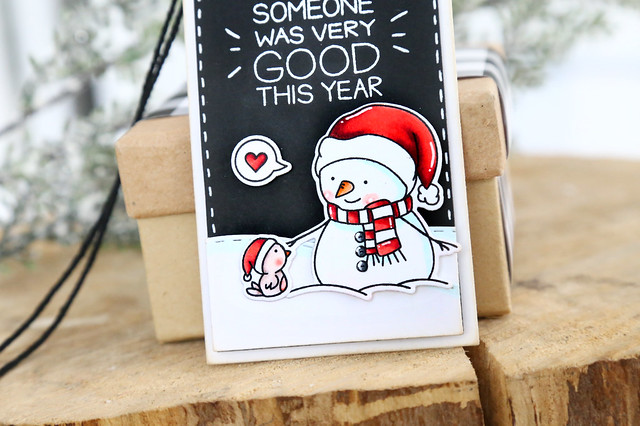
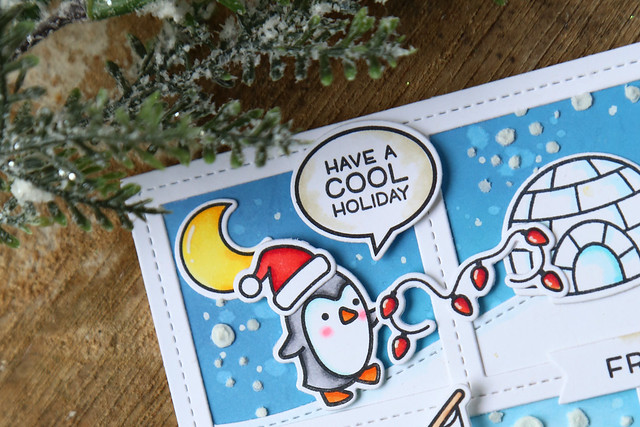
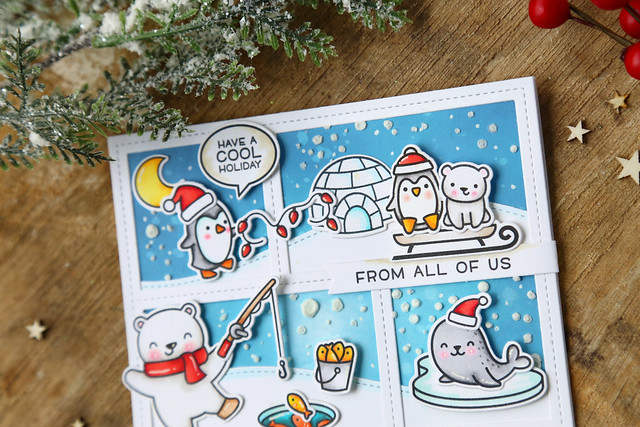
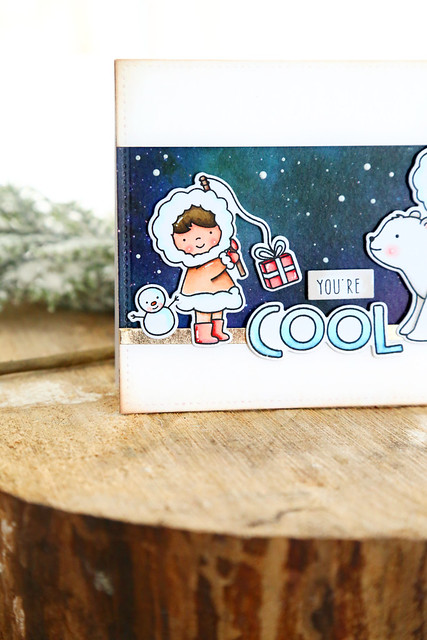
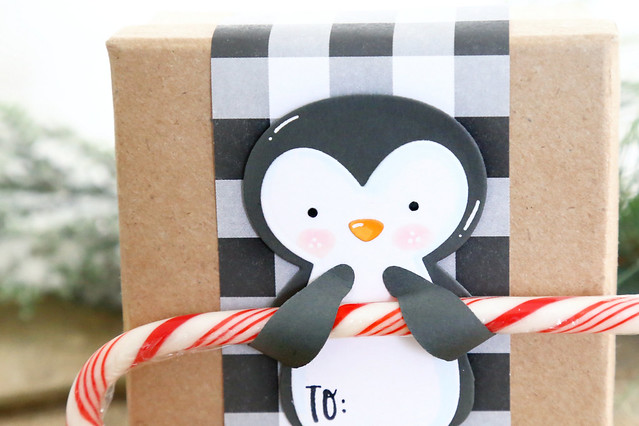
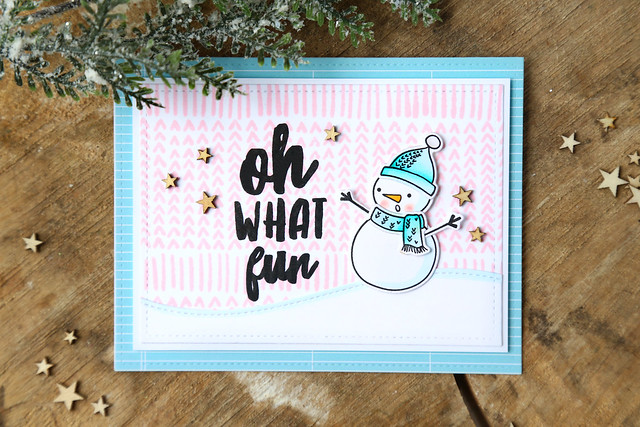
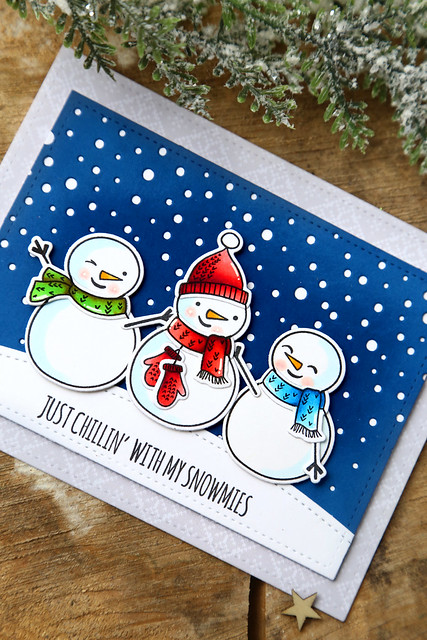
The focal image snowman is from my other favorite set, Snow Buds. I colored his scarf, hat and mittens to match the background. I dangled his mittens again like I did in *this card.* I love the look!
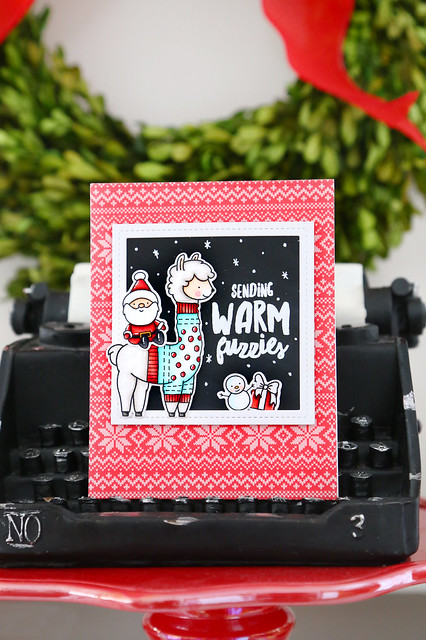
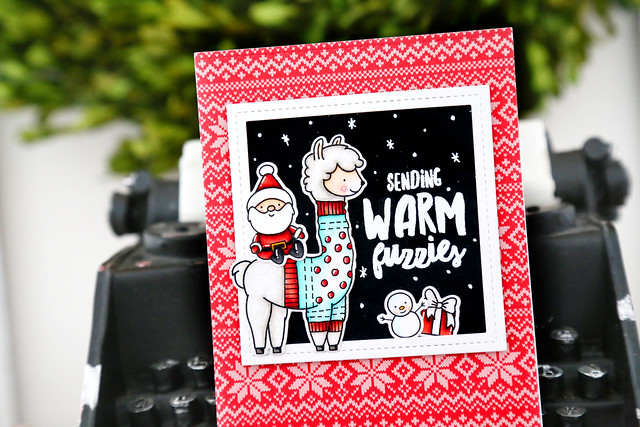
The only sentiment I needed was from the Neat and Tangled set, Stay Cool. I overlapped the mittens onto the sentiment and adhered them to a kraft-colored circle. I used a white paint pen to color the outside edge of the circle, and dotted little snow flakes to the inside.
I hope you like it! If you're shopping today, check out Ellen Hutson's Black Friday sale:


Ellen Hutson is celebrating 12 years! The design team has gotten together to celebrate, by creating cards with our favorite Essentials by Ellen stamp sets. It was too hard to choose one, so I chose 2:
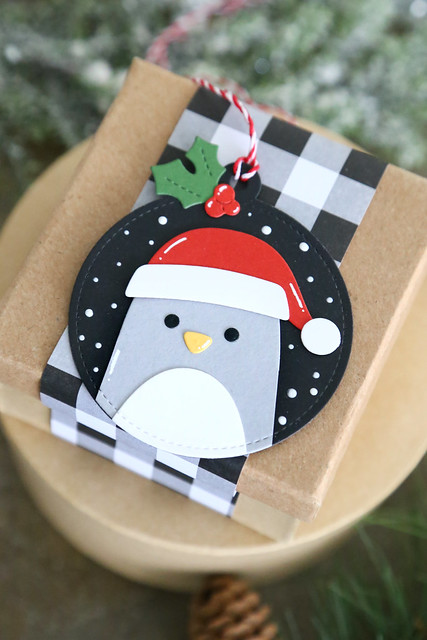
I used Plaid Maker to create my background. I stamped the solid block image in black ink onto red cardstock. To create the lighter squares, I first stamped off onto scrap paper before pressing down onto my red card. I usually take more time to make sure the plaid is perfect, but I eyeballed everything here. I wanted it to look homespun and hand-painted. To finish off the plaid, I inked up some stripes in white ink. It looks so cozy!
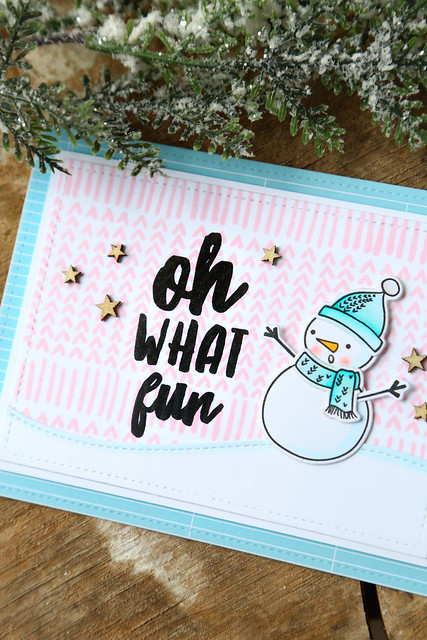
The focal image snowman is from my other favorite set, Snow Buds. I colored his scarf, hat and mittens to match the background. I dangled his mittens again like I did in *this card.* I love the look!
The only sentiment I needed was from the Neat and Tangled set, Stay Cool. I overlapped the mittens onto the sentiment and adhered them to a kraft-colored circle. I used a white paint pen to color the outside edge of the circle, and dotted little snow flakes to the inside.
I hope you like it! If you're shopping today, check out Ellen Hutson's Black Friday sale:

♥.