Showing posts with label gnome sweet gnome. Show all posts

Monday, March 17, 2014

hey there, gnomie.

this is my second post today! check out my lawn fawn inspiration week post *here*

It's time for another lawnscaping challenge! Show us your best CAS (clean-and-simple) style:


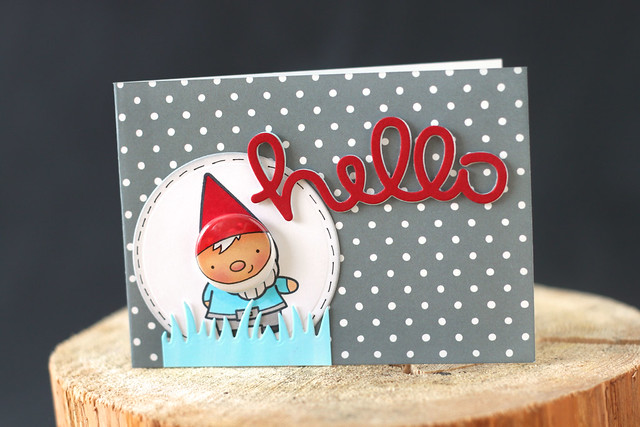
I was inspired by the gnome in the inspiration photo and these buttons that I found at my local scrapbook store (I think they've been around for awhile, but they're new to me!):

hey there, gnomie.

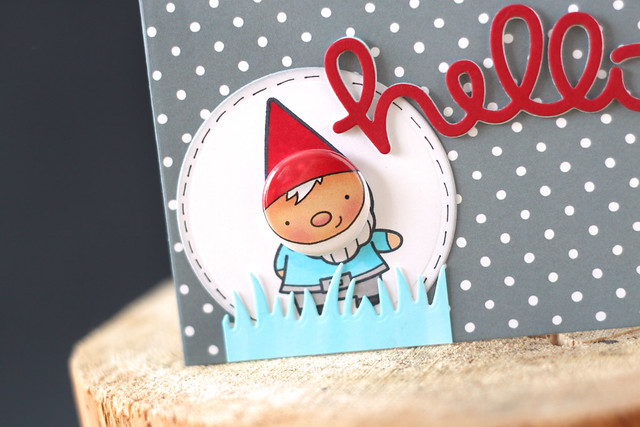
I love that the button fits pretty well on the lawn fawn gnome's face!

hey there, gnomie.

I popped the gnome behind some aqua grass and onto a polka dot notecard.  

hey there, gnomie.

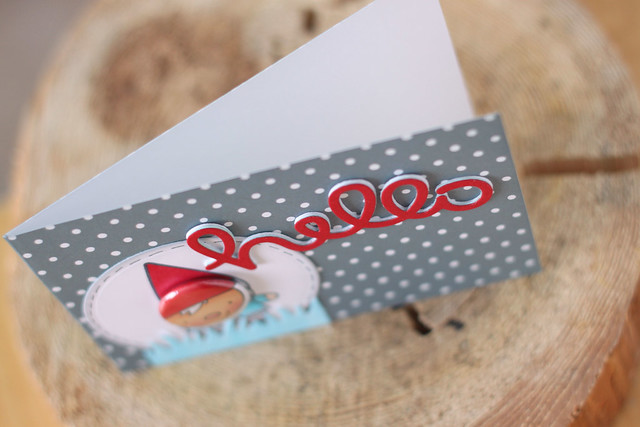
I layered a red hello onto a few layers of white die-cuts. It's as chunky as the little button I put on his face.

I hope you like it!  Play along, and you can win a prize from Lawn Fawn!


♥.


Friday, December 13, 2013

milk & cookies for santa {lawnscaping winter blog hop}

Hi and welcome to the winter edition of the lawnscaping blog hop!  You should have clicked over from the always beautifully styled and photographed Nicole's blog.


There are prizes up for grabs and a complete hop list up on the lawnscaping blog, if you lose your way.  Since you have many stops to get to, I'll keep the chatter to a minimum. I was so inspired by this pin:


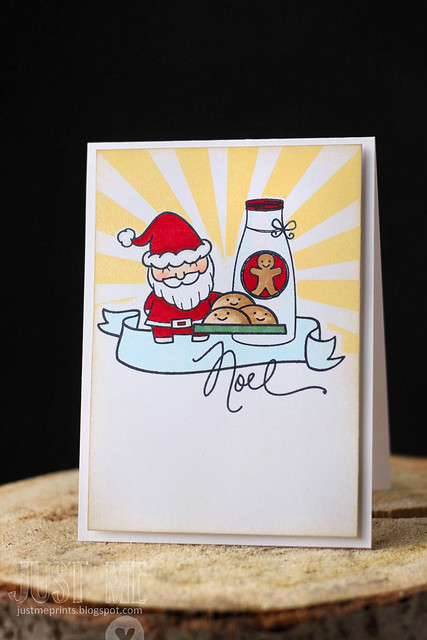
I mixed stamps from lawn fawn (specifically, the gnome, the banner, the cookies, and the gingerbread man), Wplus9, CSS, and Papertrey Ink to create my version:

milk & cookies for santa {lawnscaping winter blog hop}


The focal panel is one layer.  I wanted it to look like a print, so everything was carefully (sooo carefully) masked.  I started with the cookies, then the milk bottle, santa, the banner and finally the sunburst background.  whew!  I held my breath the entire time, and when I was coloring in the images, I prayed to Santa, "please Santa,  no red-marker-bleeding.... and let my 3 year old still like what I've bought her for Christmas, because she keeps changing her mind."

So there you have it. hee.

Your next stop is the lovely Sarah's blog.  Don't forget to check out all of the prize and giveaway details on the lawnscaping blog.  To be eligible, you can leave comments along the way, from now until Sunday December 15th at 11:59EST.  Good luck!

♥.

Monday, October 28, 2013

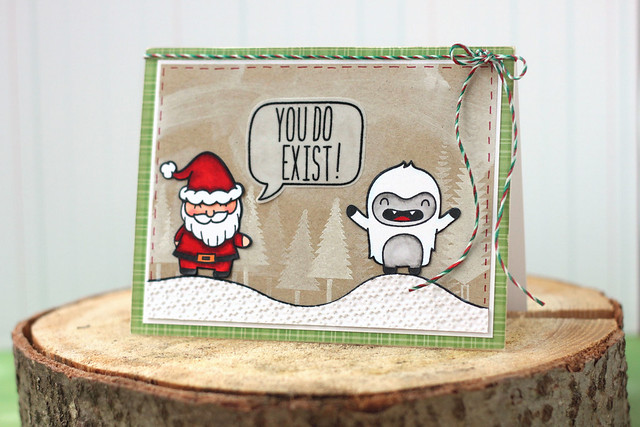
you DO exist!

You may have caught this card on the lawn fawn blog last Friday, but I wanted to share it here as well:

you do exist!

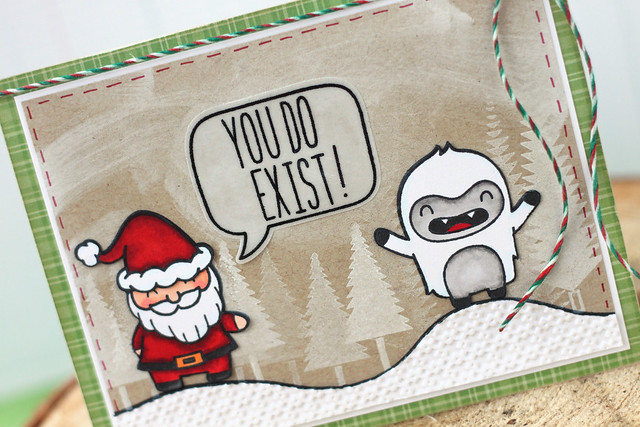
I thought it was pretty funny.  I started out by stamping the rolling snow banks and trees from "let it snow," and then went a little wild with the white ink pad.  I dragged it across the card and then used a dry paintbrush to swirl the ink around where I wanted it.  It was an experiment, but I think it worked out mostly okay here...

you do exist!

I turned my favorite gnome into a santa and stamped out my custom sentiment thanks to Milo's abcs.  I black-heat-embossed the sentiment and the speech bubble onto vellum, and then painted the back of the vellum a hazy white (mostly because I just wanted to use my regular glue to adhere it to the card without any unsightly problems.)

I hope you like it!  I taught another card class on friday and the girls were all lovin' the yeti! hee hee.

♥.

Monday, July 15, 2013

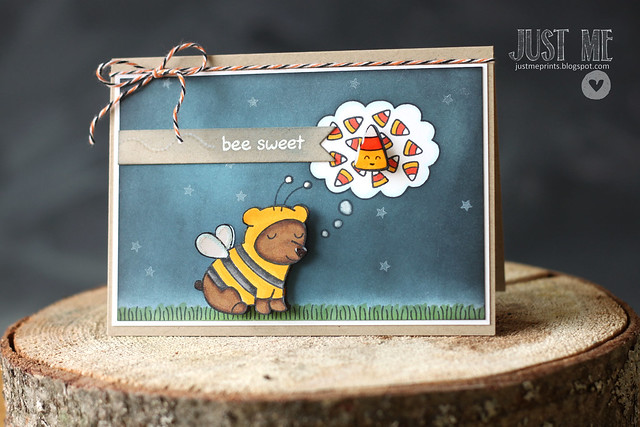
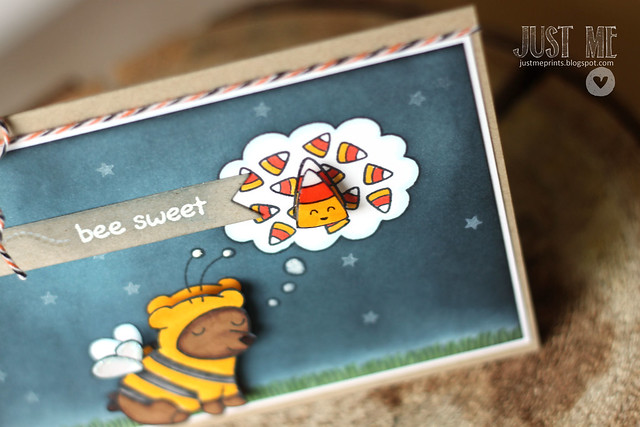
bee sweet. {lawn fawn sneaks!}

Are you excited to see new lawn fawn sets?  I can't wait to show them off!

bee sweet!

Critters in costume is the cutest set ever!  And what does a bear in a bee costume dream about on halloween night?  Candy corn, of course!

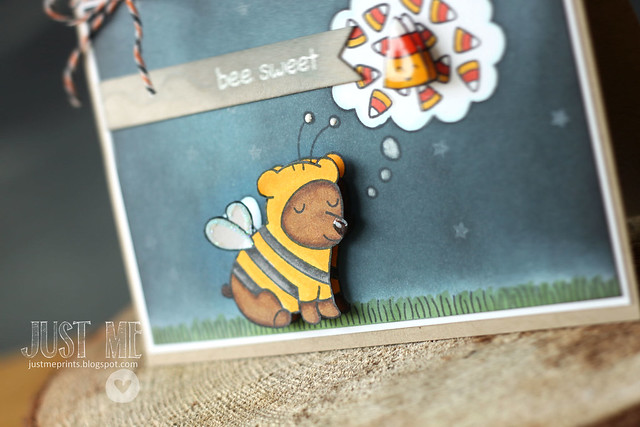
bee sweet!

I love his glittery bee wings, and glossy snout.

bee sweet!

and speaking of glossy.... mmm.... candy corn.  I have a friend who loves stale candy corn, specifically.  ha.  don't know how I feel about that one.

I hope you like it!  Be sure to check out the lawn fawn blog for more!

Tuesday, June 18, 2013

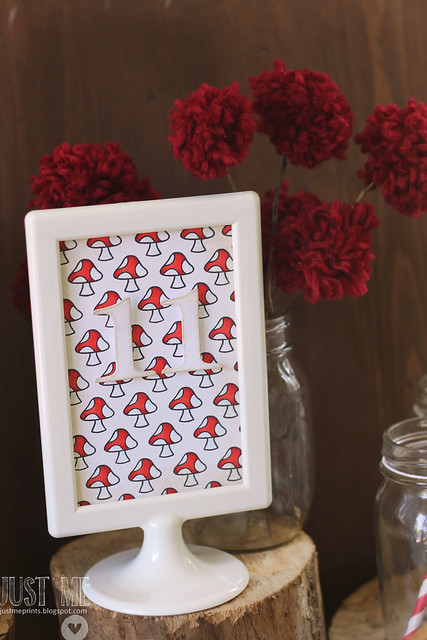
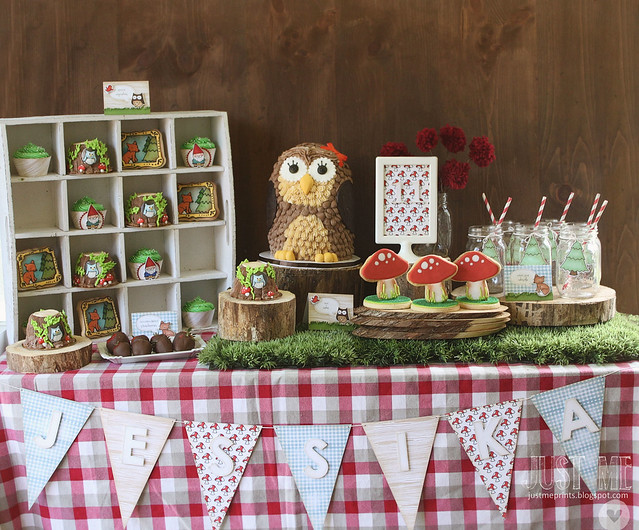
a little bit woodsy for Jessika's 11th.

into the woods...


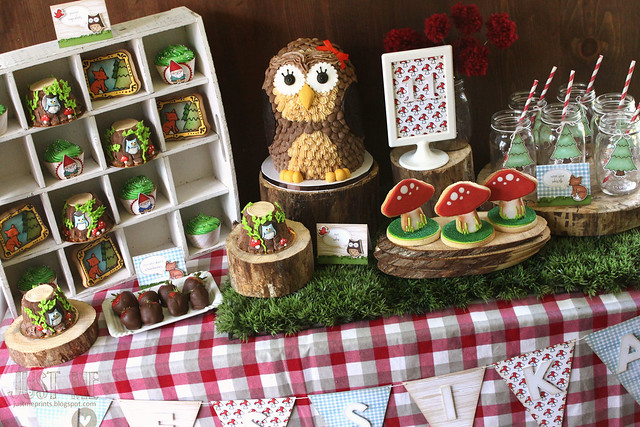
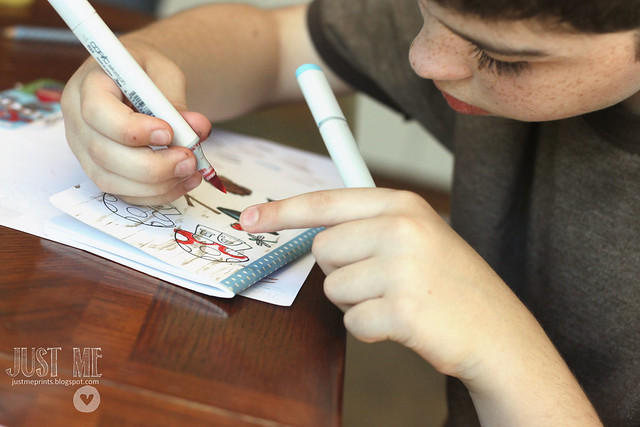
This past weekend, I set up decorations at Marlyn's house (of Montreal Confections) for her daughter's 11th birthday.  I also provided the party entertainment: the kids made altered notebooks and bookmarks with lawn fawn stamps that matched the party decor and my collection of copic markers.  I hope you enjoy the party:

into the woods...

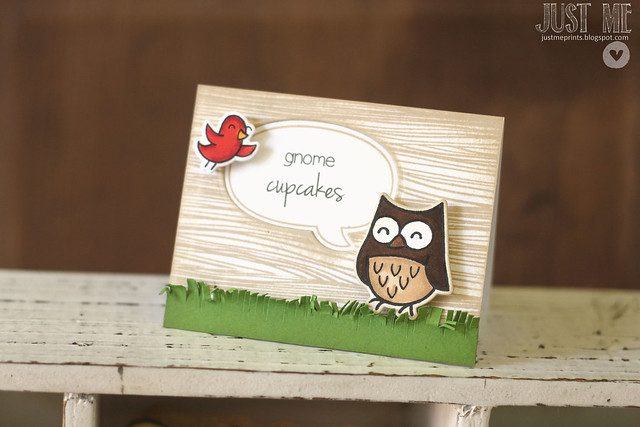
You may remember that wood backdrop from *this party* - it pays to keep party things!

into the woods...

Forest tree drink labels - they were so excited to drink out of these mason jars!

into the woods...

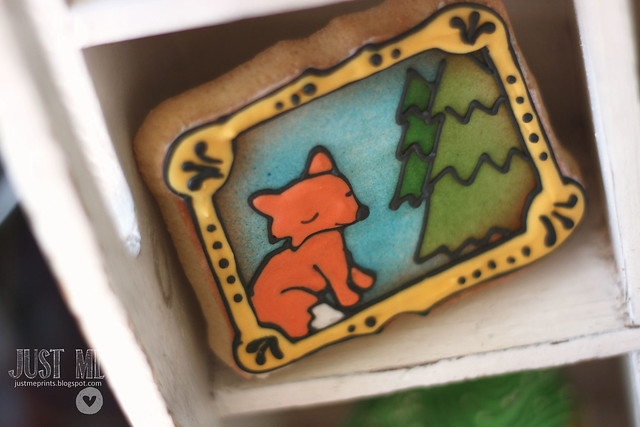
Do you see who the lawn fawn fox is checking out?

into the woods...

It's our foxy, in cookie form.  I was so excited when I saw these!  And, the frame too!

into the woods...

into the woods...

into the woods...

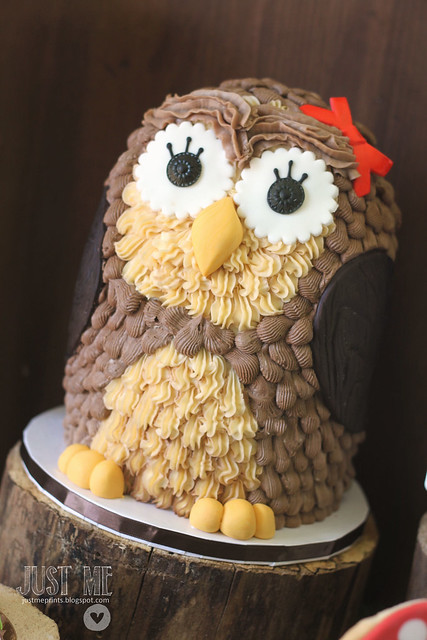
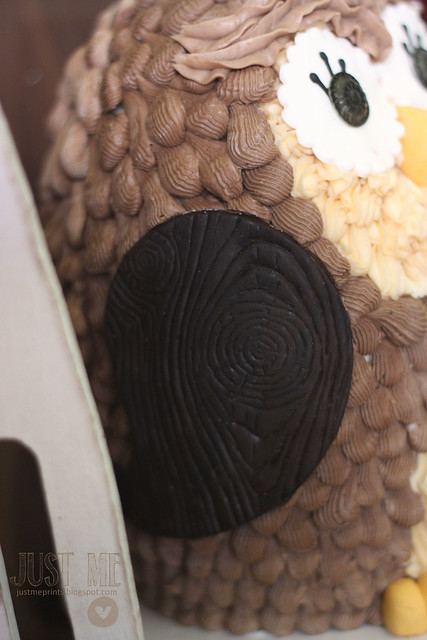
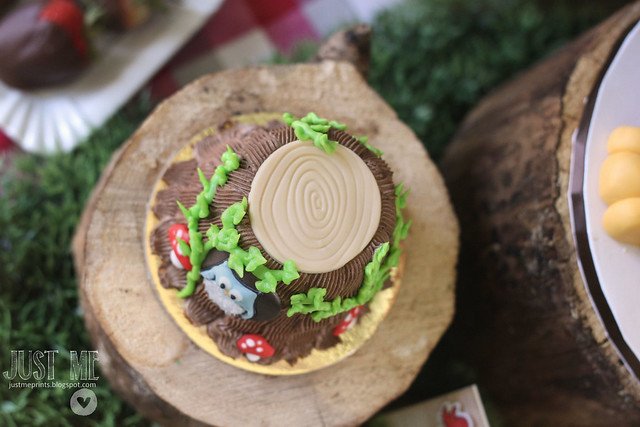
Isn't the owl adorable?  I love that Marlyn didn't cover the whole thing in fondant - the texture from the buttercream matches the whimsical feel of the party so much better...

into the woods...

woodgrain wings!

into the woods...

into the woods...

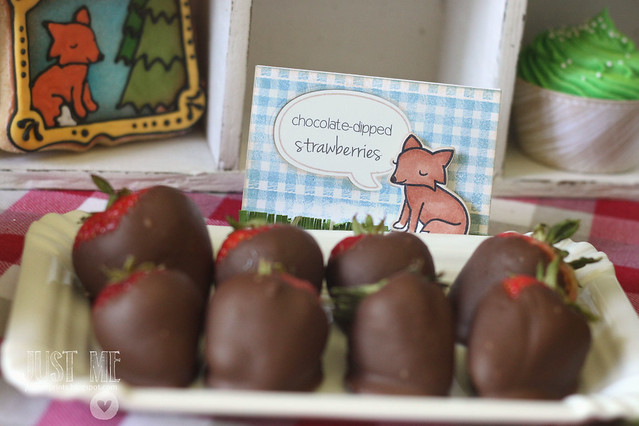
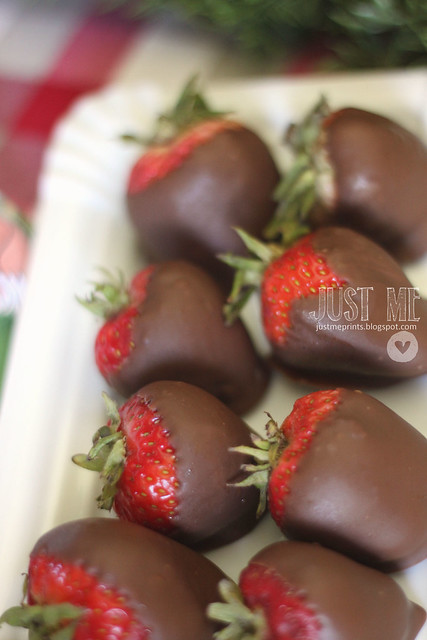
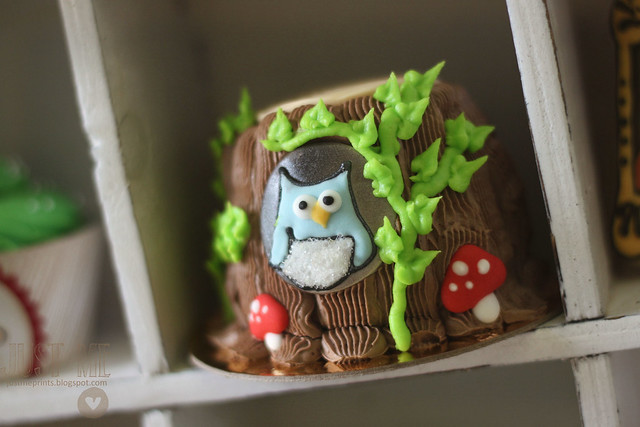
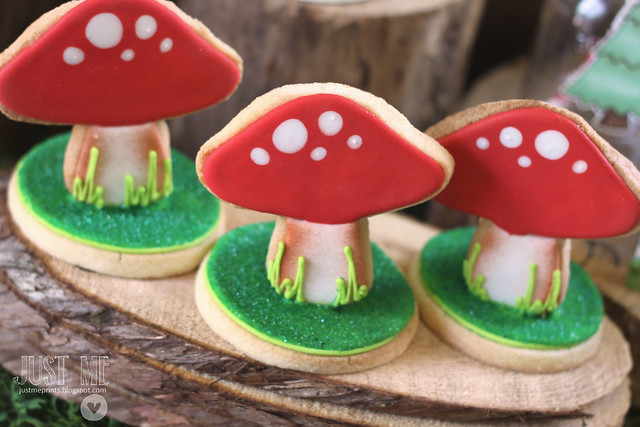
Marlyn's sweets are just so beautiful:

into the woods...

into the woods...

into the woods...

into the woods...

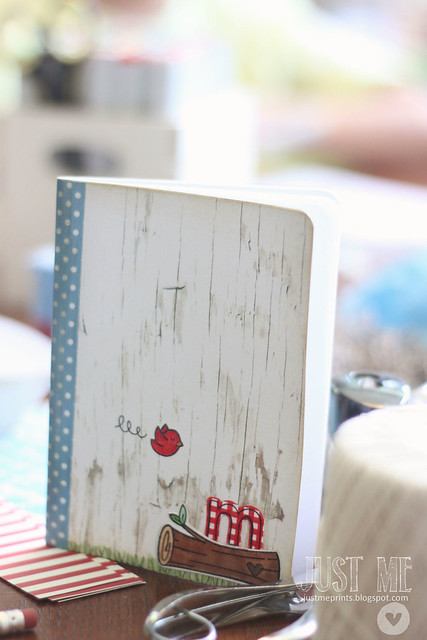
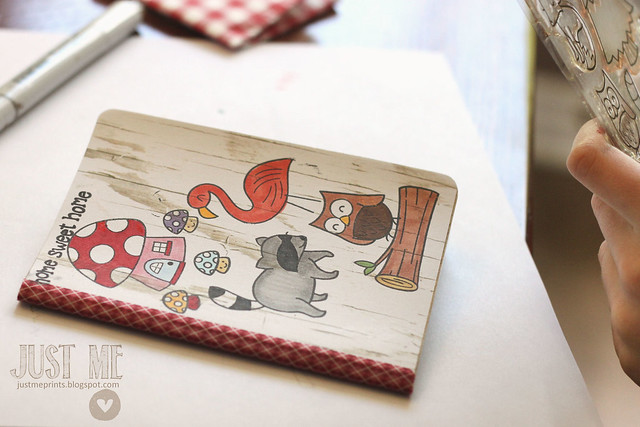
The party craft was to alter a notebook.  Here's my original:

into the woods...


into the woods...

into the woods...

into the woods...

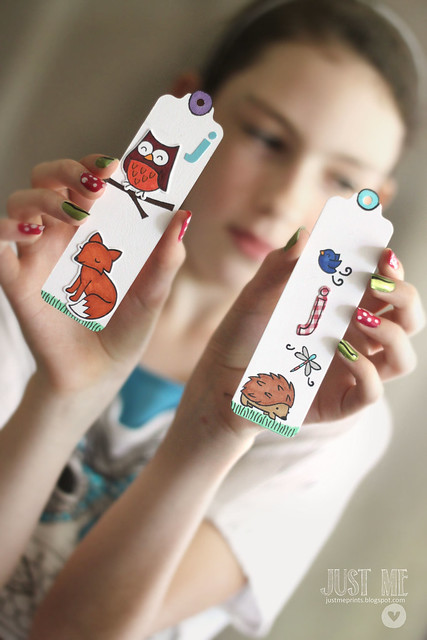
The birthday girl, holding her bookmarks.  I love that she painted her nails so fancy for the party.

I hope you enjoyed looking at our woodsy party pictures!  It's Jessika's actual birthday today - happy birthday, sweet girl! I hope you have a great day ♥.

into the woods...


Monday, June 10, 2013

inlaid dies {lawn fawn inspiration week}

inlaid dies {lawn fawn inspiration week}

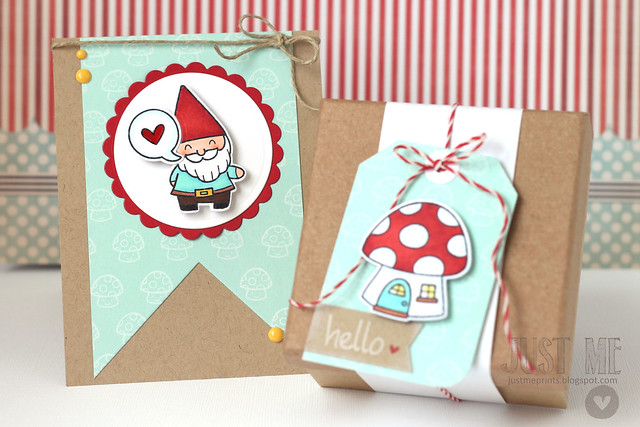
Hi, and welcome back to another day of lawn fawn's inspiration week!  Today we are breathing new life into older sets with companion dies!  I am so excited to now have lawn cuts for gnome sweet gnome, sunny skies, and admit one.

I took advantage of the dies to create a little gnomie ensemble for you:

inlaid dies {lawn fawn inspiration week}

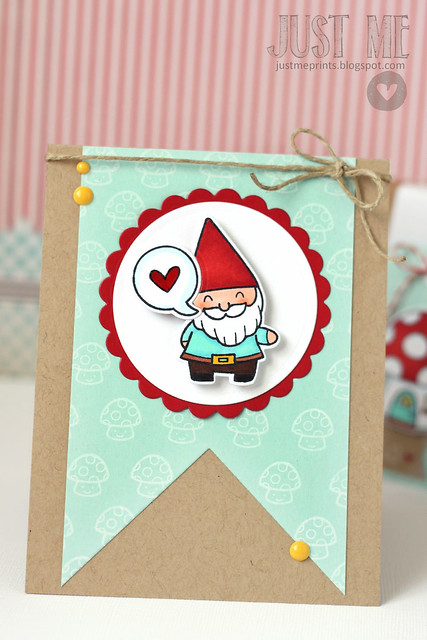
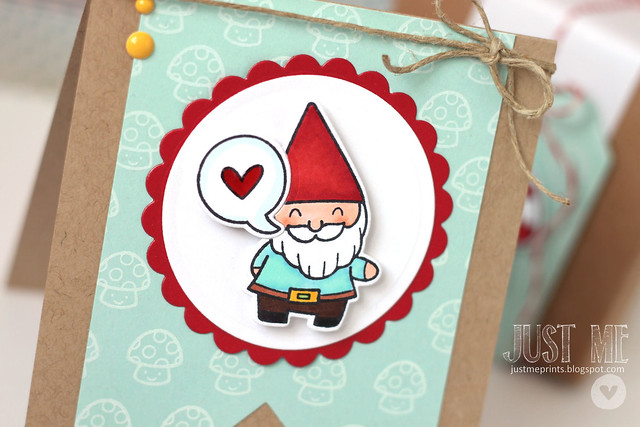
A little card & gift set, using the gnome and mushroom house dies.

inlaid dies {lawn fawn inspiration week}


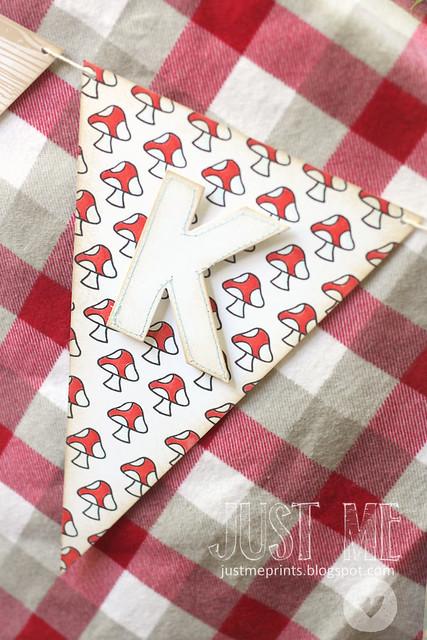
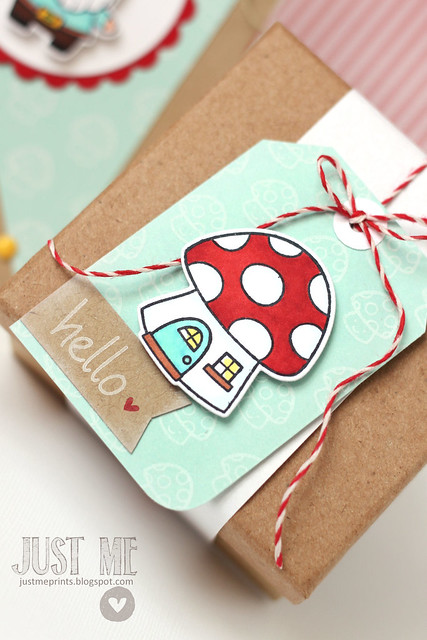
Here, the mushroom house was blurry in that last picture :)  Both feature a little stamped background of adorably happy mushrooms.

inlaid dies {lawn fawn inspiration week}

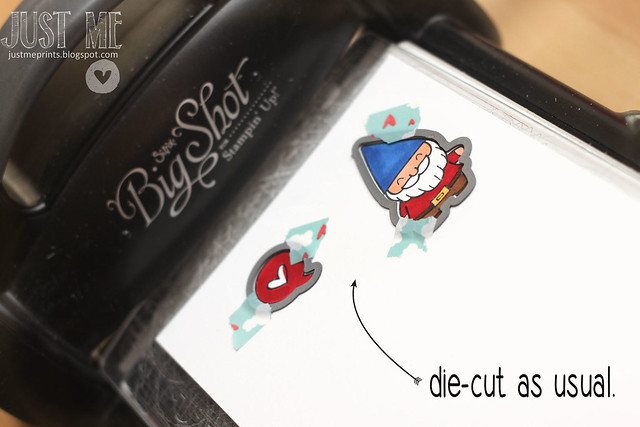
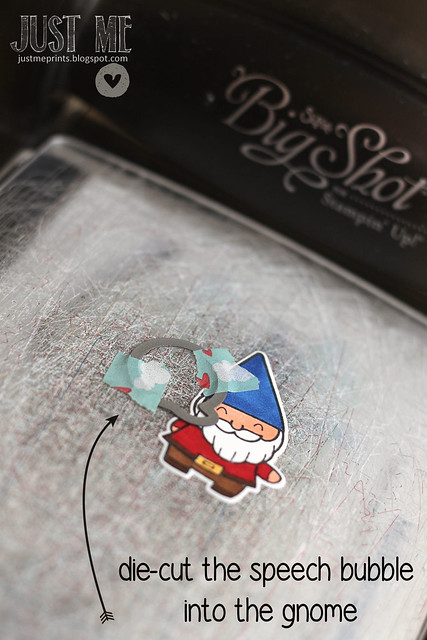
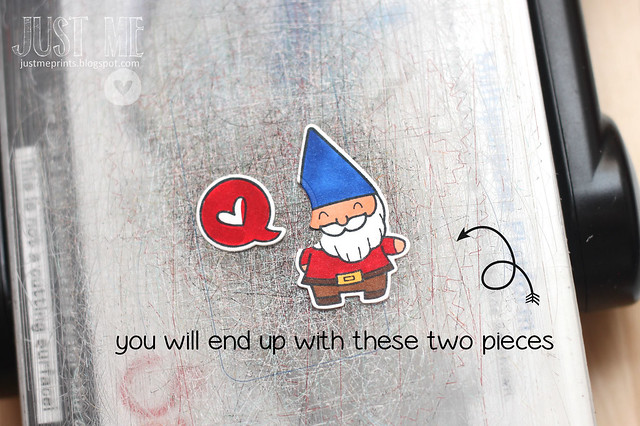
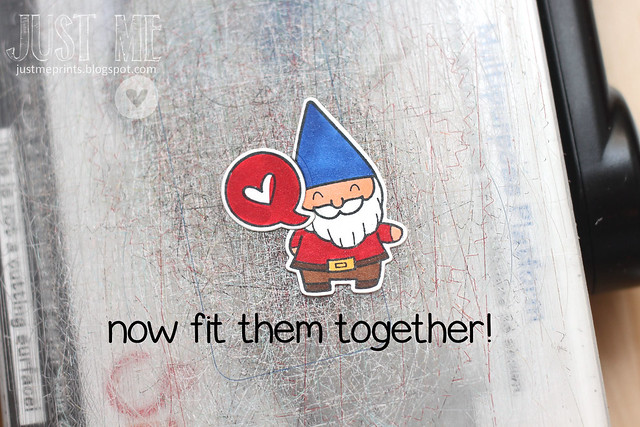
But my absolute fave element of this project is the way the speech bubble is fitted into the gnome - a perfect inlaid design.  I think flattening your images is huge in paper-crafting lately - I see more use of negative space and placing die-cuts back into their cut-outs than anything else.  The look is very clean - and I love that!

Here's a little how-to (and ignore the fact that the coloring on the examples isn't very good, ok?):

inlaid dies {lawn fawn inspiration week}

inlaid dies {lawn fawn inspiration week}


inlaid dies {lawn fawn inspiration week}

inlaid dies {lawn fawn inspiration week}

Think of the possibilities!  All the things your lawn fawn critters could say, or how they could cozy up to each other - hee hee.

I hope you like what I've created today!  Click over to the lawn fawn blog to see what the rest of the team has dreamed up - I'm always inspired by them!

Monday, June 3, 2013

into the woods.

into the woods.

I did a double-take this morning when I realized we were already into the month of June.  It took me a few days to notice....

The good news?  It's time for another lawnscaping challenge:


This one is for all the wannabe copic colorers out there, the ones who own copics but don't really know what to do with them.  Solidarity, my friends.


into the woods.

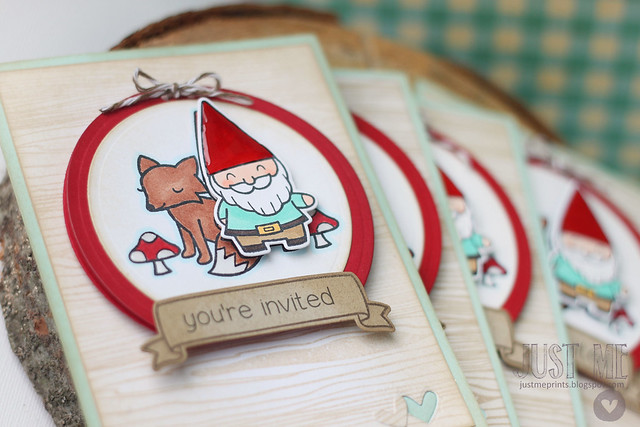
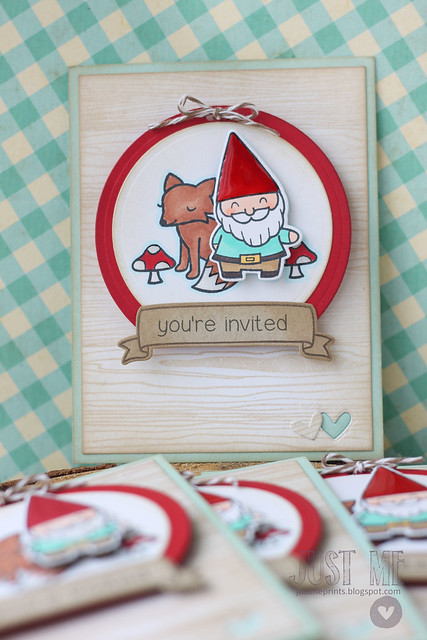
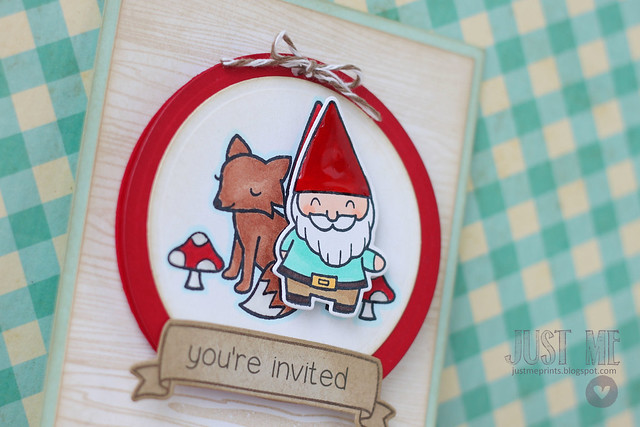
I was recently asked to make a set of woodsy invitations, oh and by the way, the birthday girl loves gnomes. My kind of girl.  

I started out by coloring all of my gnomes and die-cutting them.  For a little something extra, I added glossy accents to his tall gnome hat.

into the woods.

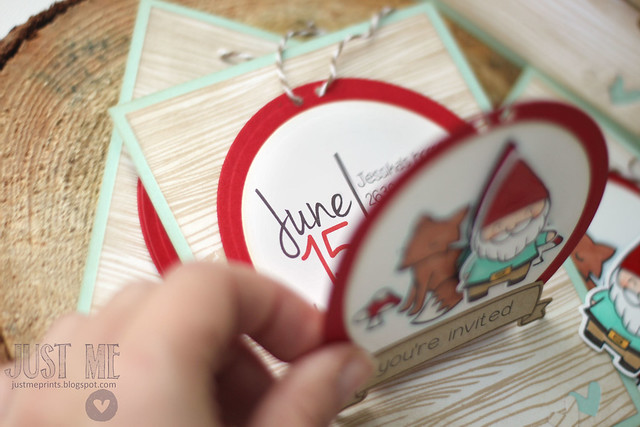
The circle stackable dies made it easy to create my focal point.  I stamped the fox, mushrooms, and gnome onto a white circle and colored them all in.  Even the gnome.  I like that when you look sideways, you can see a fully colored gnome underneath the pop-up.

The "you're invited" banner at the bottom of the circle hides a folded, flat edge.  All of the party information can be accessed by untying  the twine at the top and opening the folded circle.

into the woods.

I popped the entire circle onto foam squares, so that it would be able to open and close with ease...

into the woods

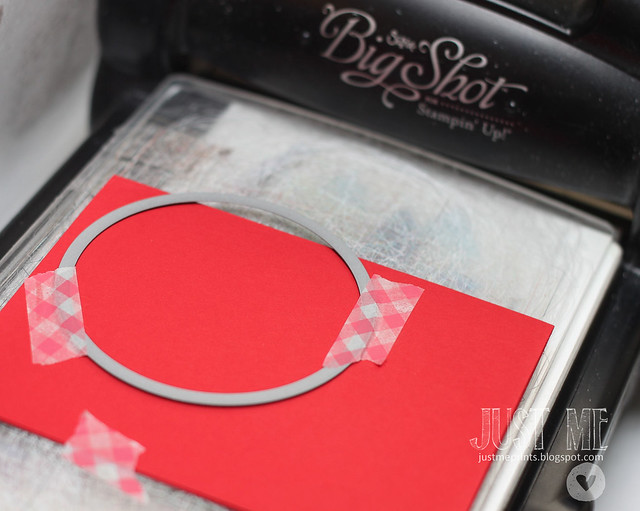
Here's a quick visual on how I created the folded circle card.  Fold a piece of red cardstock, and lay the circle so that the die overhangs the folded edge at the top.  Secure with washi tape (or post-it notes) and run through the machine.

I hope you like them, and I really hope you decide to play along with our coloring challenge!  Our sponsor this week is Simon Says Stamp


ps, my friend Paulina, over at prettypinkposh is getting to know me better today.  Click over to read the interview!

♥.

Monday, January 7, 2013

a gnomie birthday to you!

We're celebrating the lawnscaping challenge blog's birthday!  Time to take out your lawn fawn stamps and get creative: make a card, hand-stamp a gift-wrap, or even make some cute cupcake toppers.

Confession time:  I've watched "Gnomeo and Juliet" more times than I'd like to admit this holiday season.  I found it on liquidation, and stuck it under the tree for the kids as an afterthought, and they have become obsessed.  My 2 year old walks around the house, yelling out quotes from the movie.  Oy.

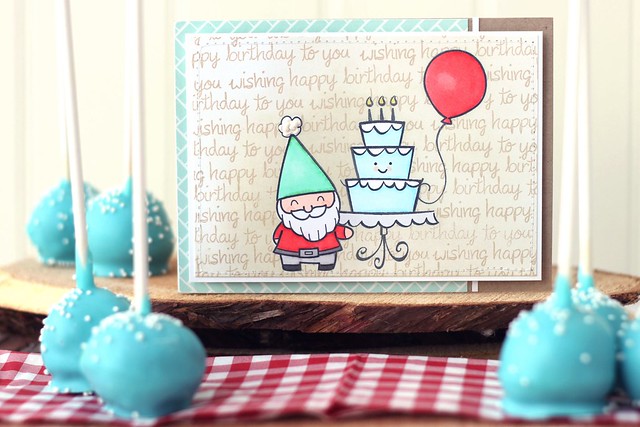
So, it was only natural that I would stamp a birthday gnome for lawnscaping's big day (and then use some leftover cake-pops for the photo-staging, hee hee):
gnomie birthday.

Here's the how-to: Start out by stamping the gnome, from "gnome sweet gnome" and add a little party pom-pom to the top of his hat (really, a puff of train smoke from "pa-rum-pa-pum-pum").  Next step is to mask the gnome and his pom-pom, and stamp the cake (from "bake me a cake").  Add a smiley face to the cake (I borrowed a gingerbread's smile, from "sweet christmas.")  And guess what?  Mask that too.  Stamp the balloon next, (from "admit one") and mask that too.  After every image is sporting a mask, stamp the "wishing happy birthday to you" sentiment (from "check this out") repeatedly, until the entire piece of cardstock is filled.  Using a sponge, rub distress ink over the entire piece, to make the background more subtle.  Remove the masks, and color in with copic markers.  Add a little liquid-appliqué to the gnome's party hat pom-pom to seal the deal.
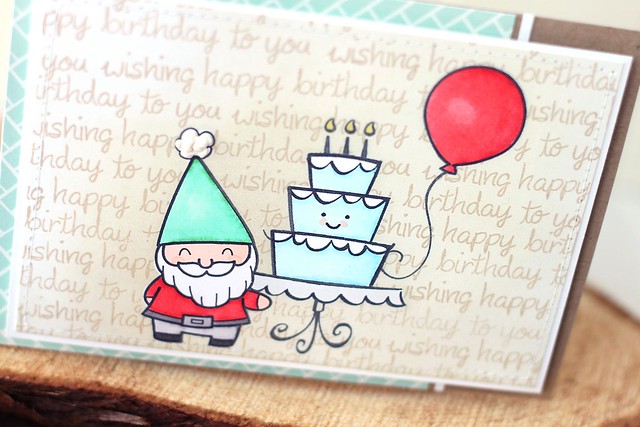
gnomie birthday.

I hope you like it!  Now your turn to get busy:

You could win a prize from our sponsor, Simon Says Stamp:

Simon Says Stamp

Thanks for stopping by!