Saturday, March 30, 2013

with glittering eyes {precious remembrance}

with glittering eyes

Normally when I make a card, I search my stash for the perfect stamps, and work from there.

I saw this print on pinterest, and really wanted to re-create it.  Chalkboard, fantastic quote, and a little out there.  I like it all.


I had the perfect glasses image, but the thought of building the sentiment with tiny alpha stamps was depressing.  So, I hand-wrote it, for a completely quirky (and I think charming) take on the print:

with glittering eyes

Not everyone is going to like this card.  My hubs gave it a "meh."  But I give myself a thumbs up for stepping outside my comfort zone and creating a card using a grand total of 2 stamps.

with glittering eyes

What do you think?  Would you boldly put your own handwriting on a card?

Friday, March 29, 2013

folded tag photo tutorial {with lawn fawn}

Happy Good Friday, all!

I'm feeling a little under the weather, and trying to care for two feverish babies - bleh.  But I did create a fun little tutorial, and it's being featured on the lawn fawn blog today.


You can create a folded tag from any of the new lawn fawn dies!


For the rest of the how-to pictures, click over to the lawn fawn blog!

ps, every time I do my nails, I remember how bad I am at it, hee hee.

Wednesday, March 27, 2013

sending hugs {cardmaker blog hop}

Hi there!

Some of the lawn fawn girls are joining the cardmaker blog team for a fun blog hop.  No rules, no theme, just a fawnie good time with a prize at the end :)

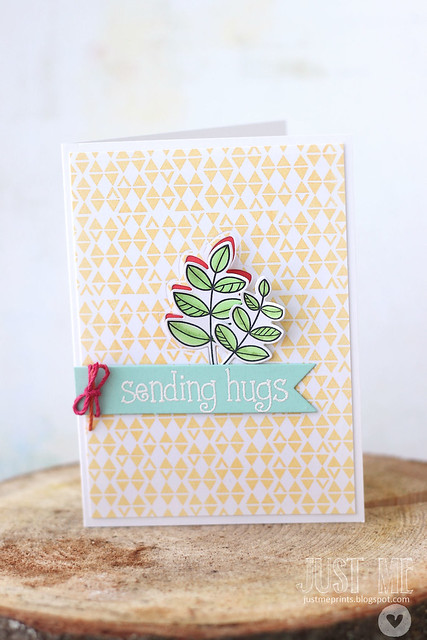
leafy hugs.

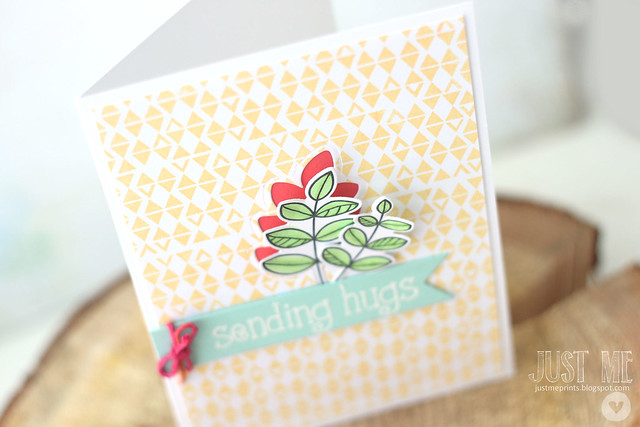
I stamped myself an entire background with our sharp backdrops, and die-cut a leaf  (from blissful botanicals) into what I eyeballed to be the middle...

leafy hugs.

I backed the focal mat in a brighter pink, and adhered the leaf-stems-only to the base.  I love the little pop of color!

leafy hugs.

The sentiment (from so much to say) was embossed onto a banner flag and adhered with a little strip of pink lemonade twine.  

Hope you are having a good day! hugs! Here's a list of the rest of the hop stops:

Tuesday, March 26, 2013

l'amour, c'est merveilleux.

There's an old french song that goes "puisque je t'aime et que tu m'aimes, c'est merveilleux."  In other words, love is a beautiful thing :)

amour

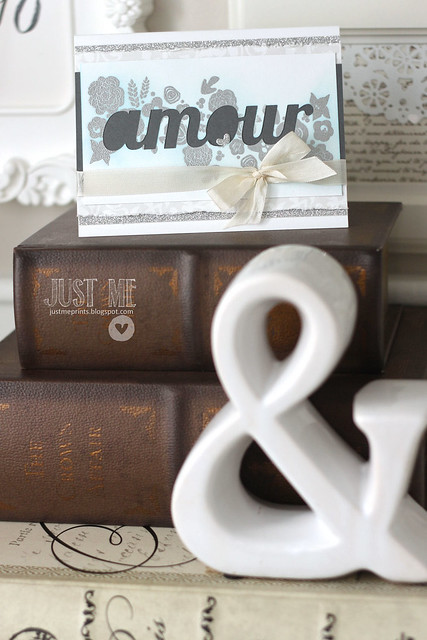
I've been waiting for a "lull" in my blogging schedule, to be able to share this card with you!  We crafted it at the last class I taught, nearly a month ago.  I was asked to create a pretty wedding card, and with equal parts softness and bling, I would proudly present this to any newlywed couple.  

amour

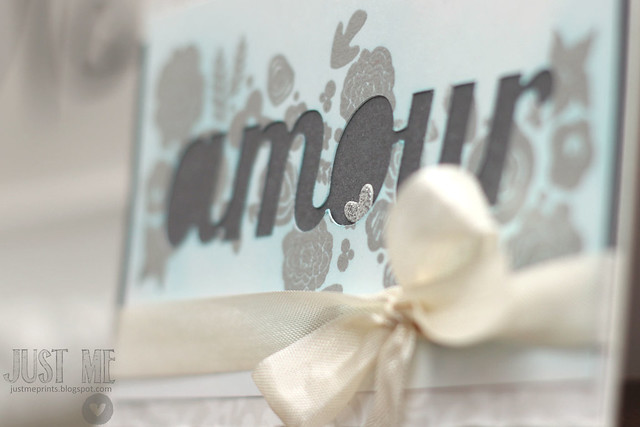
I used my silhouette to cut out the word "amour," and then stamped and heat embossed my mini blooms.  Once silver-heat-set, I swirled around some blue distress ink, adding a delicate blue haze.  And then I started layering and texturizing.  I love adding extra layers and big ribbon to wedding cards.  Makes it look more "impressive," no?  I mean, we stampers appreciate the clean and "clever" cards, but for some reason, ribbon and die-cutting and embossing - that's what usually gets the wow with the non-crafters.  In my experience, anyways *wink*

amour

I'm linking this card up to the moxie fab challenge, "emphasize the negative."  There's still a few more days to play along!

And here's a little love to start your day:

Monday, March 25, 2013

bunny poop easter treats {with lawn fawn}

hee hee.

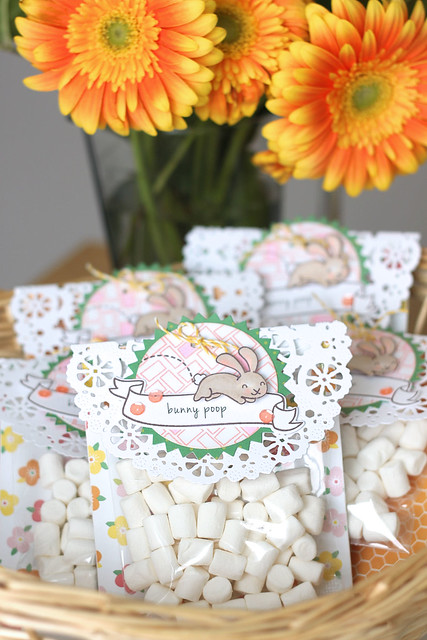
My kids have already seen these, and cracked up.  I could have called them "bunny tails" - probably more accurate (really, I'm concerned with accuracy?) but I knew this would be funnier to them.  Potty talk is the funniest in our home...  So, if you are looking for a fun non-chocolately treat for Easter, here you go:

bunny poop easter treats

The lawn fawn girls were treated to some fun products, but I'm not much of an album girl, so I used my punky sprouts stuff a little differently :)

bunny poop easter treats

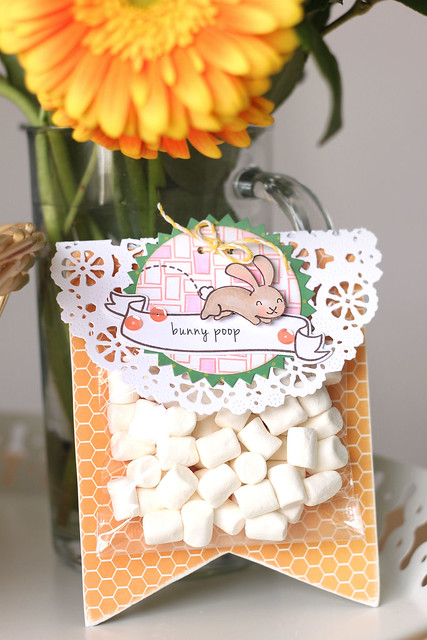
I covered each mini album page with a piece of dewey decimal or pink lemonade paper, and sanded the edges for a seamless look.  

bunny poop easter treats

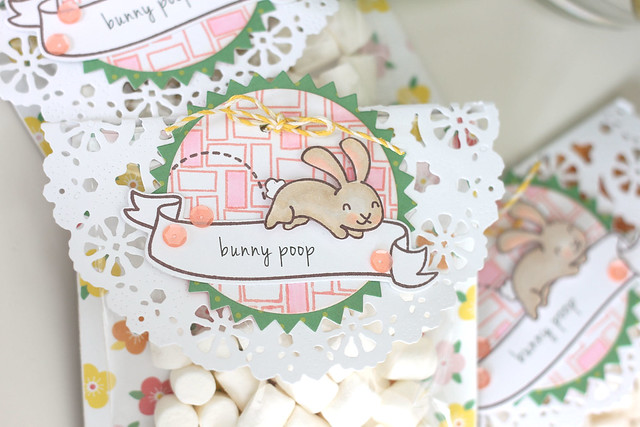
The bag of mini-marshmallows was folded over the top, covered with a doily, and then I used my crop-a-dile to punch through all of the layers.  Some yellow/white twine sealed it all off.  For each topper, I created a little tag.  I used my favorite easter bunny, plopped him onto a stamped background (using interlocking backdrops).  I created the "bunny poop" label via my computer, and once printed, stamped and die-cut it with bannerific.

bunny poop easter treats

Since I used PTI's limitless layers circle dies, and used some sequins, I'm linking this project up to their March blog hop.

Thanks for stopping my way!


Sunday, March 24, 2013

Crafting with the littles...

Hi there!

My Sofia is 7 years old, and tried her hand at mama's favorite technique: masking.  She designed her own card, from start to finish, and it's on the Just Me Prints and Paper designs facebook page.  If you would like to see it, visit me there and leave her a little comment - I'm sure it would make her day!


Thursday, March 21, 2013

oh baby it's a wild world {lawn fawn inspiration week}

It's the last day of lawn fawn inspiration week, and today we're showing off a great new background set: sharp backdrops.

it's a wild world

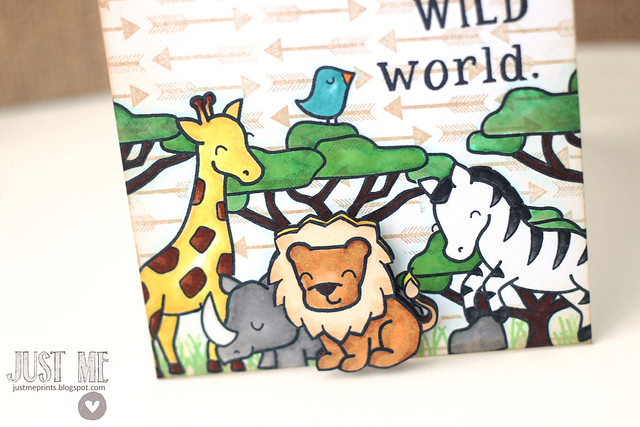
The arrows went for a safari feel on today's card.  I masked and stamped animals and trees from "critters on the savanna" to create a little scene at the bottom of the card.

it's a wild world

I love how only the lion was given the 3D treatment (If you don't count the lion, this is a 1-layer card!)  After they were all colored, I masked the animals and stamped the arrow background to fill the entire card-base.  I did not mask the trees or the rock that the zebra is propped up on - that would have just been silly *grin*  I actually like the way that the arrows show through the trees - it's a cool effect!

it's a wild world

My sentiment was stamped out using "riley's abcs" and I love how it's right-justified.  It gives the arrow background a place to shine, and is just plain fun, stacked over there on the side.  

I hope you've enjoyed my inspiration week projects!  It's been fun!

Wednesday, March 20, 2013

it's hoppin' {10 minute craft dash}

If you are looking my lawn fawn "home sweet home" post, then click *here* or scroll down.

10 min crash dash

It's time for another 10 minute craft dash!  And, with lawn fawn sponsoring, some of the girls got to playin' along.  I thought to myself - been there, done that, when the lawn fawn girls were gasping over the short time frame.  But you know what?  It's still a rush!

I actually had a harder time getting 'er done in the 10 minutes...could be because one of my kids asked me to stamp them some bunnies halfway in :)


10 min crash dash

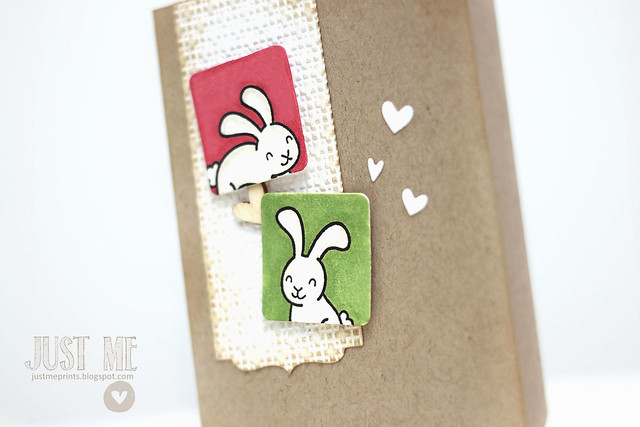
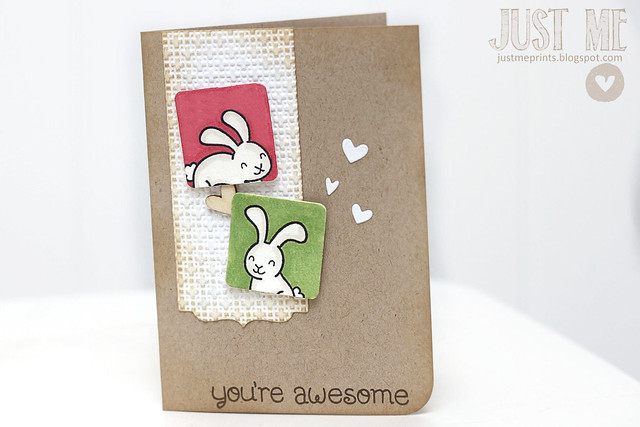
I kept it pretty simple:  a kraft card-base, a banner label that I found in my reject stash (it was already embossed with that waffle pattern), and 2 square die-cuts.  I stamped a bunny (from "happy easter") on each, and colored around the bunnies, to bring in the pink and green colors that are required for the challenge.  I also did a tiny bit of shading on the bunnies, using a light grey marker.

Once I adhered them to the card-base, added a few hearts, stamped my sentiment, and stamped extra bunnies for the whiny child, I had already hit a bit over 9 minutes.  I took the last minute to debate whether or not to add some sparkle to the white hearts.  Time ran out and I was still paralyzed in indecision.  Saved by the ding.

I hope you decide to play along!  There's a lawn fawn prize up for grabs.

Thanks for stopping by, and have a great day ♥


home sweet home {lawn fawn inspiration week}

Hi friends!

After a day break, we're back with more lawn fawn inspiration.

Home sweet home

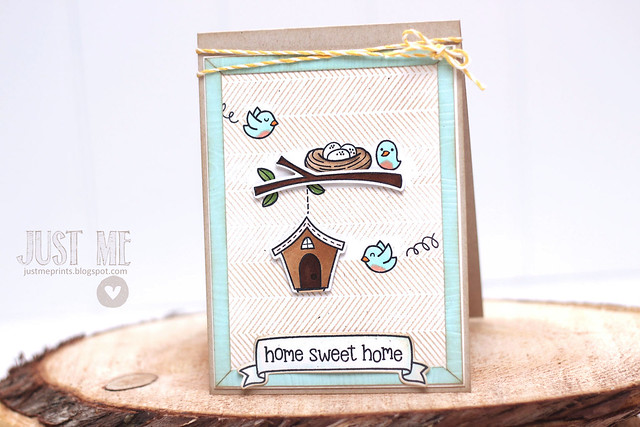
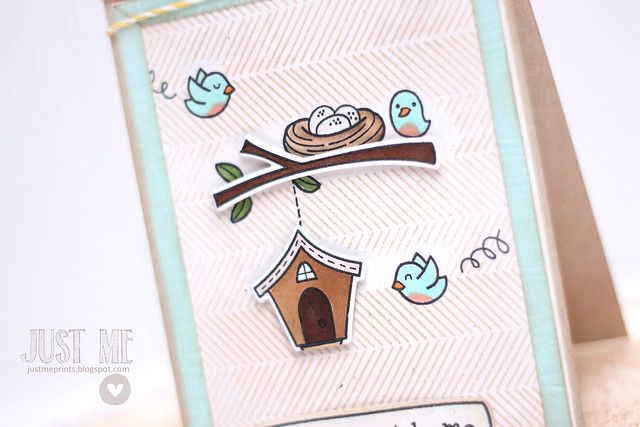
"Home sweet home" is just the sweetest set.  I created a little framed scene for you, and tried to show it off as best I could.  The twig and birdhouse were cut with the oh-so-amazing matching lawn cuts and popped up.  I'm still lovin' the fact that I can stamp, color, and then die-cut.  And it works perfectly every single time.

The rest of the scene was stamped, colored, and then masked so that I could stamp the subtle line image from "interlocking backdrops" in a light brown ink to fill the entire background.  I also added a blue 'frame' around my scene: I impressed the card-stock with a woodgrain pattern, and then cut it into 4 strips, fitting the corners together with "mitered" edges.

Home sweet home

I love my pink-bellied birds, and those coiled flight lines, especially.

Be sure to check out the lawn fawn blog for more "home sweet home" inspiration!

Tuesday, March 19, 2013

Bags, boxes & bows (CSS group project)

Hi there!  It's group post time over at CSS, and we're featuring fun sets of packaged goodies.

Bags, boxes & bows

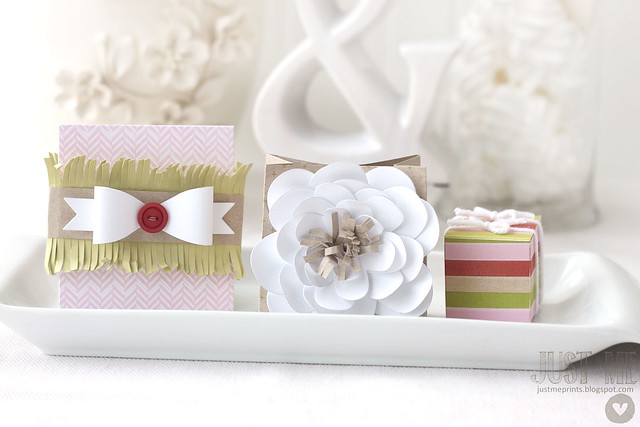
I created a trio of packages that all are different, but work together because of a unified color scheme.  I'm thinking of keeping these around for my mom's birthday: a little gift card, maybe some cute jewelry, and a few chocolate treats would fit.  And really, wouldn't it be more fun to open 3 presents on your birthday than just one?  Especially if the packages are all this cute?

Bags, boxes & bows

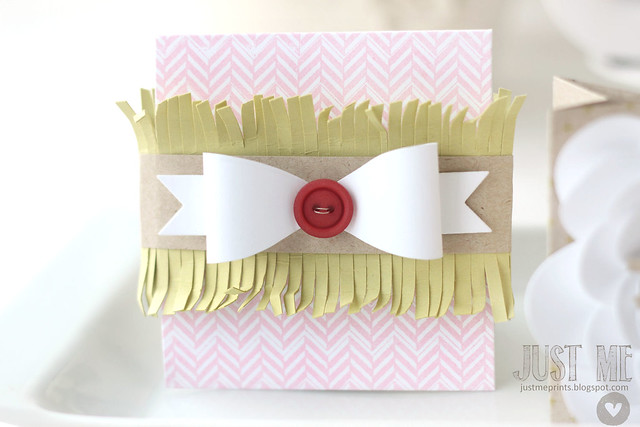
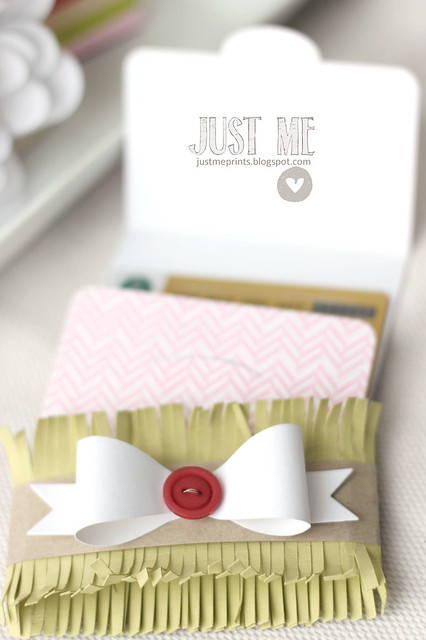
The gift-card fits into the mini tri fold 1 die, and I stamped it with a pink chevron and gave it a grass-skirt-of-a-sleeve.  Ha.  I didn't realize it looked so hula until I saw the pictures.  Either way, my love for those Martha Stewart scissors is still going strong.

Bags, boxes & bows

A fun paper bow sends the sleeve over the top.

Bags, boxes & bows

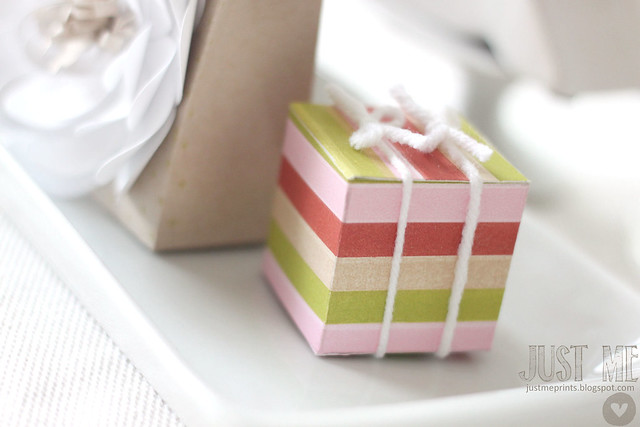
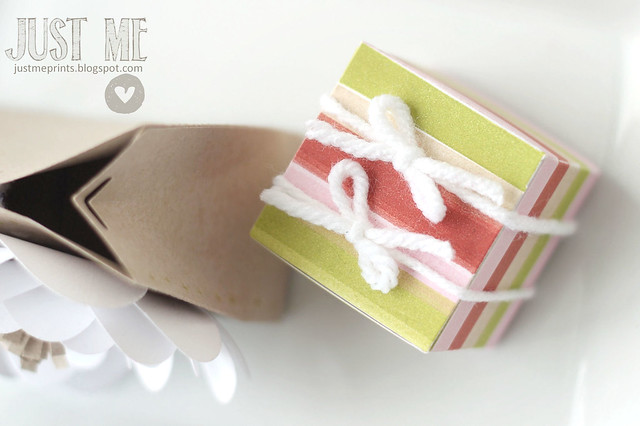
The little cube die-cut was stamped with a soon-to-be-revealed stamp set (wait until March 24th!) and  I tried to channel my inner Laura Bassen.  My double-stamping isn't nearly as perfect (Laura revealed that she often stamps an image twice, for extra concentration of color), but it gave a hazy water-color look to the stripes, which I've decided that I love.

Bags, boxes & bows

Two yarn bows on the top added even more softness to the tiny box.

Bags, boxes & bows

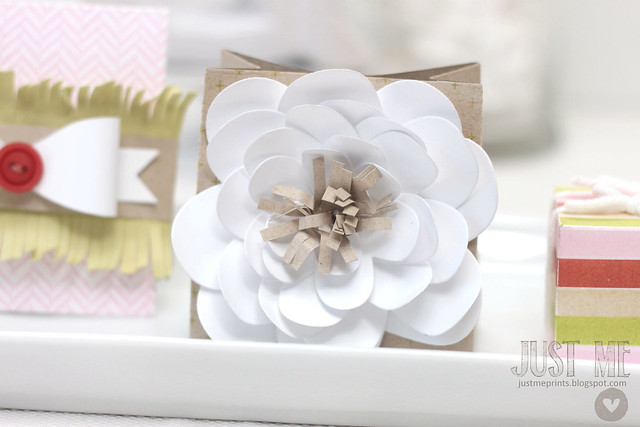
My favorite piece is definitely this one:  I used the party favor 3 die to create my bag, and stamped it with a subtle tone-on-tone pattern.  My large flower is made from heart dies!  I used most of the sizes and a few of each size, to form this large flower.  A bit of rolled-up fringe worked well for a flower middle.

What do you think of the flower?  Do you love it as much as I do?  If you do, let me know in the comments, and I will put together a photo-tutorial.

Bags, boxes & bows

More packaged inspiration for you at these stops:  Audrey Kim Lori Laura CSS blog

Monday, March 18, 2013

So cool {lawnscaping challenge}

Hi!  If you're looking for my lawn fawn inspiration week post, click *here* or scroll down.  It's a double-dose of lawn fawn today:


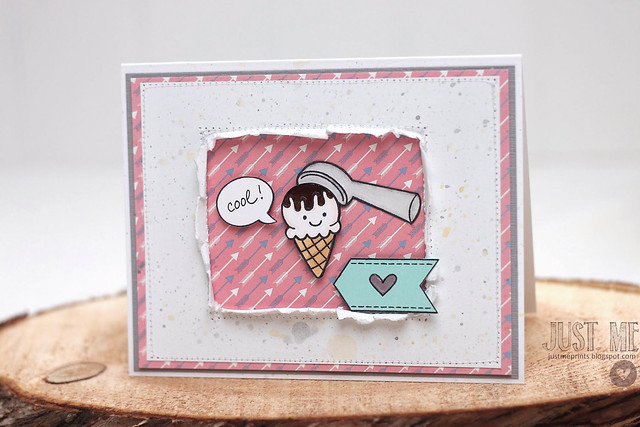
Our newest lawnscaping challenge is to add stitching to your project.  Here's what I came up with:

so cool.

I was inspired by Michelle Wooderson's card, found *here*, to stitch a rectangle inside my card front and then rip out the insides.  Into the opening, I creating my little scene.  I hand-wrote the sentiment (I think it's fun to do that sometimes!) and used images from "here's the scoop" as well as a limited edition set that lawn fawn did for studio calico (the speech bubble and arrow.)

I'm keeping this post short and sweet - my posts will be doubles like this for the next day or 2.  I have to pace myself :)

Daphne's Closet {lawn fawn inspiration week}

20130309_42b

Another day of lawn fawn inspiration!  Today, we're showcasing the fun papers found in the Daphne's Closet collection.  They're full of retro patterns, and with fun paper names like bell bottoms, cute cardigan, and prettiest blouse - how can they not put a smile on your face?
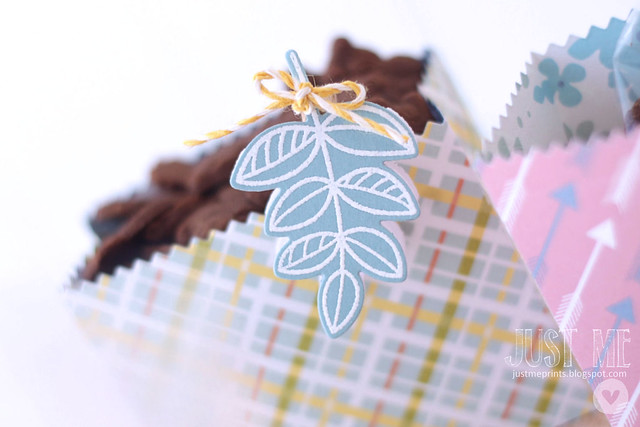
20130309_49b

I've create a trio of treat boxes for you using the new papers, and had a bit of fun with the new "blissful botanical" dies to create folded name tags.  I attached each embossed leaf to a mini-clothespin, and clipped them onto the boxes.
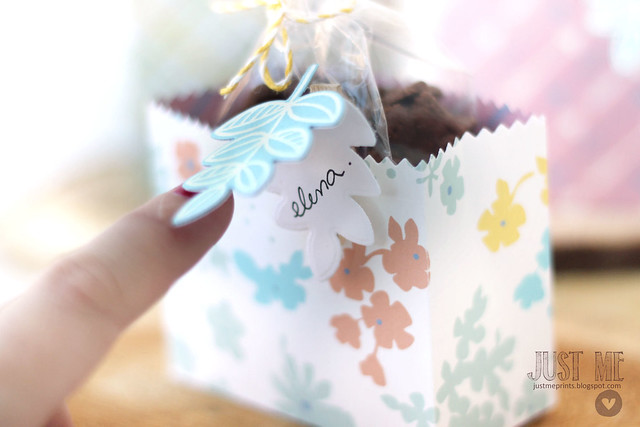
20130309_64

Oh goodness.  I'm sorry for the weird photo, but I had a hard time giving you a shot of the open tag, and holding my camera steady all at the same time.  (Real life ew: if you look closely at my finger, right under my red nail, you'll see part of the scar.  The one that I got by trying to dig frozen strawberries out of my hand-blender, while it was still plugged it.  Gah!  It's been a few years, but I still shudder anytime I have to use a hand-blender...)

If you don't already know how to create a folded tag using any of your lawn fawn dies, I created a step-by-step tutorial, which Kelly Marie will be featuring on the lawn fawn blog before the end of the month.  I hope you try it - it's so fun!  Imagine, a little hedgehog tag?  A mailbox tag?  Oh sweetness - a gnomie tag??  The possibilities are endless.

And, since I had three boxes to photograph today and not just a single card, this is how I did it:
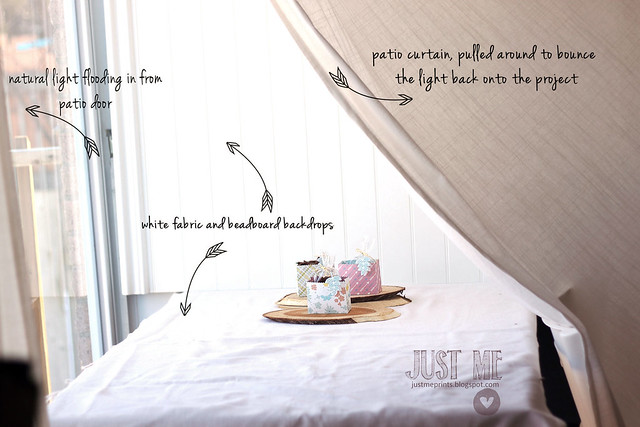
20130309_52b

Before we bought the girls a bunk-bed, Amar made a headboard for Sofia using some beadboard and crown molding.  I have since claimed it for card photos.  Not too shabby, for about 15 bucks!

I don't always rely on natural light to take my photos.  I often have to shoot quickly for a deadline (who's procrastinating? me??) so I do have to shoot in my basement.  I'll show you that set-up sometime in the near future, and share the equipment I use to make it happen.

Thanks for stopping by!  I'll be back in a few hours with my lawnscaping post - it's a lawn fawn double-dose today *yay*

Sunday, March 17, 2013

So much to say {lawn fawn inspiration week}

It's time for another lawn fawn inspiration week!  We're kicking things off with the set "so much to say."  The sentiments in this set are a little bolder, and I love that.  My favorite one is the happy birthday sentiment, but I've used it several times already on other projects, so I challenged myself to use my second favorite - the "feel better" scripty sentiment:

feel better - smile!

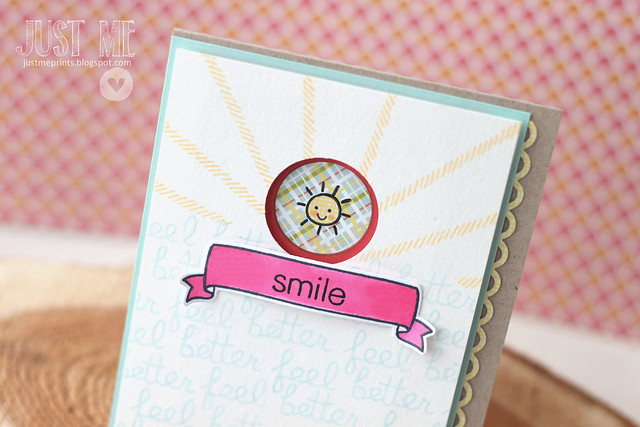
I created a sunny background, using blue for the "feel better" sentiment, and made sun rays out of the Belinda's borders line image.

feel better - smile!

I cut a circle into my white focal mat, and then another, smaller circle into a hot pink carstock mat, finally leading to the plaid patterned paper (from the Daphne's closet collection) and that adorable little sun.  I love the tiny images included in "so much to say" - they're adorably lawn fawn, in miniature size.

The banner shape is from "home sweet home" and the "smile" sentiment is also from "so much to say."

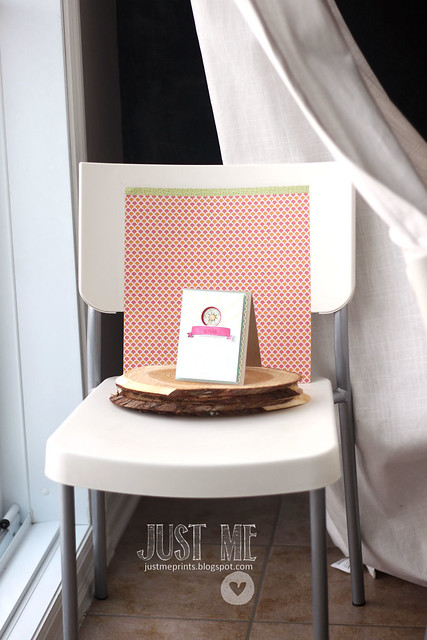
Because I've been getting a few emails lately, asking how I take my pictures, I'll share a few of my set-ups this week.  Here's how I took these card pictures:

feel better - smile!

When I'm not "staging" my card, I usually just grab a kitchen chair, and bring it close to the patio window (where I get great light in the morning, but not so much in the afternoon - you have to know your lighting!)  I used some patterned paper for my card background, and stacked a few cedar planks underneath my card to ground it.  I'm too lazy to buy foam core board, or anything else to bounce the light back onto my card:  I wrap my kitchen curtain around another chair and that seems to work just fine for me.

I hope this card brought a little sunshine to your day.  I hope you'll come back to see more lawn fawn over the next few days!

Saturday, March 16, 2013

inspired by mom.

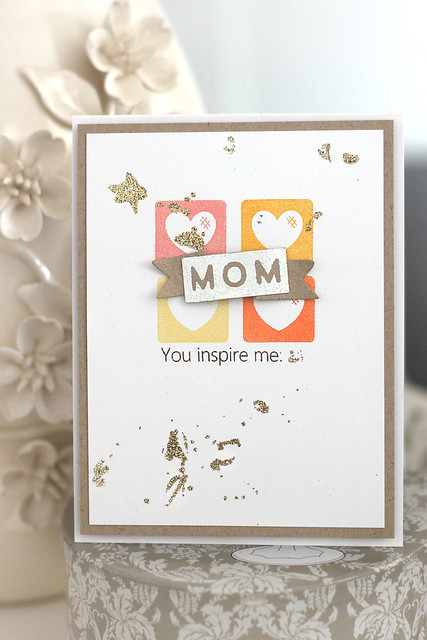
you inspire me, mom


I made one for dad the other day.  So, it was only fair to make one for mom too, for my first Saturday Creations post of the month with Precious Remembrance.

you inspire me, mom

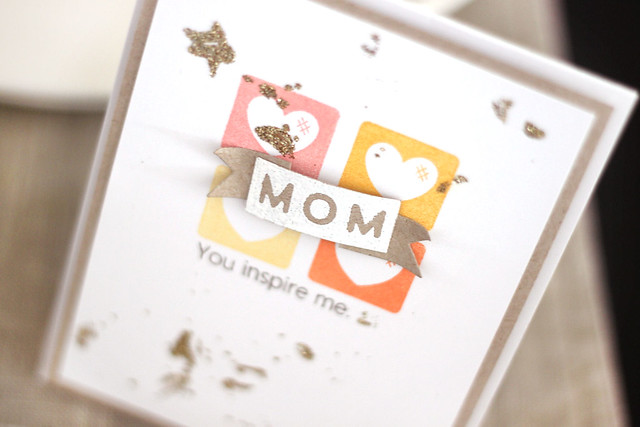
I stamped the square heart image 4 times (from the new "mom & dad" set), and just eyeballed the distance between each.... such a lazy stamper.  It you want yours to look perfect, just use a ruler ;)

The "mom" banner is a bit of a cheat, too.  I stamped the "mom" rectangle, cut 2 fish-tail-banner edges, and just tucked them underneath.

The extra "you inspire me" sentiment is from my all-time favorite Precious Remembrance set: Positive Thoughts.

you inspire me, mom

Oh, and the glitter?  it's shiny.  I flicked on some watered-down white glue and then sprinkled on the gold glitter.  (Tip:  I got my glitter on, and then stamped the "you inspire me" sentiment.  Because some glitter found it's way right under the quad of hearts, I stamped it left-justified, instead of centered like I was originally planning. You gotta just roll with the punches.  I like it better this way.)

Thanks for stopping by!

ps, mommy - if you're reading, just forget all about this card for a bit.... you'll see it again in May :)

Friday, March 15, 2013

sweet baby girl

baby girl


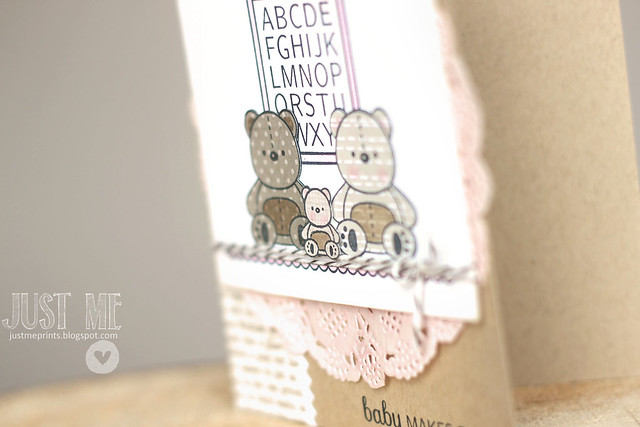
Happy friday!  Just a quick little post, to show off a card I created for a recent card-making class that I taught.  The hostess is a mama-to-be, and it only made sense to cater to her already-growing baby fever :)

My own little baby snuck her tiny hand into my picture, but I thought it only made it sweeter.  A free & completely priceless prop *wink*

baby girl

I paper-pieced my little family of bears, from Mama Elephant's "nursery deco" set.

And, speaking of Mama Elephant, *this* card was chosen as one of their challenge winners.  I'm thrilled, and so happy that I'll be guest designing for them in the future.


Have a great Friday, all!

Thursday, March 14, 2013

Wednesday, March 13, 2013

this one's for dad {Precious Remembrance new release}

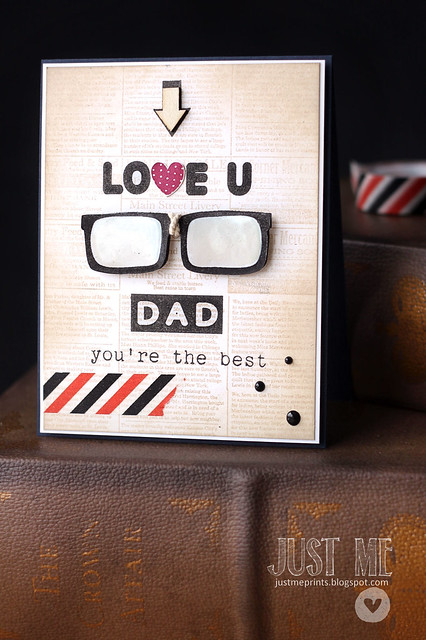
It's release day over at Precious Remembrance - a brand new set called "mom & dad" - perfect for making cards for those two, but really amazing for much more than that.  I made this one for dad:

love you dad!


I stamped the sentiments collage-style, and came up with this.  Everything was stamped in black onto a white cardstock base, and then embellished with a newsprint background and a healthy amount of distress inking.

love you dad!

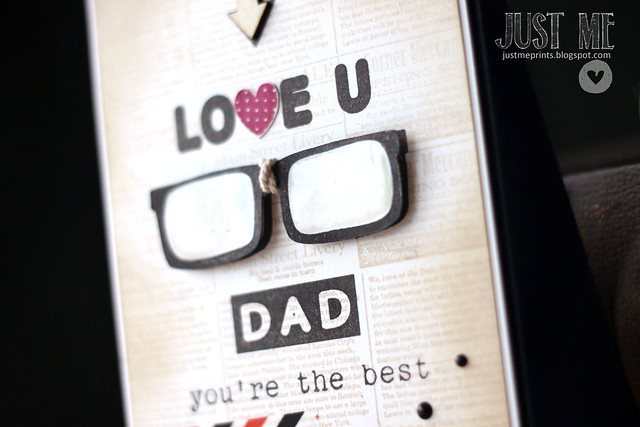
I love the glasses image!  They were stamped twice so that one layer could be popped up, and given the glassy, glossy accents treatment.

love you dad!

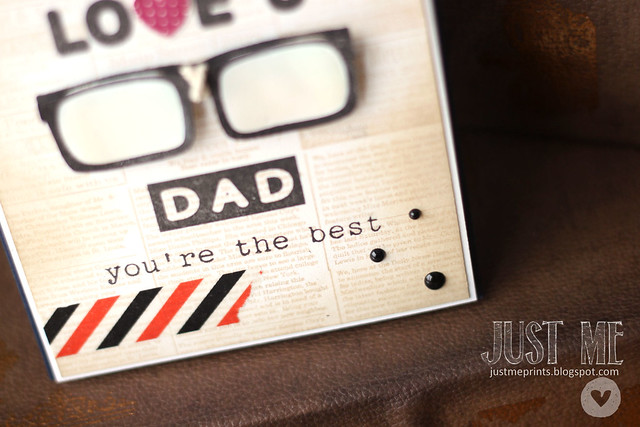
A strip of airmail washi tape and some black enamel dots finished off my very masculine card (at least, I'm hoping it's very masculine)

Click over to the Precious Remembrance blog to see a reveal of the full set, and what the other designers have created with it!