Happy halloween!
It's my final week as the CASE study muse, and this is as far away from halloween crypts and ghosts as you can get:
I hosted a "tea for three" party for my daughter's 3rd birthday... it was vintage sweet, with lots of pretty treats. I still love it.
And here is my new take on the inspiration photo:
I used the same rag doll stamp set as I did for the party. Everything is completely masked. I was holding my breath the whole time, but I love that it looks like a piece of painted art.
Before I go, I'd like to thank the CASE study crew for having me this month - it's been swell. And
especially Iwona, for thinking my stuff worthy of inspiration, thank you!
♥.
Thursday, October 31, 2013
Wednesday, October 30, 2013
Eye see you.
I may be showing Christmas cards in October and ice cream parties too, but on the day before halloween, I am going to share a halloween project. It's all about priorities, people... plus, tomorrow's post isn't halloween-related at all, so...
Do you give treats to your kids' classmates for halloween? I admit that I don't, but if I did they might look something like this:
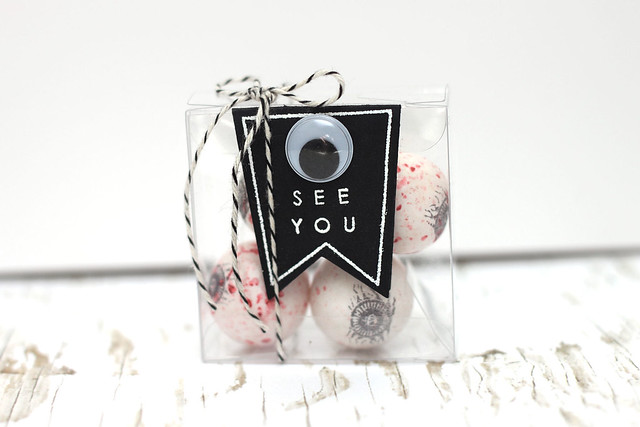
Eyeball gumballs in a clear box (because really, how could they be staring at you from anything but a see-through-box?) and a simple banner tag slipped into the front.
I heat-embossed the banner outline and the "see you" lettering. The big eyeball is so fun - I bought a baggie of them from our local dollar store back when I did Thomas' monster party.
Sidebar: I have to make my husband a costume today - fingers crossed that I can get 'er done.
♥.
Tuesday, October 29, 2013
we scream for ice cream!
It may seem strange, to have an ice cream party in Montreal, in October, when we're starting to pile on sweaters and wear socks more regularly.... but two things: my sister was overly excited about the ice cream accessories she bought for her kitchen aid mixer, and my niece (the birthday girl) prefers ice cream to cake.
Homemade ice cream, a ton of toppings, sugar cookies and even more sugar to take home. It was a great little party:
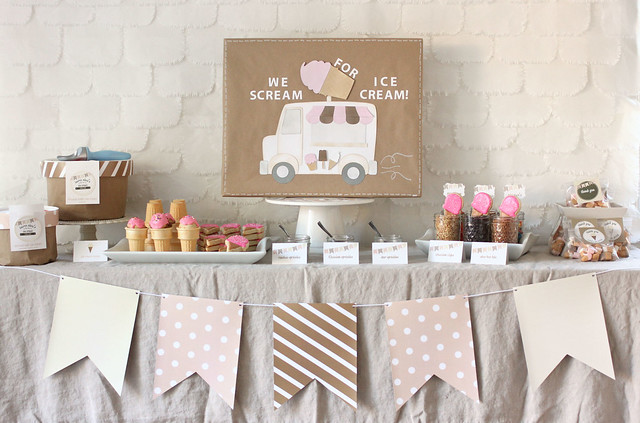
Melissa designed all the printables for Lauren's 3rd birthday. They have such a sweet, vintage vibe to them. I created the backdrop and artwork for the party.
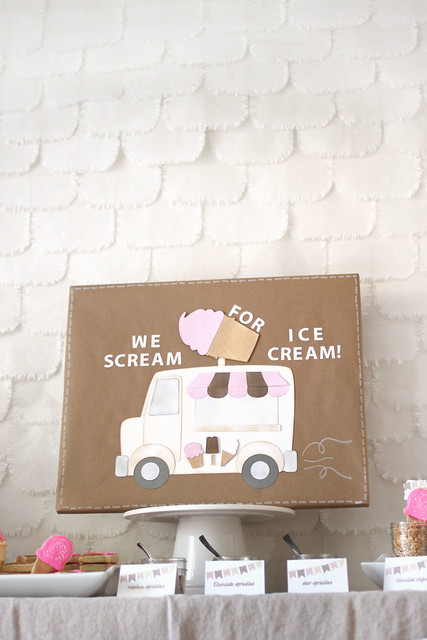
For the artwork, I simply cut all of the pieces with the silhouette machine and sponged all of the edges with a soft brown ink. I wrapped a canvas that I had lying around (I keep failed artwork in the garage for just a time like this!) with brown packing paper. The cost of the paper was probably 2$. Not bad for the party table's focal point.
The backdrop was so worth the few hours that it took me to create. I found something similar on pinterest, except that I used white napkins instead of tissue paper. I rounded the corners of a stack of white napkins, and then used fringe scissors to feather the edges. I had my helper (Sofia) help me pull apart the napkins so that I had thinner layers to actually layer the backdrop with.
I cut a base of packing paper (white this time) so that I wouldn't be taping anything to the wall and started layering the pieces, from the bottom up. Easy, but a full afternoon's worth of work. Cost: 3$ for the napkins.
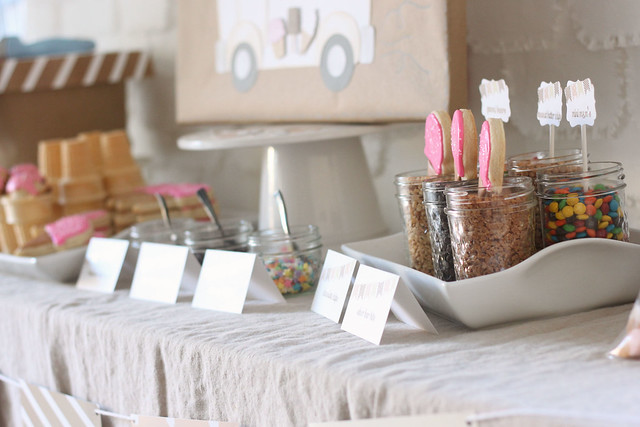
Toppings, anyone?
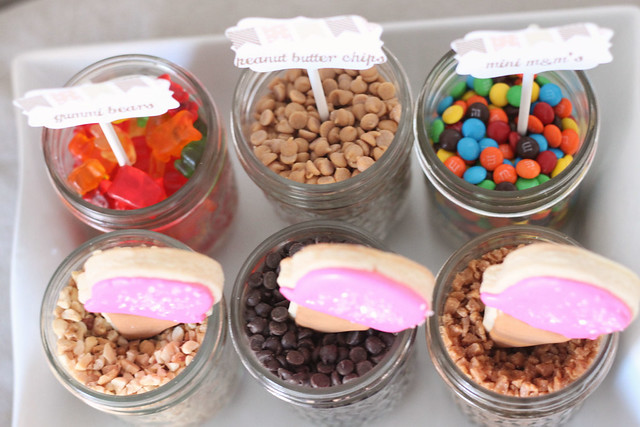
The kids were in heaven. It doesn't take much to make a child's eyes twinkle. They all went straight for the gummy bears.
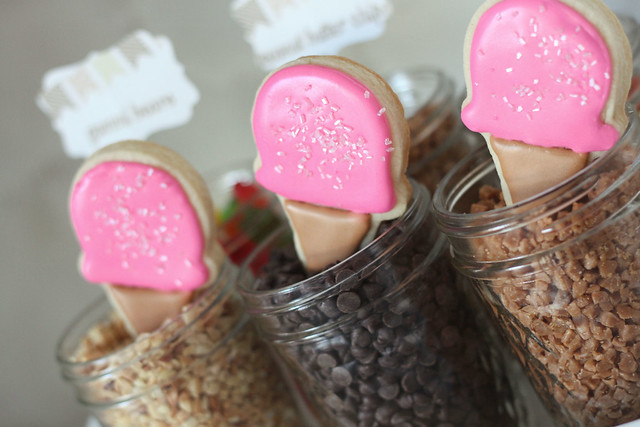
My sister and I baked the cookies together, and then I brought them home for icing. I'm such an amateur cookie decorator that I didn't have many options for tinting the icing pink. All I had was "electric pink" (given to me by my bright-color-loving mama). I kid you not, I put a tiny bit into my white icing and it became bubble-gum. Way to ruin the vintage pastel party, huh? Rolls eyes.
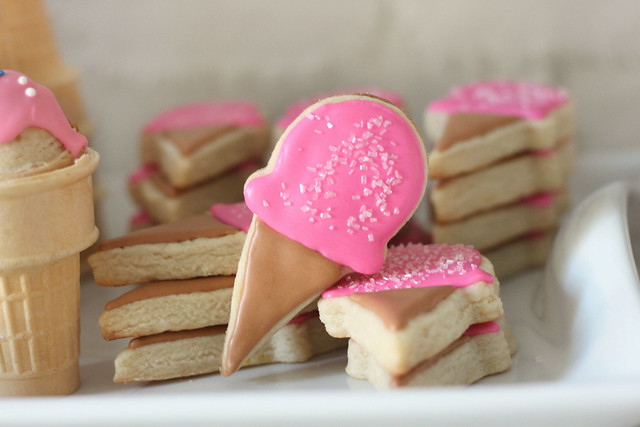
Go figure - I have cute sprinkles, but no proper pink gel coloring. ha.
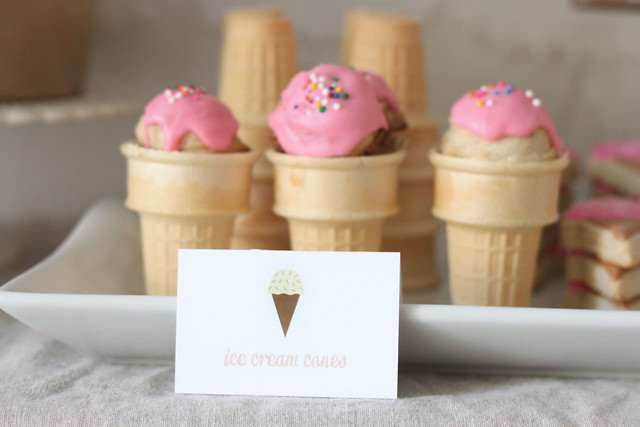
The leftover sugar cookie dough was scraped together and baked to look like ice cream scoops.
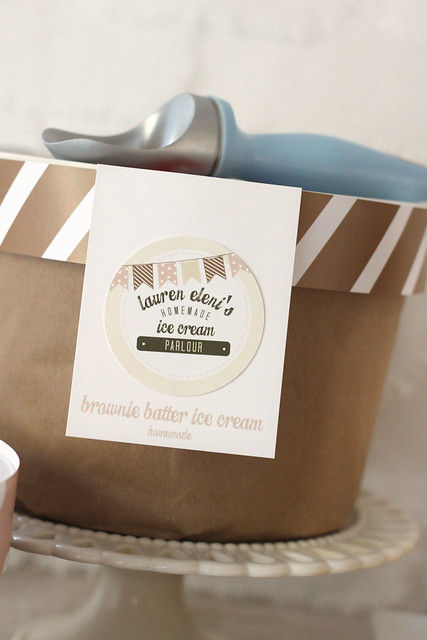
Isn't the label adorable? We wrapped Melissa's huge tubs of ice cream with packing paper, and then added some of the striped paper from her party pack to the lid. Brownie batter ice cream was soooo good. I know you are licking your lips right now...
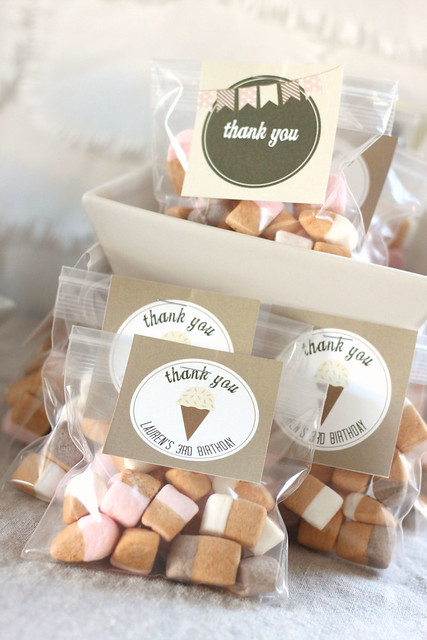
The favors were a handful of ice-cream-shaped marshmallows. The kids were delighted and asked to eat them on their cereal the next morning. I won't tell you what I decided.
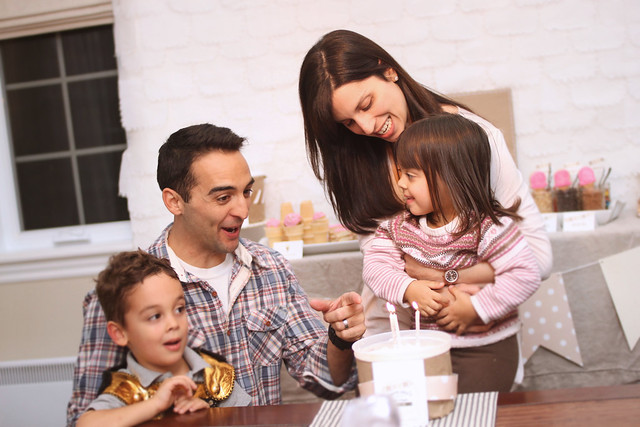
Three candles in a tub of ice cream. It worked out so great. Happy birthday, Lauren!
Monday, October 28, 2013
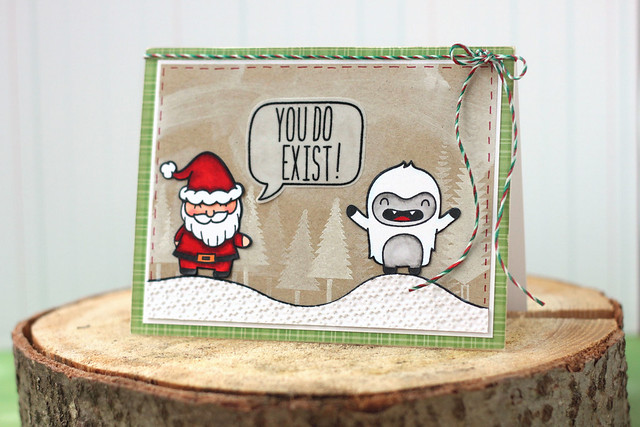
you DO exist!
You may have caught this card on the lawn fawn blog last Friday, but I wanted to share it here as well:
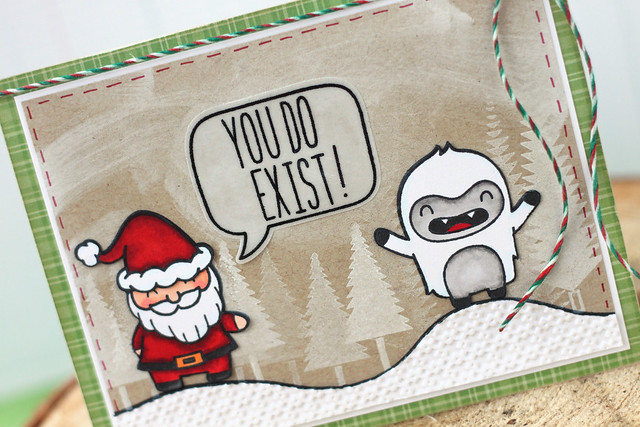
I thought it was pretty funny. I started out by stamping the rolling snow banks and trees from "let it snow," and then went a little wild with the white ink pad. I dragged it across the card and then used a dry paintbrush to swirl the ink around where I wanted it. It was an experiment, but I think it worked out mostly okay here...
I turned my favorite gnome into a santa and stamped out my custom sentiment thanks to Milo's abcs. I black-heat-embossed the sentiment and the speech bubble onto vellum, and then painted the back of the vellum a hazy white (mostly because I just wanted to use my regular glue to adhere it to the card without any unsightly problems.)
I hope you like it! I taught another card class on friday and the girls were all lovin' the yeti! hee hee.
♥.
Friday, October 25, 2013
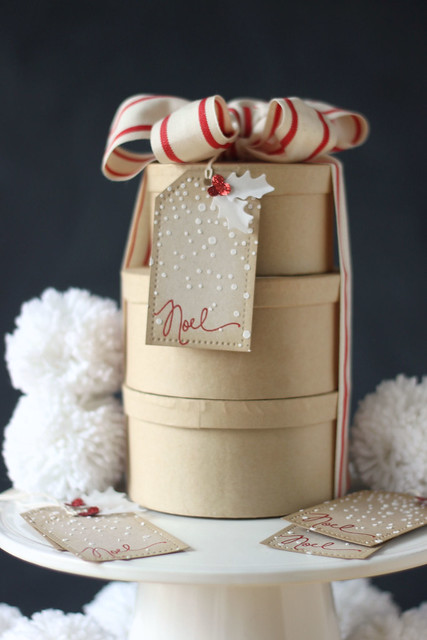
snowy noël {pti blog hop}
Have yourselves a rustic little Christmas.
I love that the PTI blog hop this month is to create a set of 5 tags... everything looks prettier in a set!
Having just gotten some new supplies (this stencil and this embossing paste), I knew immediately what I wanted to create. A very soft, rustic Christmas tag in kraft and red.
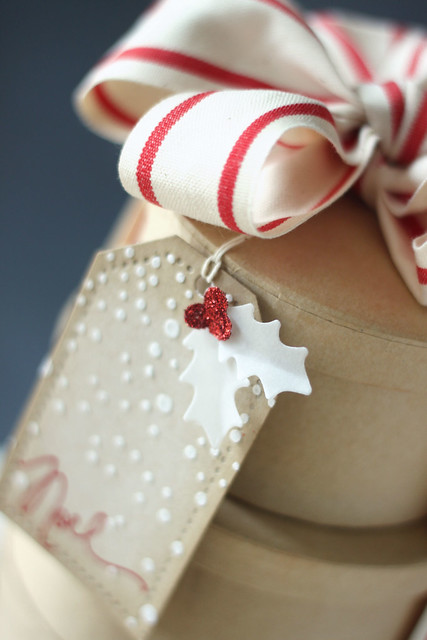
I started out by stamping the "noel" sentiment in "red current" fresh ink. It's a pigment ink (slow-drying) so I had time to throw on some clear embossing powder and heat-set it. I love the bit of added texture it gives the tag. Next, the stencil: I think there's a tool you're supposed to use to spread the paste around, but I just slopped it on with my hands (goodbye, manicure. ha ha) The texture is dreamy, and it doesn't take as long to dry as I thought it would. I left the tags for about 30 minutes and came back to perfectly dried paste.
My favorite part has to be the vellum holly leaves. I cut the berries out of vellum as well and then used a 2-way glue pen to add adhesive before dunking them into some red glitter. Messy, but totally worth it.
That's all for me - have a great day, and happy hopping!
Thursday, October 24, 2013
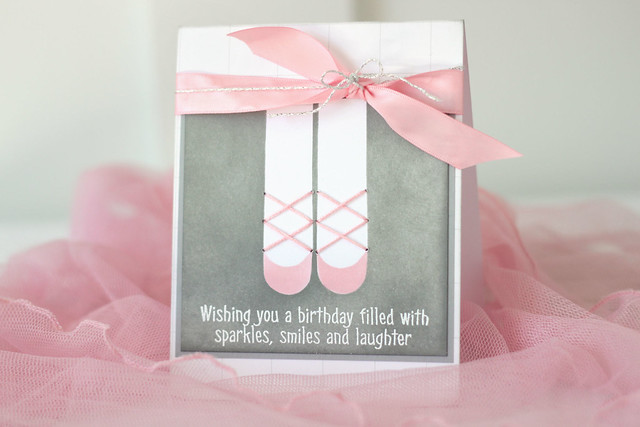
twinkle toes {CASE study}
Hi friends!
This is my 4th week as the CASE study muse, and I'm still enjoying every minute. Have I mentioned that most of my favorite stampers are packed into the CASE study design team?
But enough with the chatter, and onto the card. Here is the inspiration photo:
I wanted to keep the difficulty factor to a minimum... and it is... here are my steps:
1. cut a double-layer of post-it note into a leg-ish shape. separate them and lay them down on the cardstock piece.
2. sponge with a grey ink (I've been getting a lot of questions about what inks I use for sponging. there's no magic in it and I don't stick to only distress inks. here, I've used Stampin Up's "smoky shadow.")
3. take the negatives (from the post-it templates) and also cut off the leg a bit. it's okay, we're making shoes. sponge pink ink into the empty space.
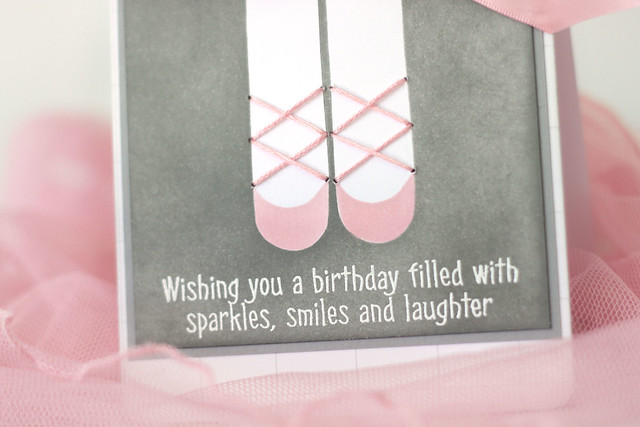
4. put your mat on a piece of foam and pierce holes. use embroidery thread to lace 'em up.
5. white-heat-emboss the sentiment (from Hero Arts' "magical castle") and assemble everything else.
There you go. 5 (easy) steps.
ps, it totally pays to have little girls in the house... a princess tutu was the perfect photo prop.
♥.
This is my 4th week as the CASE study muse, and I'm still enjoying every minute. Have I mentioned that most of my favorite stampers are packed into the CASE study design team?
But enough with the chatter, and onto the card. Here is the inspiration photo:
I created a few dozen ballerina tags for a little girl's 1st birthday party. A lot of sponging and ballerina action. And here is my new take on the photo:
I wanted to keep the difficulty factor to a minimum... and it is... here are my steps:
1. cut a double-layer of post-it note into a leg-ish shape. separate them and lay them down on the cardstock piece.
2. sponge with a grey ink (I've been getting a lot of questions about what inks I use for sponging. there's no magic in it and I don't stick to only distress inks. here, I've used Stampin Up's "smoky shadow.")
3. take the negatives (from the post-it templates) and also cut off the leg a bit. it's okay, we're making shoes. sponge pink ink into the empty space.
4. put your mat on a piece of foam and pierce holes. use embroidery thread to lace 'em up.
5. white-heat-emboss the sentiment (from Hero Arts' "magical castle") and assemble everything else.
There you go. 5 (easy) steps.
ps, it totally pays to have little girls in the house... a princess tutu was the perfect photo prop.
♥.
Wednesday, October 23, 2013
clink! {lawn fawn inspiration week}
Mini sets are IT today! We're showcasing "winter sparrows" and "happy new year."
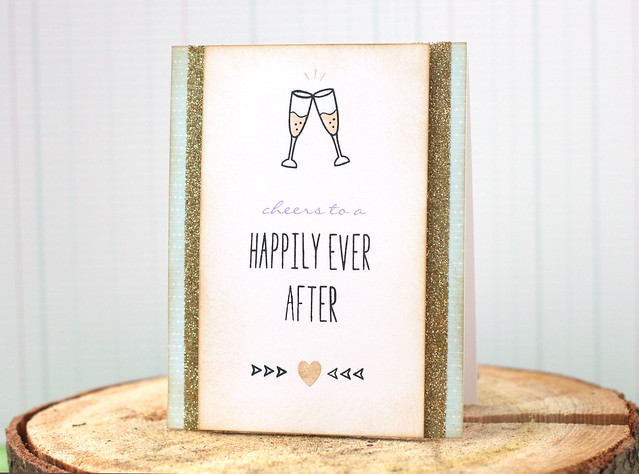
As nice as it is to make new year cards (I usually make none), I do have to make the occasional wedding card. The little glasses are perfect for toasting the happy couple:
I started off by printing the "cheers to a" from my computer. I could have spelled the whole thing out with our amazing alphabet stamps, but I like the mix of fonts. Have printed half of the sentiment, I spelled out the rest with Milo's ABCs, and stamped a few accents at the bottom, to balance the clinking glasses up top.
I hope you like it! Clink (haha, I mean click) over to the lawn fawn blog for more inspiration.
Cheers!
Tuesday, October 22, 2013
I will feel a glow {lawn fawn inspiration week}
Another day of lawn fawn inspiration week, and we're showing off the mini set, "winter in the park."
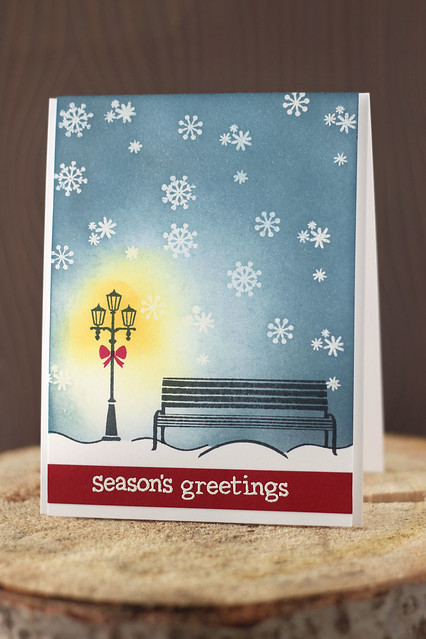
This is a card that would be easy to reproduce for the holidays. Except that your fingers will be very inky. Mine were a beautiful deep blue for the rest of the day.
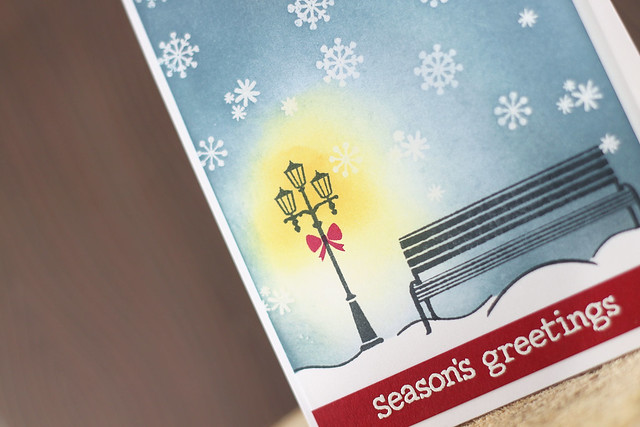
I stamped and heat-embossed the snowflakes (with clear embossing powder) and stamped all of my images as well. (the snowbanks were created with the wavy lines included in the set.) I masked off the snowbank only, and sponged blue ink over the rest of the mat. I avoided the lamppost, since I was planning on coming back in with a yellow ink... there's something romantic about that yellow glow. I'm feeling a Sinatra-vibe with this one.
I hope you like it! Pop over to the lawn fawn blog to see more with this set.
♥.
Monday, October 21, 2013
warmest wishes.
It's time for another lawnscaping challenge! The lawnscaping team is challenging you to be inspired by something on the web (it doesn't have to be pinterest) and then show off your inspiration photo as well as your own creation.
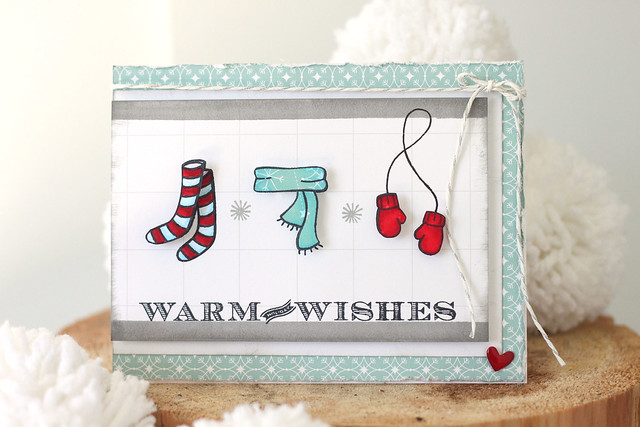
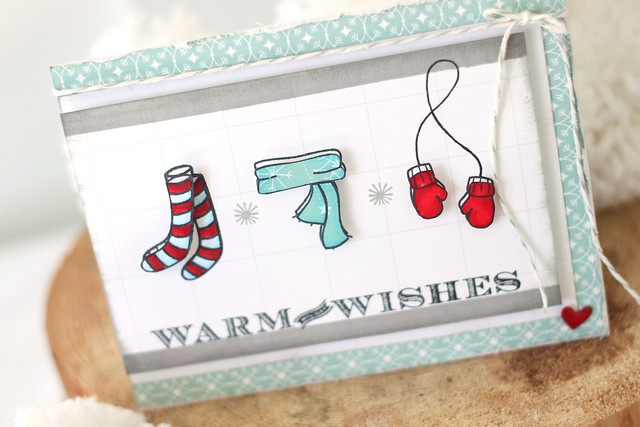
I used the socks from "my silly valentine," the scarf and mittens from "making frosty friends," and the little snowflake from "let it snow." The sentiment is from papertrey ink, the twine is from lawn fawn, and I added a stripe of grey copic coloring at the top and the bottom of the white mat.
I hope you like it! Play along with us, you could win a fawnie prize!
With my Christmas card classes happening every friday night, (click!) I am in a holly jolly cardmaking mood almost all the time.
My favorite online place for holiday card inspiration is "Minted." A few of my recent christmas cards were borne out of a little browsing through their selection of non-photo holiday cards. Like, this:
I wish lawn fawn had a little sweater image! But, I made do:
I used the socks from "my silly valentine," the scarf and mittens from "making frosty friends," and the little snowflake from "let it snow." The sentiment is from papertrey ink, the twine is from lawn fawn, and I added a stripe of grey copic coloring at the top and the bottom of the white mat.
I hope you like it! Play along with us, you could win a fawnie prize!
♥.
Sunday, October 20, 2013
An ugly sweater of a card.
Hi friends!
This post kicks off October's edition of lawn fawn inspiration week for me. Today, we're showcasing lawn cut dies for older essentials: winter bunny, making frosty friends, and winter owl.
My offering is completely tongue in cheek:
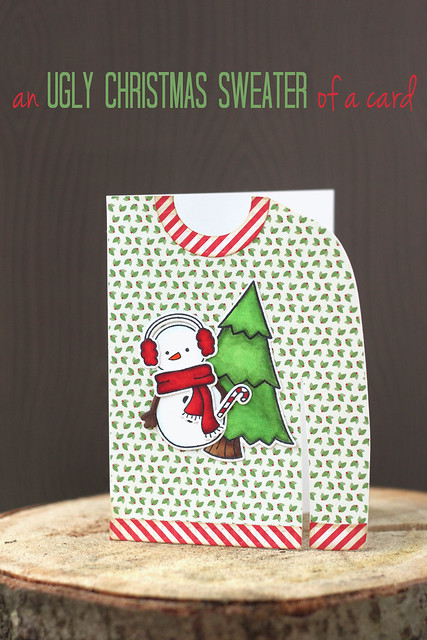
Pattern overload, and oversized images... it's so ugly it's cute. I've always wanted to convince my family to do an ugly sweater party for Christmas, but we're too immigrant for that... my parents always gave me raised eyebrows and changed the subject. I wonder if we'd even find very many kitchy sweaters at our local thrift stores... stay tuned *wink*
My favorite part is the candy cane in frosty's twiggy hand. Let's pretend I'm a knitter who decided that the stripes of the candy cane would be a nice compliment to the the sweater's trim... ha.
Click over to the lawn fawn blog for more inspiration!
♥.
This post kicks off October's edition of lawn fawn inspiration week for me. Today, we're showcasing lawn cut dies for older essentials: winter bunny, making frosty friends, and winter owl.
My offering is completely tongue in cheek:
Pattern overload, and oversized images... it's so ugly it's cute. I've always wanted to convince my family to do an ugly sweater party for Christmas, but we're too immigrant for that... my parents always gave me raised eyebrows and changed the subject. I wonder if we'd even find very many kitchy sweaters at our local thrift stores... stay tuned *wink*
My favorite part is the candy cane in frosty's twiggy hand. Let's pretend I'm a knitter who decided that the stripes of the candy cane would be a nice compliment to the the sweater's trim... ha.
Click over to the lawn fawn blog for more inspiration!
♥.
Friday, October 18, 2013
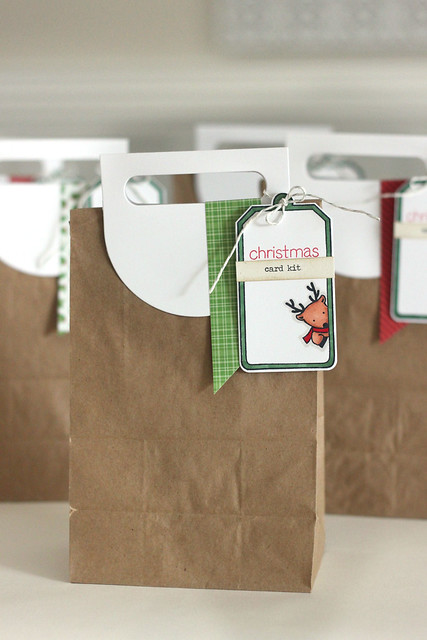
Card class kits.
It's Friday, baby! And every Friday evening from now until early December will be giggly and crafty and christmas-y. I am running Christmas card-making classes out of my home (since the cute eight year old with the walker can't make it out to the Awana clubs at church with the other two.)
I had all the card pieces cut for our class tonight when I spied the new challenge over at CAS-ual fridays.
Sooo, I decided to fancy-pants the kits for tonight's class. I can't promise the same treatment for future classes, by the way. haha.
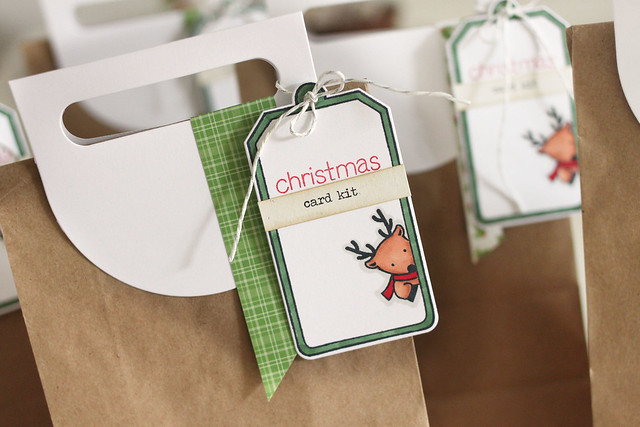
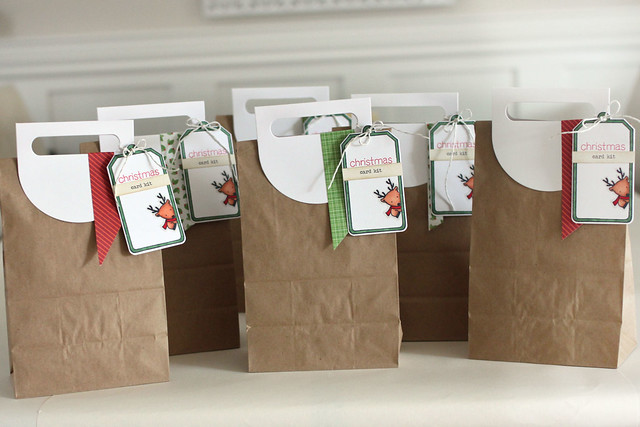
I popped everything that my crafters will need to complete 4 cards into 4 separate envelopes (because, organization is my sanity-saver during class time) and into a brown lunch bag. Each bag got its own handles and a coordinating tag.
When I'm making duplicates, I don't fuss with tiny alphabet stamps. The words "card kit" were printed out and I stamped that Mama Elephant critter so I wouldn't even have to mask anything.
If you want to see a sneak peek of how everything looks all set up on the table for tonight's class, visit my facebook page (click!) I'm always excited to teach a little of what I know and enjoy the company of old and new friends alike!
♥.
Thursday, October 17, 2013
a woodsy CASE (with a free download!)
Are you ready for another CASE study?
I still love everything about that invitation (click!) and the matching woodland party (click.) Anything woodsy tickles my fancy (you've probably noticed that I shoot all of my cards on tree stumps - ha.)
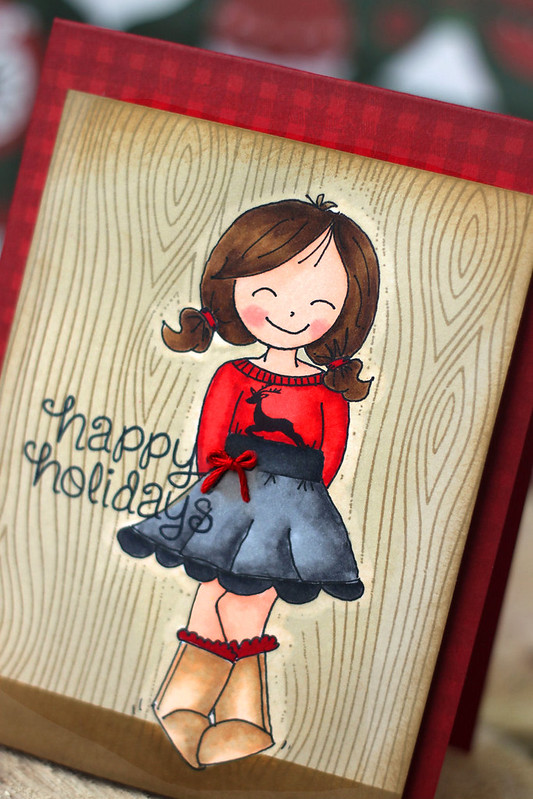
For my 3rd week as the CASE study muse, I wanted to try something a little different:
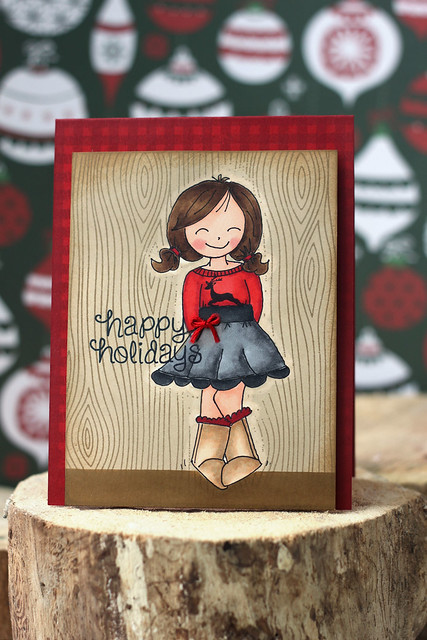
Here's what I picked up from the original invitation: the gingham (more muted this time around, with red ink stamped onto a red card base) and the woodsy background (from birch to a regular woodgrain, but still...) Instead of the original twine, I used a red embroidery thread on my girl's skirt.
I hope you like my antsy lady - doesn't she look like she's standing on tip toes, waiting for Christmas fun? I drew her myself using a skinny copic multi-liner, colored her in with copics and added a tiny reindeer stamp to her sweater.
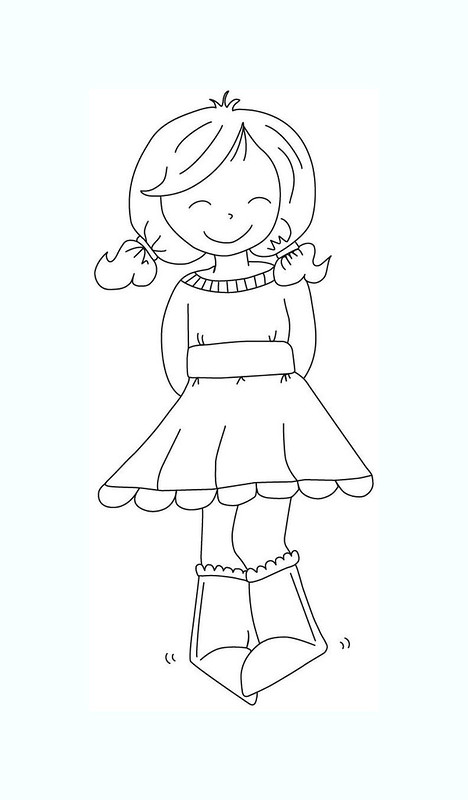
I'm offering her to you sans reindeer, so that you could use her for whatever occasion you'd like. Click *here* to right-click and save the full-res version to your own computer. (If you run into problems, or it doesn't work for you for whatever reason, please let me know! I've never offered anything like this before, but I'd like to do it again from time to time.)
A huge thanks to my friend Philana for cleaning up the image for me so that I could gift it out today.
♥.
I still love everything about that invitation (click!) and the matching woodland party (click.) Anything woodsy tickles my fancy (you've probably noticed that I shoot all of my cards on tree stumps - ha.)
For my 3rd week as the CASE study muse, I wanted to try something a little different:
Here's what I picked up from the original invitation: the gingham (more muted this time around, with red ink stamped onto a red card base) and the woodsy background (from birch to a regular woodgrain, but still...) Instead of the original twine, I used a red embroidery thread on my girl's skirt.
I hope you like my antsy lady - doesn't she look like she's standing on tip toes, waiting for Christmas fun? I drew her myself using a skinny copic multi-liner, colored her in with copics and added a tiny reindeer stamp to her sweater.
A huge thanks to my friend Philana for cleaning up the image for me so that I could gift it out today.
♥.
Monday, October 14, 2013
yummy thanksgiving place-cards.
Happy Canadian Thanksgiving!
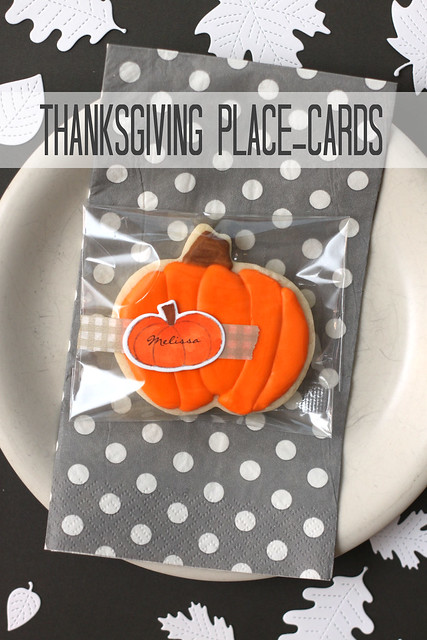
I know I am too late to inspire my Canadian friends this year, but you Americans still have a month to think about pretty-ing up your thanksgiving table. I don't usually go overboard. Last year I gathered twigs and hot-glued them together as a stand for very simple place-cards. This year, I was in the mood for something yummier:
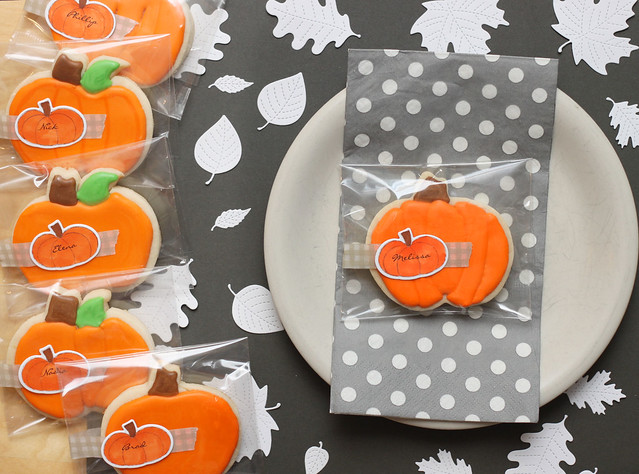
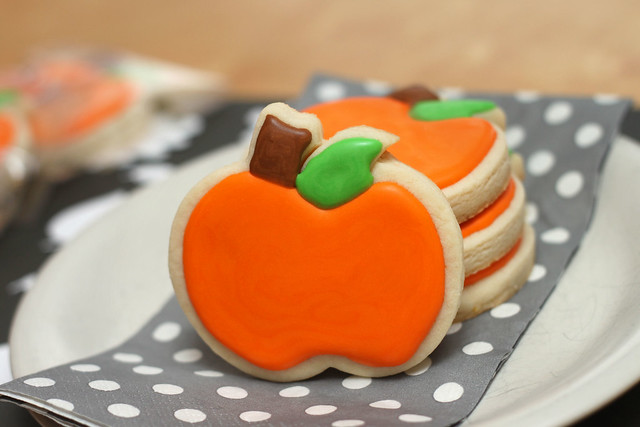
Pumpkin cookies, matching stamps and some washi tape. It's a simple design, but I didn't want to make anything fussy or very time-consuming this year.
For the stamped pumpkins, I computer-generated the names and used lawn fawn stamps and dies (click here!)
My cookies are so simple. But I'm thrilled at how much cleaner my piping looks! I tried out some texture on a few of them, but made this simple version for most of them. My friend Marlyn (Montreal Confections) taught me everything I know so far - here's the tutorial for how to make the royal icing:
We have so much to be thankful for this year! Cheers to counting our blessings, and stuffing our faces full of turkey, sweet potatoes and apple pie.
♥.
Friday, October 11, 2013
gingerbread house turned winter cottage.
Happy Friday, all!
I'm so thrilled to be guesting with the Festive Friday gals today... and the inspiration photo was right up my alley:
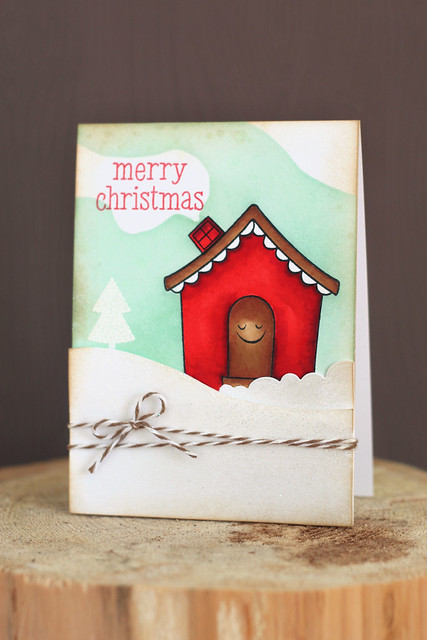
Here's what I did: I started out by stamping the gingerbread house (but I wiped the ink off of the doorknob before stamping down because I really wanted to add a smiley face instead) and masked it. Next, I stamped the window image to make it look like a chimney. Masked that. The smokey haze was created by cutting out random shapes to lay down as masks before swiping aqua ink over the entire area.
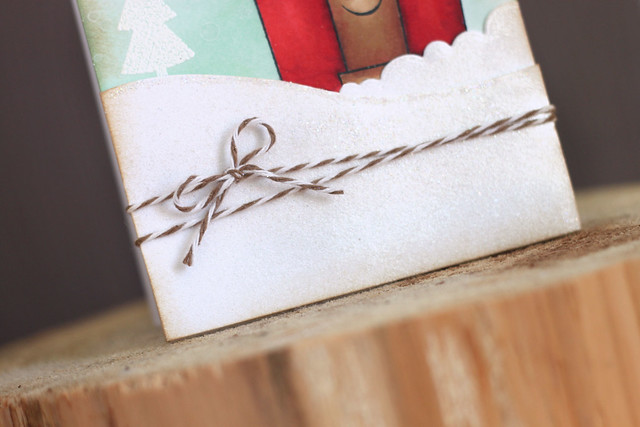
Some glittery snow banks and cozy twine finished things off.
I hope you like what I've created! Head over to the Festive Fridays blog to see what the rest of their design team created.
♥.
I'm so thrilled to be guesting with the Festive Friday gals today... and the inspiration photo was right up my alley:
My first instinct was (obviously) to reach for lawn fawn's gingerbread house image... but the results may be a little unexpected:
Here's what I did: I started out by stamping the gingerbread house (but I wiped the ink off of the doorknob before stamping down because I really wanted to add a smiley face instead) and masked it. Next, I stamped the window image to make it look like a chimney. Masked that. The smokey haze was created by cutting out random shapes to lay down as masks before swiping aqua ink over the entire area.
Some glittery snow banks and cozy twine finished things off.
I hope you like what I've created! Head over to the Festive Fridays blog to see what the rest of their design team created.
♥.
Thursday, October 10, 2013
it's what's inside {CASE study}
It's time for another CASE study, where the muse is (me, haha, and specifically) this photo:
Just so you know, my matryoshka doll cards are probably still my fave. I may never make anything that awesome ever again.
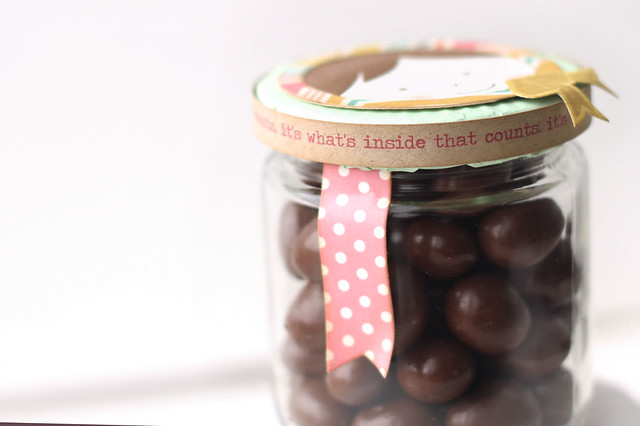
It may be too hard to see from this teeny photo, but if you click over to the original post, you'll see that the sentiment on that banner reads "it's what's inside that counts." (get it? GET IT???) I sort of ran with that.
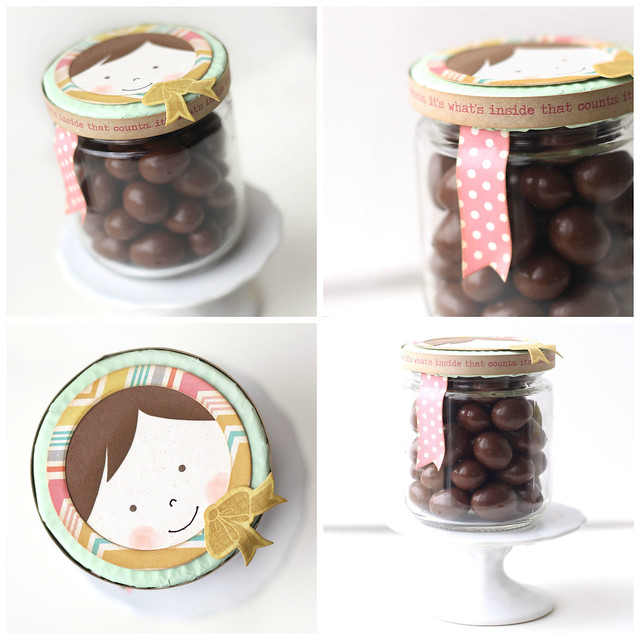
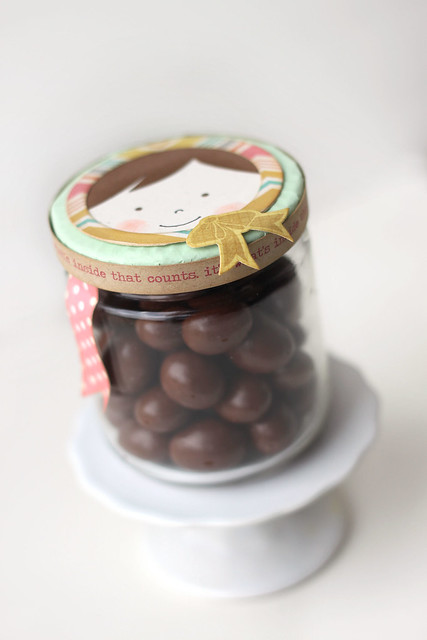
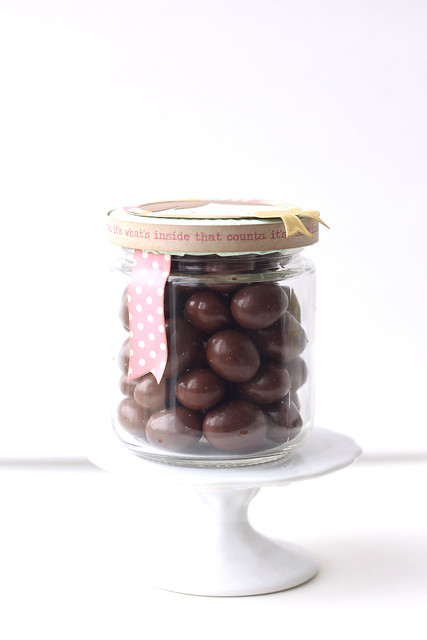
I hate to show up anywhere empty-handed, especially if I'm calling on a favor, so I whipped up a treat jar for my friend Philana, who's as lovely as the wrapping, and just as sweet as what's inside. (And by the way, what's inside is chocolate covered almonds - how's that for a something inside a something? I'm annoying like that. you're welcome.)
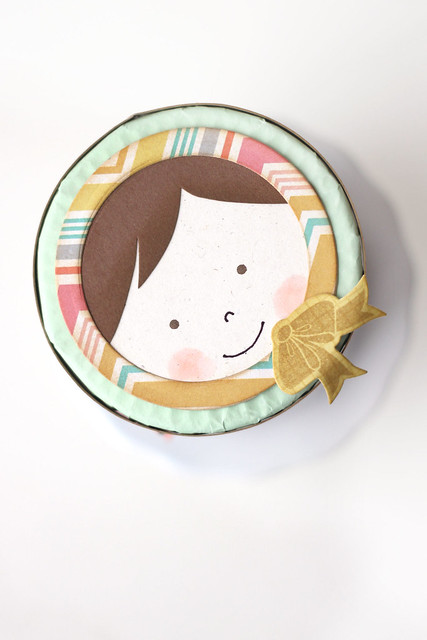
The original russian doll got a modern kind of makeover. I used circle dies for the head and head-wrap parts, tiny dot stamps for the eyes and free-handed the rest.
The jar was an old jam or something-or-other jar. Do you keep yours? I love having a bunch on-hand for gifting. I grabbed a minty-colored-cupcake-wrapper and covered the ugly lid before adhering my lady to the top and the sentiment all around. The little polka flag hanging off the side was for extra flair. ha.
I hope you like my CASE of myself! And, I hope you decide to play along. I loved seeing what you made last week and I hope to get around to commenting a lot more this week!
♥.
Subscribe to:
Posts (Atom)