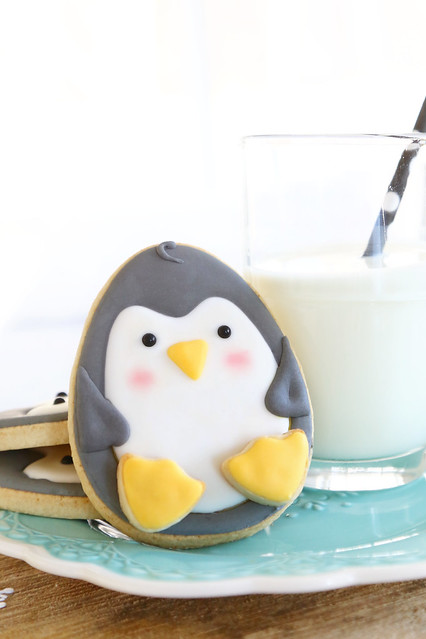
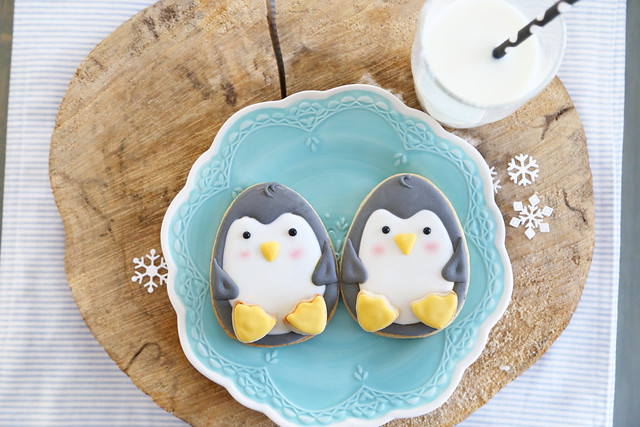
I am so excited to be working on a project with Marlyn again, the amazing cookie decorator also known as Montreal Confections. She decorated these adorable cookies, to look like the penguins from Lawn Fawn's Toboggan Together.
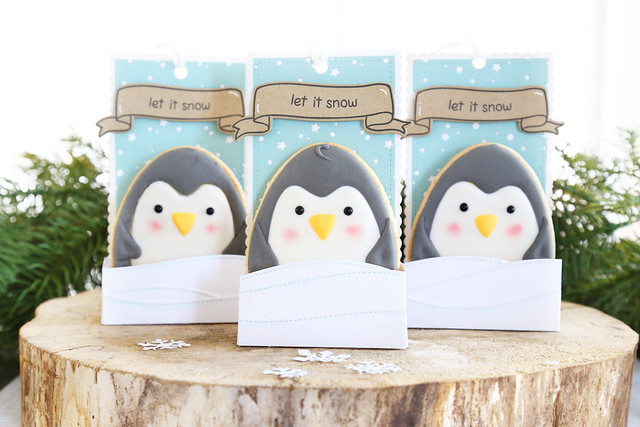
We came up with the idea of making a larger cookie, and creating a paper holder for it, so that it can be discovered on Christmas morning, hung on the Christmas tree. My kids would go nuts for this!
Marlyn made a video showing step-by-step how to decorate this cute penguins - click! and I made the paper holders to go along with, using Lawn Fawn products.
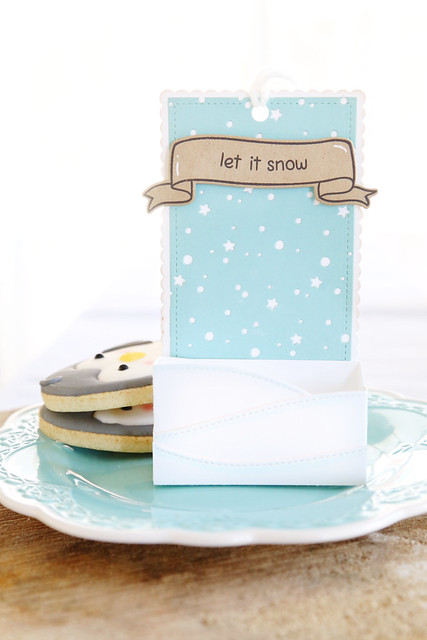
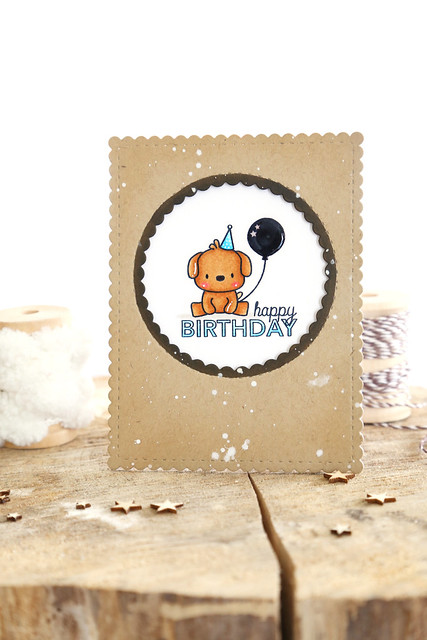
I didn't want to hide too much of the cookie, but I wanted to create a little something that would securely hold the cookie and look festive and cute! The fun part about this diy project, is that you could use whatever colors you want, to match your tree. I went with cool colors here, but the snowy backdrop would look adorable in other colors. I recently made a card where I cut it out of kraft paper (click!)
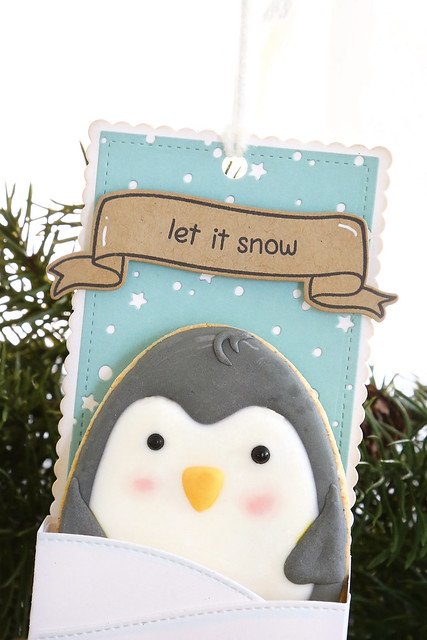
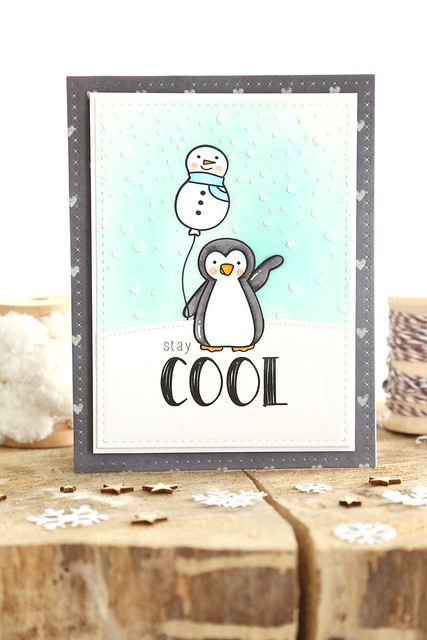
The first thing I did was to create the backing. I used the partial die-cut technique, careful to match up the scallops when I ran the die through again to make it thinner. I then cut a rectangle with the snowy backdrop die using the same technique. It makes everything look festive. The sentiment is from Critters of the Arctic and I stamped it into a Bannerific banner.
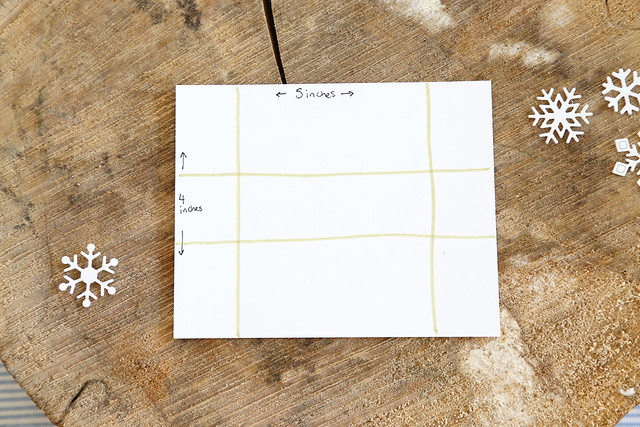
To hold the cookie, I created a quick box. I started with a sheet of cardstock measuring 4 inches by 5 inches. I then scored at 1" on the short sides and 1.5" on the long side.
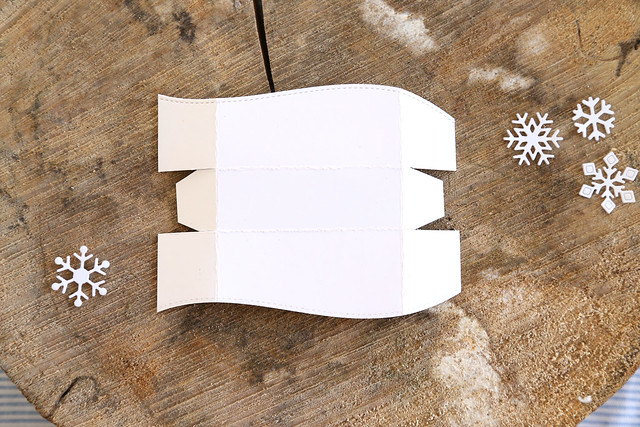
This next step is completely optional, but it adds such a special quality to the box! I used a snowdrift die on the top and bottom of the box, and cut the flaps as shown in the photo. You may need to trim down the middle flap, as shown, but it really depends on the angle of your snowdrifts. Once the box is assembled, you can adhere it to the long rectangular backing, and add additional snowdrifts to dress up the front if you so desire. I like 3 snowdrifts myself.
Once everything is assembled, pop your rosy-cheeked penguin cookie inside, punch a hole at the top and string him onto your tree. Isn't he cute? I love that the paper parts can be made from now, and the cookies can even be made and frozen so that the only thing you're doing on Christmas Eve is the cookie decorating. What a fun surprise for the kids to wake up to!
Thank you so much for your adorable cookies, Marlyn! nom, nom, nom. Don't forget to check out her YouTube video showing how to decorate these cutie penguins - click!
♥.

We came up with the idea of making a larger cookie, and creating a paper holder for it, so that it can be discovered on Christmas morning, hung on the Christmas tree. My kids would go nuts for this!

Marlyn made a video showing step-by-step how to decorate this cute penguins - click! and I made the paper holders to go along with, using Lawn Fawn products.
I didn't want to hide too much of the cookie, but I wanted to create a little something that would securely hold the cookie and look festive and cute! The fun part about this diy project, is that you could use whatever colors you want, to match your tree. I went with cool colors here, but the snowy backdrop would look adorable in other colors. I recently made a card where I cut it out of kraft paper (click!)
The first thing I did was to create the backing. I used the partial die-cut technique, careful to match up the scallops when I ran the die through again to make it thinner. I then cut a rectangle with the snowy backdrop die using the same technique. It makes everything look festive. The sentiment is from Critters of the Arctic and I stamped it into a Bannerific banner.

To hold the cookie, I created a quick box. I started with a sheet of cardstock measuring 4 inches by 5 inches. I then scored at 1" on the short sides and 1.5" on the long side.

This next step is completely optional, but it adds such a special quality to the box! I used a snowdrift die on the top and bottom of the box, and cut the flaps as shown in the photo. You may need to trim down the middle flap, as shown, but it really depends on the angle of your snowdrifts. Once the box is assembled, you can adhere it to the long rectangular backing, and add additional snowdrifts to dress up the front if you so desire. I like 3 snowdrifts myself.
Once everything is assembled, pop your rosy-cheeked penguin cookie inside, punch a hole at the top and string him onto your tree. Isn't he cute? I love that the paper parts can be made from now, and the cookies can even be made and frozen so that the only thing you're doing on Christmas Eve is the cookie decorating. What a fun surprise for the kids to wake up to!
Thank you so much for your adorable cookies, Marlyn! nom, nom, nom. Don't forget to check out her YouTube video showing how to decorate these cutie penguins - click!
♥.

