Showing posts with label say cheese. Show all posts

Monday, May 19, 2014

life is good! {lawn fawn inspiration week}

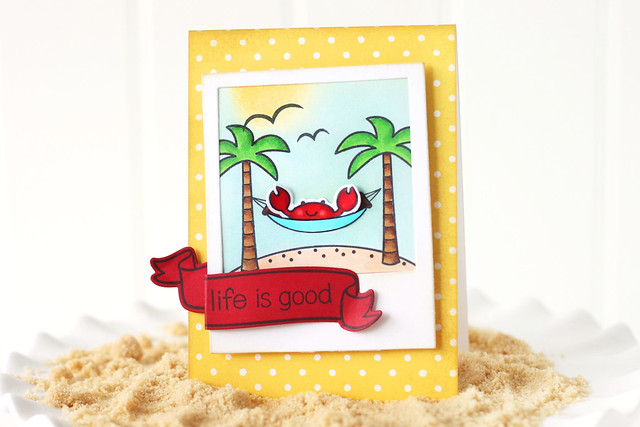
Are you loving the new lawn fawn release so far?  Today, we're putting you in a beachy state of mind (it has to be a state of mind, because the temperatures haven't quite warmed up in Montreal yet.)

life is good! {lawn fawn inspiration week}

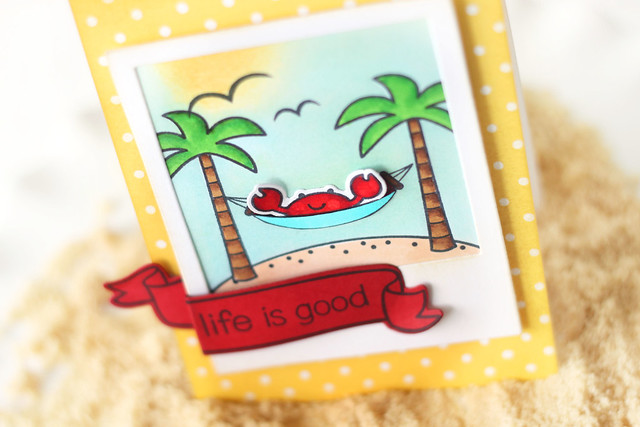
I absolutely love this set! I couldn't pass up using that cute crab, but the sandcastle and other elements are perfect for summer. I see a beach-themed lawn fawn party in my future.

I used the say cheese lawn cut, and built a snapshot of summer within its frame.  Because, isn't that what vacations are really for? making people at home feel jealous with amazing pictures? ha.

life is good! {lawn fawn inspiration week}

The crab in the hammock is my fave.

Click over to the lawn fawn blog today to see more amazing projects by the design team!

♥.

Wednesday, June 12, 2013

i sent your gift by turtle {lawn fawn inspiration week}

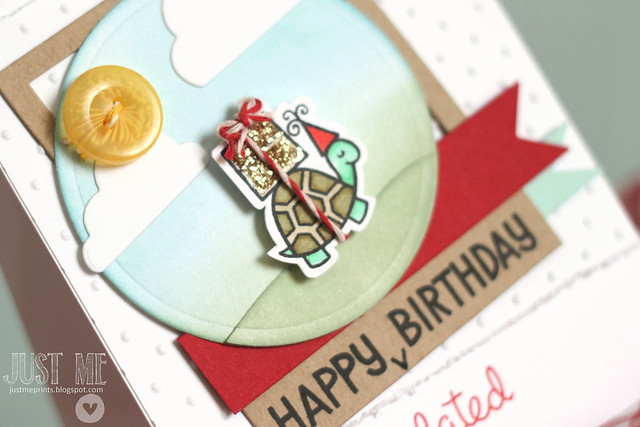
Welcome back to another day of lawn fawn's inspiration week!  A bitty set can still pack a huge punch - today we're showcasing "year two," a belated birthday set since lawn fawn released it a year late.  I love that.

i sent your gift by turtle...


If you send a gift by turtle, it's bound to arrive late...

I stamped the turtle, his birthday hat, and the gift onto a piece of white cardstock and then cut them out as one unit.  If you're like me and pretty bad at fussy-cutting, here's a tip (works for me, so it might work for you): I grab a pencil and lightly draw an outline around the image.  I can fix it so it looks right before grabbing my scissors and cutting on the line.  For some reason, cutting on a line is much easier than eyeballing an imaginary border...  just don't forget to erase the line when you're done!

i sent your gift by turtle...

I hand-drew a little arrow pointing down to the word "belated."  Nothing too complicated...

i sent your gift by turtle...

At least the belated present is glittery.  That should make it all better *wink*

I hope you like what I've created today!  Check out the lawn fawn blog for more inspiration!

Friday, June 1, 2012

olive you.

When one of your bffs asks you to create a card with an olive-theme for her 6 year old to give to her lunch monitor at school's end, you say yes.  You don't even think about how you don't have an olive stamp.  There must be a digital stamp online that would work, right?

When I didn't find anything online that I liked, I decided to get a bit creative.


Kind of swanky for a 6 year old, right? ha.  Just focus on the olive :)

Here's how I made it:  I found a balloon stamp (from an old Clear and Simple Stamps set - I couldn't find it online to even tell you its name)...see the one I mean - with the arrow pointing to it?


I stretched it a bit on my clear block to create more of an "olive-y" shape, and left out the balloon "nub" when stamping it.

Do you see the olive?  Lastly, I found a tiny heart (from lawn fawn's "love and breakfast") for a cute red pimento.


With a little coloring, I give you my olive:

I don't usually post tutorials to the blog, but tell me what you thought of this mini one!  I'd like to start doing these a little more often :)


Olive you!

Thanks for peeking and have a great weekend!

Friday, November 4, 2011

Christmas case

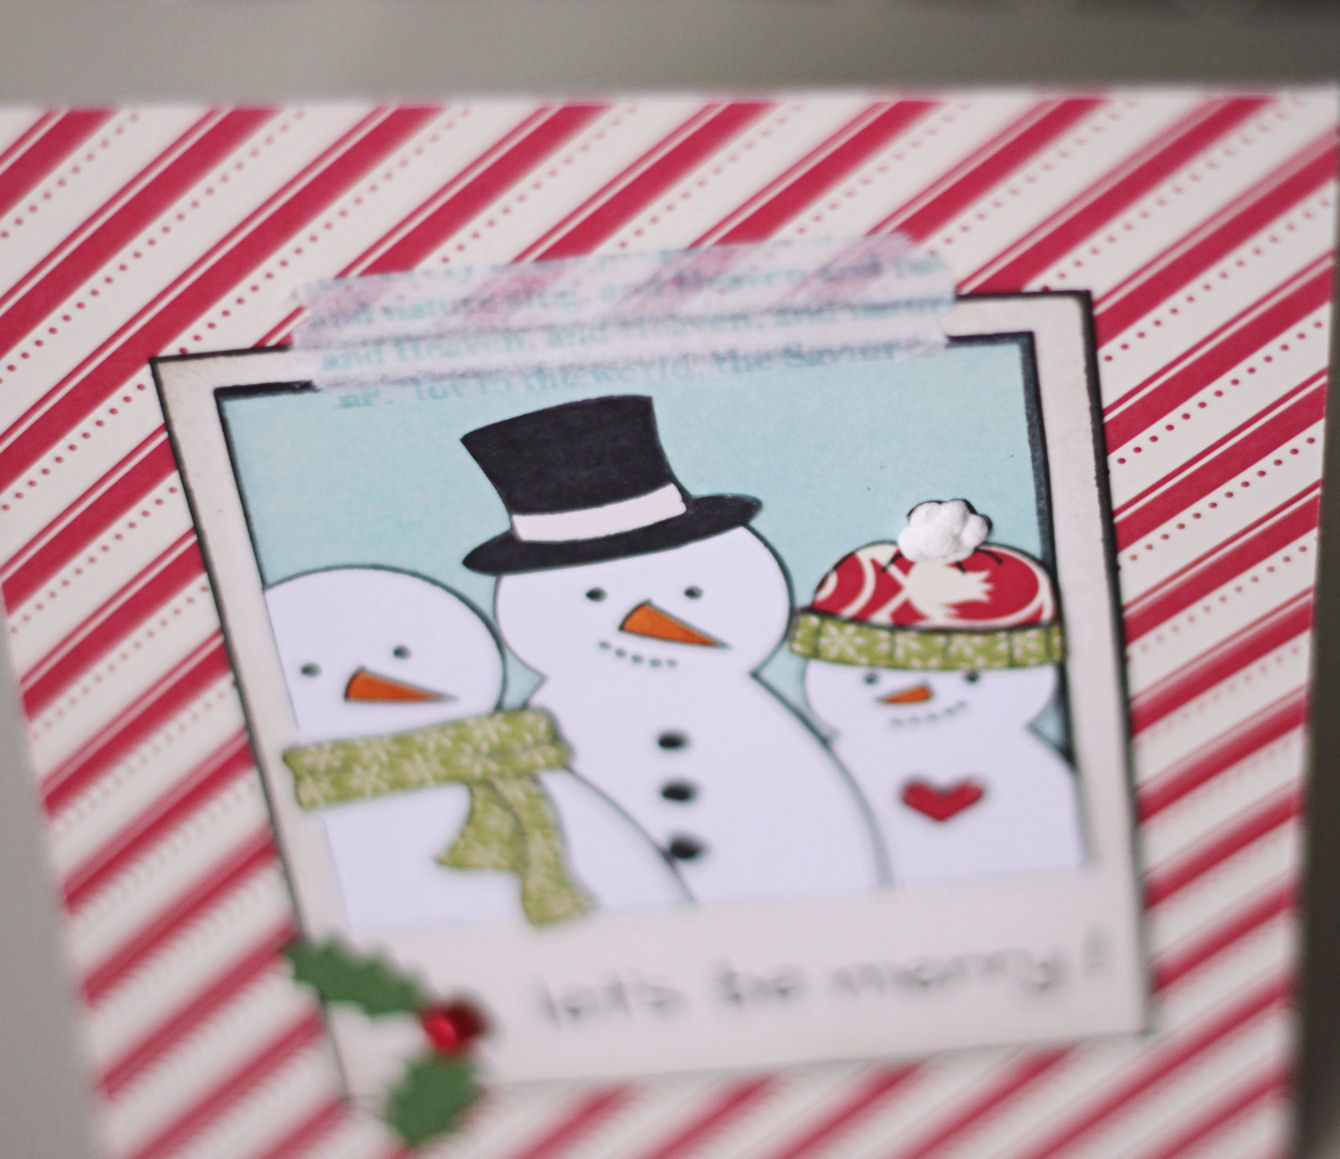
I saw a cute little trio of snowmen scrunched together in a frame on the lawn fawn blog this morning, and I just had to use it as inspiration for my own Christmas card:


my favorite part?  The liquid applique on the smallest snowman's hat, so it actually looks like a fuzzy pompom...

Come back tomorrow to see more lawn fawn cuteness!


stamps: (all lawn fawn) making frosty friends, cozy christmas, say cheese
papers: patterned papers - SU, vinntage cream - PTI
misc: holly jolly die (PTI)

Tuesday, October 18, 2011

Play date cafe challenge #103

Here are the challenge colors and inspiration board for the new PDCC:


Am I the only one who looked at the inspiration photos and thought "mmmm.... tangerines...." hee hee!

Full disclosure: I *apparently* find it much easier to work with a sketch, rather than colors.  But that's why it's called a challenge, right?  My card went through a few incarnations before turning into this beauty:


You know when you work hard for something?  I hustled for this card, and I love it.

I started out with a piece of white cardstock, and stamped rows of the camera image from amy tangerine's "lovestruck" set to make my patterned paper.  The hearts all got colored with a navy marker.


Next, on the polaroid image (from lawn fawn's "say cheese"), I masked the white surround so that I could stamp inside the picture area.  I first stamped the hero arts clouds background (in stormy sky distress ink) and then stamped over that with SU's "good grid" in basic grey ink.

The polaroid camera was stamped onto basic grey paper, and given some dabs of color.  I also put some glossy accent on the lens area.  See how it shines?


The sentiment was created with lawn fawn's "smitty's abcs" set, and the faux-washi tape was made using PTI's  tutorial - seriously, if you haven't checked that out, do so.  Here's a link to the card I made for that week's challenge (which links back to their tutorial).

I hope you like this card as much as I do!  Thanks for looking!

Friday, September 9, 2011

lawnscaping blog hop - celebrate the holidays!

I am so very excited to be participating in the first-ever lawnscaping blog hop!  I adore my lawn fawn stamps, with all of their crittery cuteness... and what better theme than the holidays?


You should be hopping over from Jess Larsen's blog - so glad you made it here!

I skipped right ahead to Christmas.  I thought about Thanksgiving and Halloween, but really?  I have a Christmas DIY list a mile long (including making a black apple doll for each of my 3 kids - oy!), so I might as well get started on the cards at least!


I really wanted to create a polaroid scene using "cozy christmas" - that little fire is so darn cute!  It took a good amount of masking to keep it all 1-layer, but it was worth it.  Oh, and the first thing my hubby said was "why did you stamp the fireplace crooked?"  Seriously? Who takes a perfectly straight photo?  That just wouldn't be true-to-life.  (My life, at least - and exhibit A is the photo of my card...)


The images were all colored in with Copic markers - in my very simple style... And, in case you were curious, the patterned papers are from Basic Grey's "jovial" collection and the leaf shape is from a Martha Stewart punch.

Now you're off to visit Barb Murphy's blog.  If you get off track, don't worry!  Head back to the lawnscaping blog for a complete list of all the designers, and also for the details of all the prizes to be won! So don't forget to comment on all the blogs for your chance to win!

Before you go, the yellow lightbulb would like to say goodbye :)


Thanks for visiting!

Thursday, August 4, 2011

say cheese!

Excuse me while my photo develops...


Eeek!  I had the idea of making my own little polaroid picture - what do you think?  The one that comes with the "say cheese" set (lawn fawn) is too big for the camera to spit out!  I drew and cut the tiny polaroid out and then stamped on it using PTI's tiny treats: birthday images.  Some distressing around the cake helped to define the "picture area."  I cut a slit into the camera using a craft knife and mounted that layer onto my card with foam tape so that the recipient of this card could "play" with it a bit!

Have a great day!

Monday, July 11, 2011

stamp it!

Is it Monday already?

In my neck of the woods, we enjoyed 2 long weekends in a row, which completely spoiled me... I might have to stay in my sweats (cute hot pink ones from Old Navy, at least!)... you know, in protest of the fact that today is a real day...

One thing that does make my morning better... the Moxie Fab World: Stamp it! challenge.  I mean, what's not to love about a stamped card?

enjoy the ride!

I borrowed lawn fawn's "say cheese" set from a crafty friend, and had to put it to use!  This card is all about masking, and layering images.  I first created a mask of the polaroid frame to be able to stamp the ferris wheel inside (from "admit one").  Next, I created masked for the ferris wheel and clouds (from PTI's up up and away) and lightly sponged a blue sky.  I also stamped the Hero Arts envelope pattern background overtop (my favorite thing to do lately).  I colored in the ferris wheel with copics, but simply (no shading at all).

The tickets were stamped onto white card-stock and stamped with the same Hero Arts background.  Every layer was then distressed with antique linen distress ink.  Even the patterned paper mat, which was first stamped with the ticket image.

Thanks for looking!