Showing posts with label admit one. Show all posts

Sunday, May 18, 2014

Chit Chat {lawn fawn inspiration week}

Welcome back to another day of lawn fawn's summer release inspiration week! I hope you like what you've seen so far! Today, we're showing off a fun speech bubble set, apty named "chit chat."

chit chat {lawn fawn inspiration week}


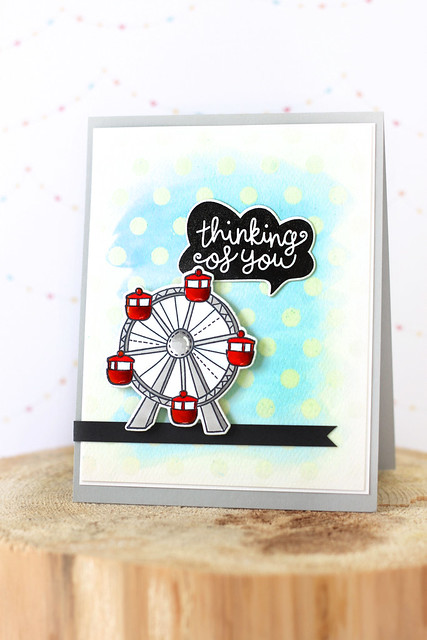
This card is the only proof that I've enrolled into the online watercolor class. I am so behind, but will definitely catch up soon - it's such an amazing class! I was working on my design team assignments and watching day 1 or day 2 of the videos when I decided to watercolor the background.

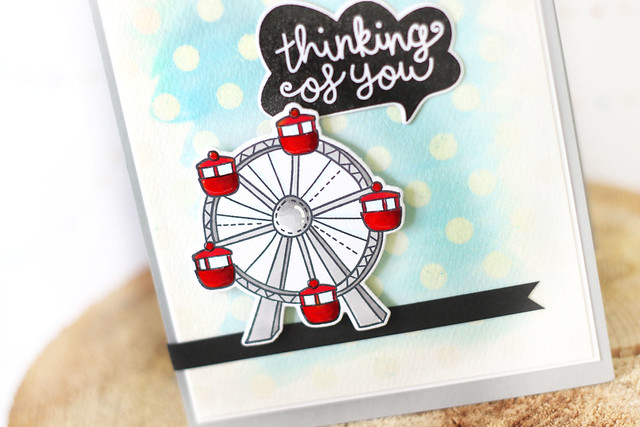
I started out with a polka dot stencil (from Simon Says Stamp) and squished versamark ink into all of the crevices before heat embossing the pattern with clear embossing powder.  Then, I went over the entire thing with some blue watercolors.

chit chat {lawn fawn inspiration week}

I paired the "thinking of you" bubble with the ferris wheel, and added glossy accents to each ferris wheel compartment. I wish I had a better picture of that.

I hope you like the card!  There's more chit chat over on the lawn fawn blog!

♥.

Monday, June 17, 2013

round and around and around and around we go.

****If you're looking for my new-release-CSS post, just CLICK****

It's time for a new lawnscaping challenge:


I love that little inspiration thumbnail!

This is what I created to (hopefully) further inspire you:

round and around and around around we go.

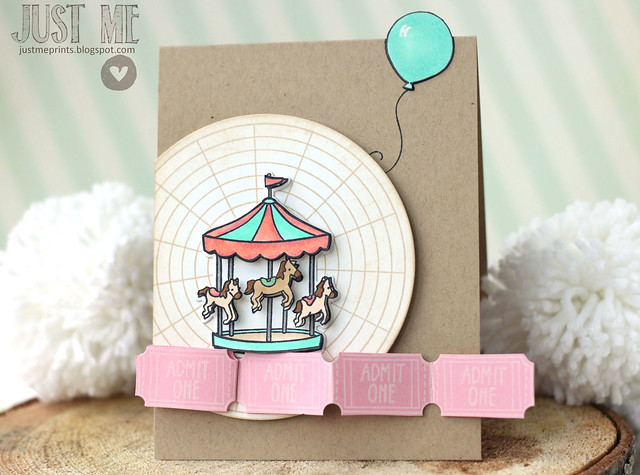
I used "admit one" to create a card that is full of dimension.

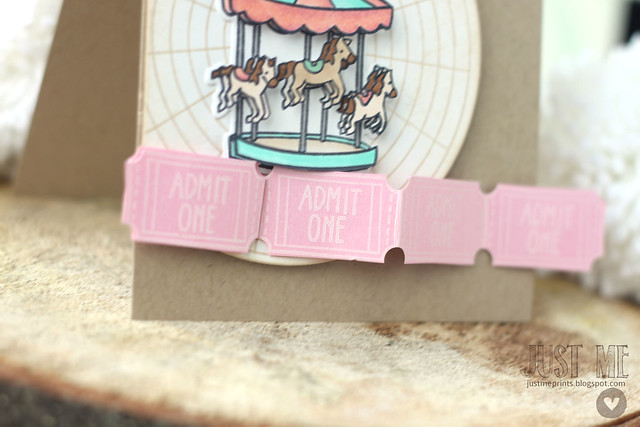
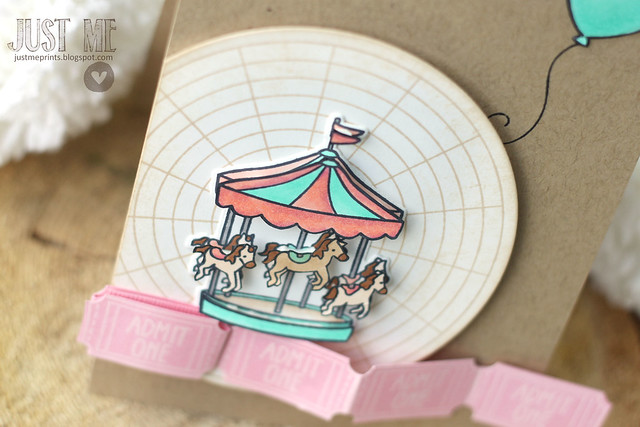
There's the pink ticket border,

round and around and around around we go.

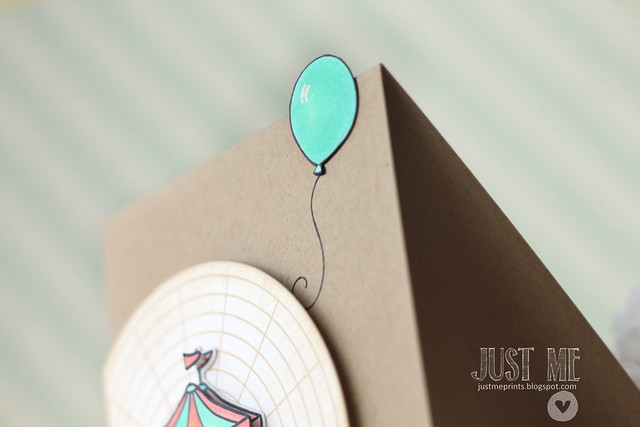
The balloon, floating off the edge,

round and around and around around we go.

and, best of all, the merry-go-round:

round and around and around around we go.

I carefully cut and layered the different parts of the image, including the horses and the tiny flag at the top.  And I love that the horses are colored on the base layer as well - depending on the angle, it really looks like they're bopping up and down.

I hope you like it - and I hope you decide to play along!  You could win a prize from Lawn Fawn!


♥.


Monday, April 15, 2013

when rhinos fly... {lawnscaping challenge}

***this is my 2nd post of the day!  scroll down or click *here* for my lawn fawn inspiration week post

It's time for another lawnscaping challenge!  We're asking you to craft your inspiration!  Is there a crafter who inspires you?  A pin that caught your eye?  A new stamp set or tool that sparked something creative in you?  Craft it, and link up to our challenge!

I am so inspired by Pinterest.  Especially, posters and prints.  I found this nursery print:


and turned it into this card:


when rhinos fly...

I didn't keep the vintage vibe, or even the same animal (we need a lawn fawn elephant, though!) but that harness inspired me to hook up my party rhino and take him for a spin.  You know what they say: when rhinos fly... (oh wait, that's pigs.  hee)

when rhinos fly...

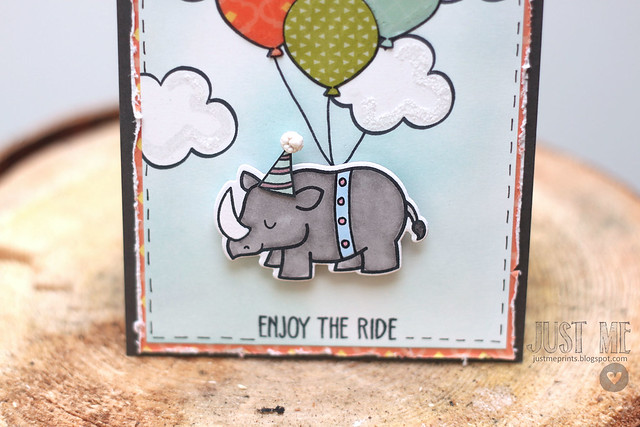
I paper-pieced the balloons, but masked around the clouds to sponge in a soft sky.  The harness on the rhino was hand-drawn, using a memento black marker, so that I could still color him in with copics and not have any ink-bleed.

Now that I'm writing up this post, I realize that I not only roughed up the edges of my patterned paper, but I also added some faux stitching, and used "critters on the savanna."  I think I must have crafted this card the same day as my woven giraffe card :)  Do you ever do that?  Carry over a certain technique from one card to the next if you craft them in the same day?  I hardly ever make more than 1 card at a time.... maybe I should stick to that.  *grins*

I hope you join us this week:


We're sponsored by lawn fawn:


Thanks for stopping by!


Thursday, September 27, 2012

bright-monster-circus-party.... what?


That's exactly what I thought when a client first emailed me asking for invitations to a "vintage circus meets neon monster halloween party."  She had seen the party I threw for Thomas, and asked if I would create something for her.  (on a side note, I love a party mash-up!  My bestie threw her daughter a polka-dot-monster-barbie party one year, and it was hysterical...)

There were some negotiations over the monster colors... since neon scares me... and I came up with these invites:


She emailed me a picture of the beautiful black and white awning that would be a main focus of the party, so I replicated that in the striped background... I cut strips of black card-stock and adhered them to my white card-stock base.   I then stamped my monster scene, and paper-pieced the 2 not-so-scary monsters to add the pop of color that would marry the monsters with the vintage circus theme...  and all of the personal party info?  Hidden in the "très circus" ticket-strip at the top:


 Once unfolded and flipped over, the guest will be able to see all the what-where-whens of the party...


I have already started creating more goodies for this party, and I can't wait to share! 

For now, have a great day!  Thanks for popping by!

Monday, July 16, 2012

lawnscaping challenge #38: inspiration photo


Time for another lawnscaping challenge!  


This week's sponsor is Lawn Fawn:


Take this photo:


....and create something inspired by it.  I honed in on the vintage merry-go-round in the 2nd row and created this card:


I colored the merry-go-round (from "admit one") to match the photo (and do you see the tiny stars I added?  they're from "plus one"), and cut it out, before propping it up onto a strip of yellow polka-dot paper.

Near the bottom, I used a circle punch to create an opening, and stamped the star (also from "admit one") onto the card-base.  I colored it in, outlined it, and slapped it with a layer of glossy accents.


For a finishing touch, I created a little paint-spatter across the card.  I think this may be my new favorite way of doing it:  I grabbed an old SU water-color crayon, and a wet paintbrush, and flicked the ink across the card.  I promise you this will not be the last time you see me do this :)

I hope you are inspired to create your own card!

Monday, May 28, 2012

Retro-sketch #13

Happy Monday morning!  I usually drag my feet on Mondays, but today I woke up with a spring in my step.  I'm having coffee with a friend, and then bringing my son for a visit of his soon-to-be new school.  How do they grow up so fast?  eeek!

Before I'm off, I thought I'd share a card I made using this fantastic sketch from the retro sketches blog:


Honestly, I think the retro sketch blog is my new favorite challenge of the week - it's so fun to see what everyone creates with the same, specific sketch!  If you've never played along, give it a try!

For my take, I turned the sketch sideways and inked up some lawn fawn stamps.  I stamped the postcard image 3 times, and stamped other images from "you've got mail" and "admit one" onto each before sponging the edges and adding some copic coloring.

Instead of the scallop border, I stamped the "air mail" image 3 times onto adhesive paper and hung them off the edge of each postcard.... kind of like a post-it note tab :)

The strip of navy blue/white paper was created by cutting strips of navy cardstock (half an inch wide each) and adhering them to a white cardstock mat.  The over-hanging strips just got trimmed away at the end.

Thanks for peeking!

Tuesday, January 3, 2012

you make my world go 'round.

This is my second entry into the lawn fawn CHA challenge!  Click *here* to see my first card.  I have to admit, I'm crazy for this one :)


I featured "admit one" and used - what else - "schoolhouse backdrops" in a supporting role...  that little set is getting a run for its money over here...  I first white-embossed the ferris wheel, cut it out, and stuck it to my die-cut shape with foam squares.  The tickets were stamped in a row onto pool party cardstock (SU), and cut out.  I stapled them onto the kraft mat, beneath the ferris wheel. 

The card base was stamped with the notebook paper image from "schoolhouse backdrops."


The strip on the side was the after-thought that made me fall in love with this card!  I stamped images from "admit one" and then used the solid line from "schoolhouse backdrops" to divide them.  


I kept this card simple and fun, and I hope you like it as much as I do!

Thanks for peeking!

Wednesday, December 28, 2011

mini-album.

Here's my "brown paper package, tied up with twine" for the current CAS-ual Fridays challenge.  I'm also posting it to our latest Papertrey princess challenge, which was to create a mini-album.


I love crafting with my 6 year old, Sofia.  We made our mini-albums side-by-side.  Hers was titled "things to do for fun" and she drew pictures and wrote cute little captions on each page.  Mine was all about her.  


I started out with a kraft base, die-cut a white label and stamped PTI's "background basics: hearts" onto it in blushing bride ink.  The "what I like about" was computer-generated, and I then stamped an image from "label basics" around it before cutting it out.


As you open up the album, there is a fun little image and greeting in each section.  I used different lawn fawn stamps and greetings, masked them, and added the same hearts background over-top.  Here, I used the cotton candy image and greeting from "admit one."  The floral embellishment is from SU.


The cutie-pie is from "silly valentine."  The little pink pearls were from Simon Says Stamp.


I love those little socks!  They're also from "silly valentine," and the little grey heart was embossed with an SU folder.


The rocking horse is from "pa-rum-pa-pum-pum" and the little tag is from PTI's "tiny tags" die collection.


Here is the final reveal!  Each section can be embellished further, and you could even decorate the back of each side - it's a fun little album :)  The sections all fold into a neat little package.


Hope you liked it!  Sofia actually didn't notice what I was working on - she was so concentrated on her own project.  I'm thinking this would make a completely sweet valentine :)

If anyone is interested in the measurements, drop me a comment or an email - I'd be happy to do a quick little tutorial.

Have a great day!

Thursday, September 22, 2011

2 for the price of 1.

My littlest sis asked me to make a card for her hubby's 30th birthday. (Being 99.9% sure he never checks this blog, I figure I'm okay to post it a few days early, hee hee!)


So, necessity meets challenge.  Or, challenges, in this case.  I'm entering this card into the Play date cafe challenge:


and also, since Lawn fawn is sponsoring their challenge this week, why not create with LF's stamps and post another entry to the current Lawnscaping challenge:


Without further ado, here's what I came up with:


I thought the Play date colors were perfect for my masculine card!  I added grey as a neutral, and just a hint of blue in a text-y sky background.  I really wanted to let those colors stand as the focal point of my card!


Here's a closer-up view of the text background:  I stamped "enjoy the ride" (a sentiment from LF's "admit one") repeatedly using tumbled glass distress ink (which I first stamped off onto a scrap paper so that it would be very faint in the background).

The ferris wheel (from the same set), was stamped in memento black ink and colored in with copics.  My green "grass" was stamped in versamark ink with an image from "schoolhouse backdrops" and given a stitched-treatment to frame it out.

Thanks for looking!

Tuesday, July 19, 2011

CAS-ual Fridays & cotton candy...


Is it normal that looking at a gallery of cards is making me hungry?  I decided it was time to check out this week's CAS-Fridays challenge, and I scanned the cards already up for the challenge: popsicles, lollipops, and cake - oh my!

So... what's a gal to do?  As I crafted my card, I slipped some cookies into the oven... my friend/baker extraordinaire taught me to always freeze a batch of cookies so I can pull out a few at a time, whenever I needed them.  (I think she meant when I have company over, but I do need them right now...)


I started out with a kraft base, and stamped a few rows of cotton candy (from Lawn Fawn's "admit one").  The ticket image was stamped 4x in a row and cut out as a whole.  The tiny heart in the center of each ticket is from Paper Smooches' "vegtastic" set.  I love how quirky it is!  I stamped another cotton candy image on a separate sheet of white cardstock and copic-colored it in before snipping it out.  The "you're sweet" sentiment is also from "admit one" - I inked each word separately so that the words could be side-by-side instead of on top of each other (as they're originally intended to be).


I gave the main cotton candy a little swirl with a 2-way glue pen and then sprinkled some glitter over-top.  Yummy.

Thanks for looking!  My cookies are smelling heavenly - wish I could share some!

Monday, July 11, 2011

stamp it!

Is it Monday already?

In my neck of the woods, we enjoyed 2 long weekends in a row, which completely spoiled me... I might have to stay in my sweats (cute hot pink ones from Old Navy, at least!)... you know, in protest of the fact that today is a real day...

One thing that does make my morning better... the Moxie Fab World: Stamp it! challenge.  I mean, what's not to love about a stamped card?

enjoy the ride!

I borrowed lawn fawn's "say cheese" set from a crafty friend, and had to put it to use!  This card is all about masking, and layering images.  I first created a mask of the polaroid frame to be able to stamp the ferris wheel inside (from "admit one").  Next, I created masked for the ferris wheel and clouds (from PTI's up up and away) and lightly sponged a blue sky.  I also stamped the Hero Arts envelope pattern background overtop (my favorite thing to do lately).  I colored in the ferris wheel with copics, but simply (no shading at all).

The tickets were stamped onto white card-stock and stamped with the same Hero Arts background.  Every layer was then distressed with antique linen distress ink.  Even the patterned paper mat, which was first stamped with the ticket image.

Thanks for looking!

Tuesday, June 7, 2011

you're a star!

My 2 oldest kids (ages 4 and 6) are at that perfect age that if you do something for one of them, you'd better have something ready for the other as well, or else... hee hee.

I had to make Sofia a "guitar" for her end-of-year-show.  I mean, it wasn't anything amazing - a spray-painted cereal box (pink, naturally), the core from a wrapping-paper roll, and some yarn for strings.  But she was thrilled, and Thomas was crestfallen.  He's been begging me to make him one, "but not pink, ok?" -  I'm eating as many mini-wheats as I can to empty out that box...

So, after I created a card for Sofia's upcoming kindergarten graduation (I love that it's a whole thing), I figured I'd better make one for Thomas too.  For no good reason, other than maybe that he sat still during her graduation ceremony (fingers crossed that this will happen.)

I'm entering this one into the Lawnscaping challenge:


I kept it super simple, since he's only 4 *wink*  I think he'll be pretty happy that he can read the card for himself.  He'll either guess that it says "you're a star" or "you're a winner" - I'm giving him points either way. 

Thanks for looking! 

Thursday, June 2, 2011

Another day, another challenge.


What a blast it was to join the gals over at CAS-ual Fridays yesterday.  I got the sweetest comments on my card and got to blog-surf while watching "So you think you can dance" last night... FUN!

In case you were wondering:  I can't dance.  At all.  I mean, I've got the rhythm inside of me, but it doesn't translate to bodily movement.  Best kept in snapping/clapping form. And maybe a little head-bopping...maybe...hee.

Today, I used the sketch over at the sweetest thing - I hope I haven't massacred it too much... I admit I used it loosely, but be gentle - it's my first time using a set sketch to build a design on.


enjoy the ride!

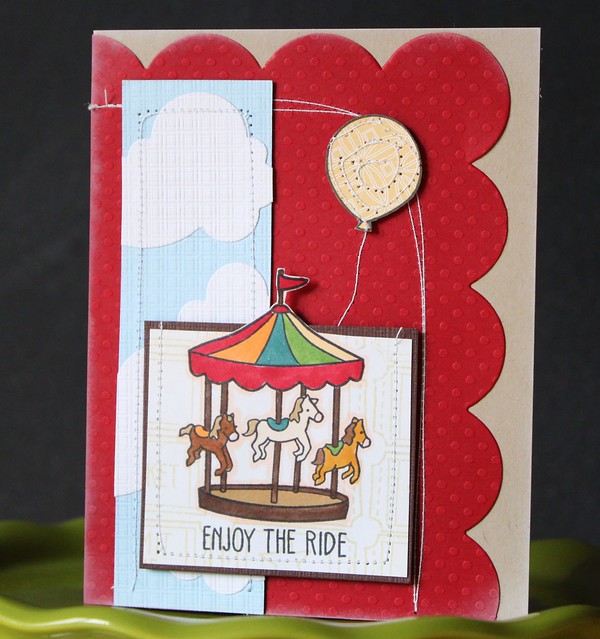
The base layer is SU kraft card-stock, to which I added a red mat with a pretty, scalloped edge.  The strip of SU bashful blue, along with the white die-cut clouds, was embossed using a PTI impression plate.  The main image is from Lawn Fawn's "admit one".  I stamped the merry-go-round first, did some beyond basic coloring and then masked the image before repeatedly stamping a ticket background.  Here's closer look: 


I added stitching to each individual element to add some whimsy (with stitching like mine, it's got to be "whimsical" - it can't be "elegant", lol!)  I added some stitching for the balloon string to finish things off.

Thanks for looking!