Monday, June 17, 2013

round and around and around and around we go.

****If you're looking for my new-release-CSS post, just CLICK****

It's time for a new lawnscaping challenge:


I love that little inspiration thumbnail!

This is what I created to (hopefully) further inspire you:

round and around and around around we go.

I used "admit one" to create a card that is full of dimension.

There's the pink ticket border,

round and around and around around we go.

The balloon, floating off the edge,

round and around and around around we go.

and, best of all, the merry-go-round:

round and around and around around we go.

I carefully cut and layered the different parts of the image, including the horses and the tiny flag at the top.  And I love that the horses are colored on the base layer as well - depending on the angle, it really looks like they're bopping up and down.

I hope you like it - and I hope you decide to play along!  You could win a prize from Lawn Fawn!


♥.


foodie fun {CSS new release}

It's new release day over at Clear and Simple Stamps!  I am so excited that we get to showcase my favorite sets first - the foodie fun series features all of my favorite junk foods and lovey phrases, some fun dies, and a very gorgeous apron...

I'm featuring foodie fun and 
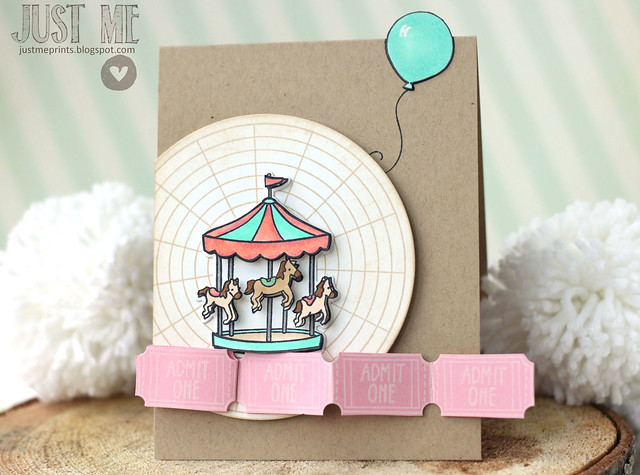
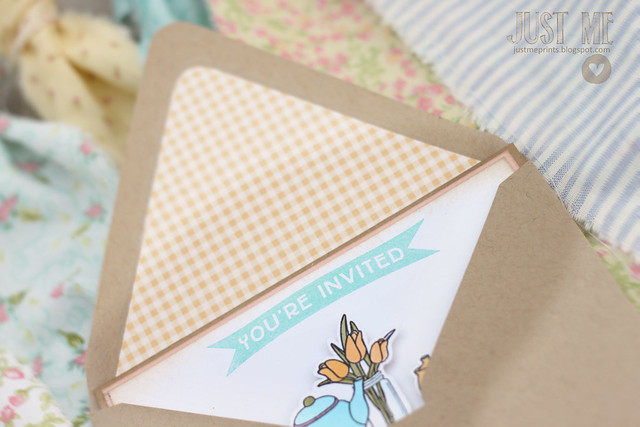
foodie fun sentiments in my projects today (along with a whimsical little frame that you'll be introduced to later on in the week):

foodie fun {CSS new release}

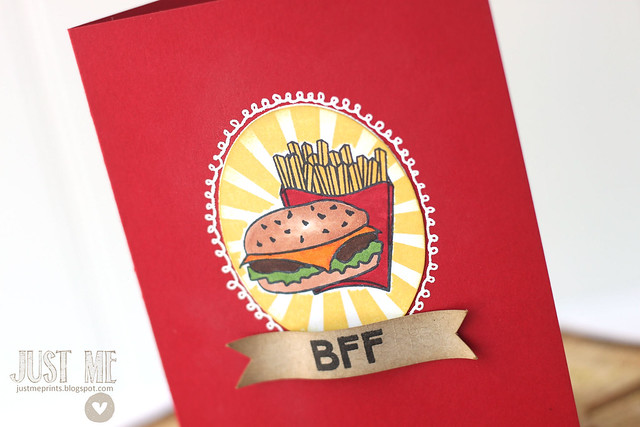
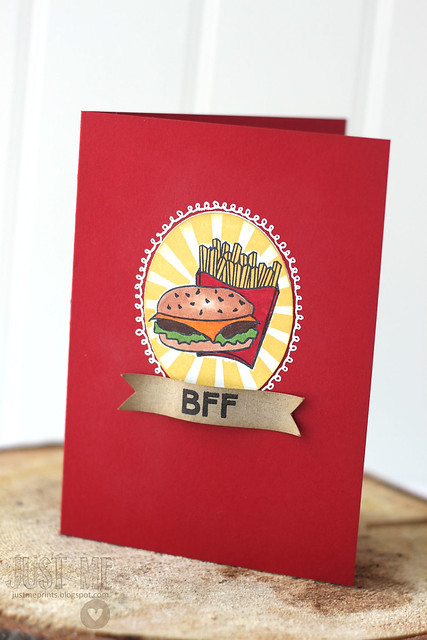
Nothing goes together like burgers and fries, right?  I was crafting with my 8 year old daughter, Sofia, and she saw the "bff" sentiment (from a new rag doll set!) and said "mom, I think the burger and fries are BFFs."  It's a big word in our home lately - everyone is Sofia's bff, but I thought it was such a cute idea, so I went with it.  The card is obviously hers now, and the biggest question is which one of her pint-sized bffs will be on the receiving end this week :)

foodie fun {CSS new release}


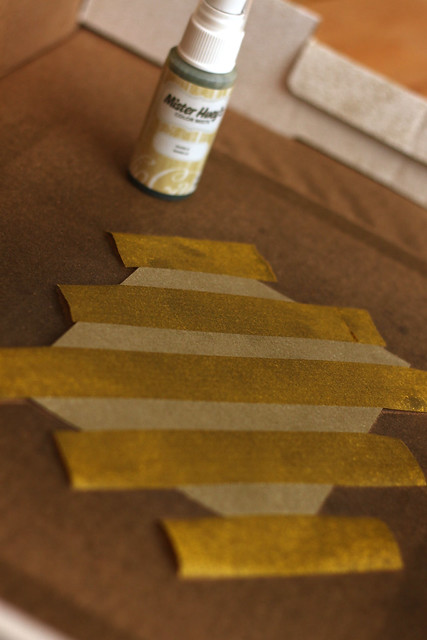
A speedy how-to:  I masked the burger, then stamped the fries, then masked that too for a little sunburst action over-top.  It looks like fast-food on a card, with that bright red case base and yellow stripes. so fun.

foodie fun {CSS new release}

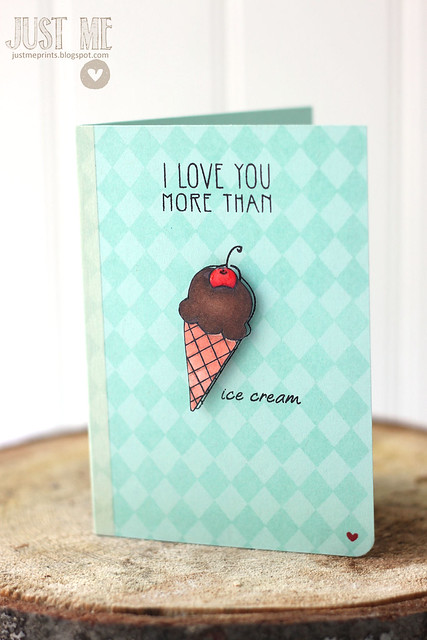
My next card cools down the temperature a bit.  From a hot red to a cool argyle blue background, and from steamy burgers to a frozen treat...

foodie fun {CSS new release}

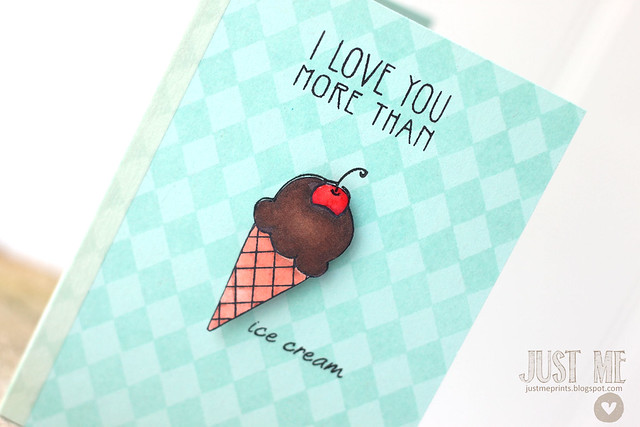
This card is a smaller and cuter - at 3.5x5 inches...the perfect little notecard size.  I love the tall, skinny font of the "i love you more than" paired with the script "ice cream" - and with a glossy cherry on top, it's just adorable.

foodie fun {CSS new release}

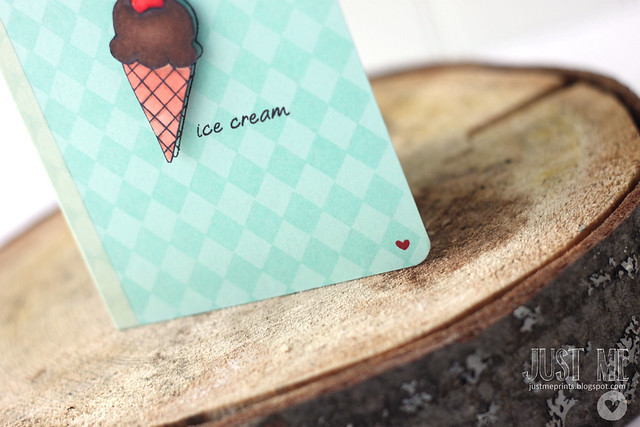
the tiny heart at the bottom doesn't hurt either.

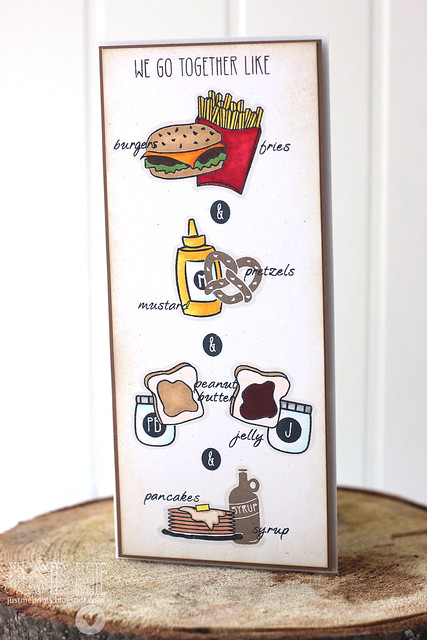
My next card goes taller and skinnier:

foodie fun {CSS new release}


The set has all kinds of fun combinations - I didn't use up half of them here.  We go together like...
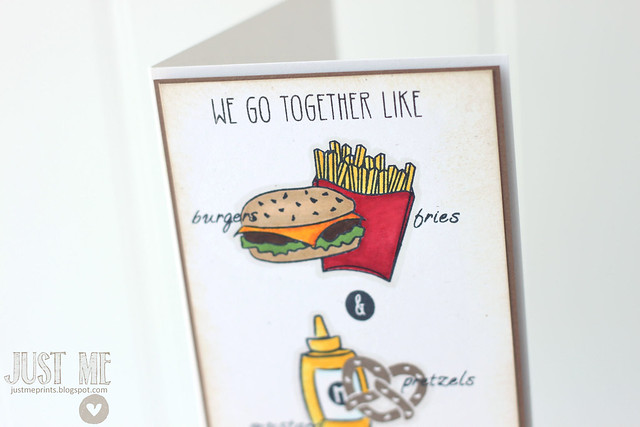
foodie fun {CSS new release}

burgers & fries...

foodie fun {CSS new release}

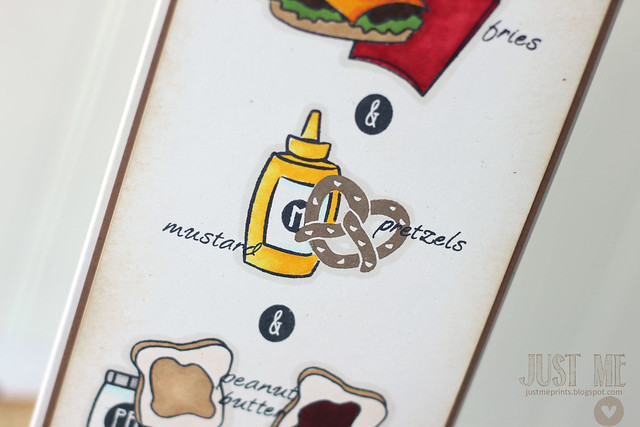
mustard & pretzels (although, I'm not a mustard fan, truth be told... why mess up a perfectly good, buttery soft pretzel with mustard?  nuh-uh.  but it sure looks cute on the card.)
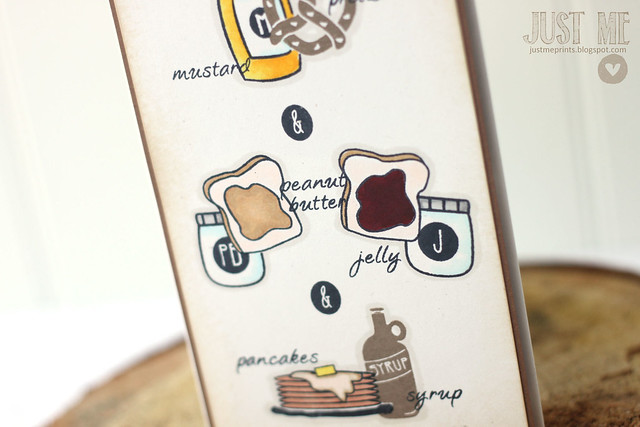
foodie fun {CSS new release}

pb & j...

foodie fun {CSS new release}

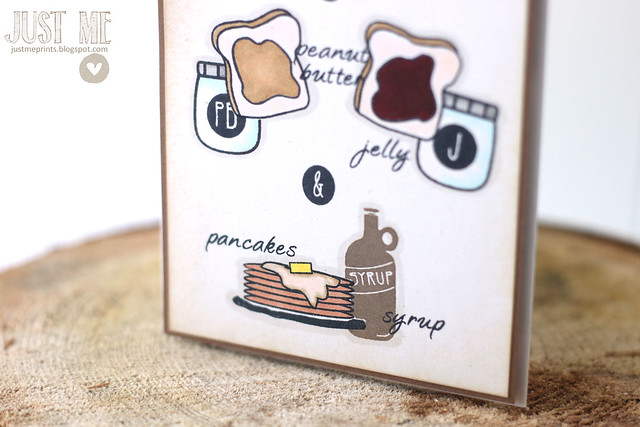
and pancakes & syrup.

I'll take one of each, please.... hee.  I hope you like what I've created today!

These designers are also showing off new CSS stuff today:  Audrey Lori Amber CSS blog

______________________________________________________________________________

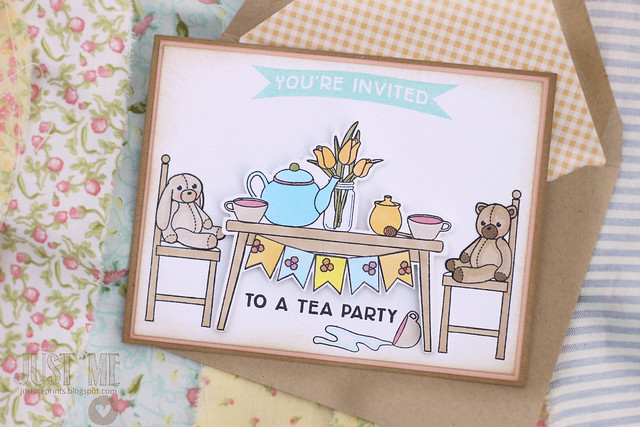
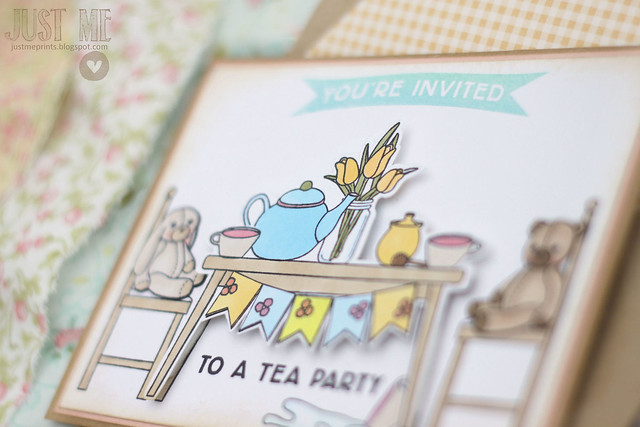
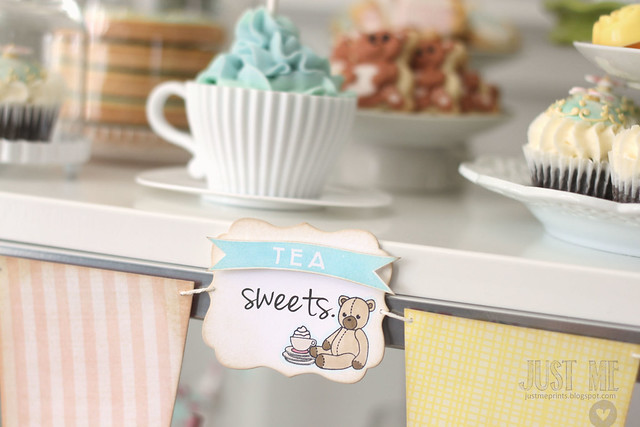
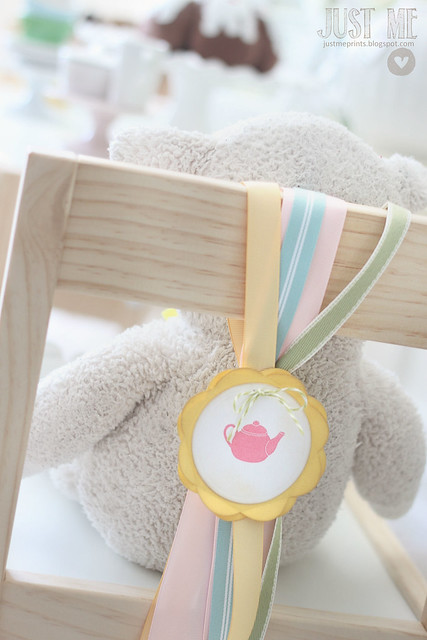
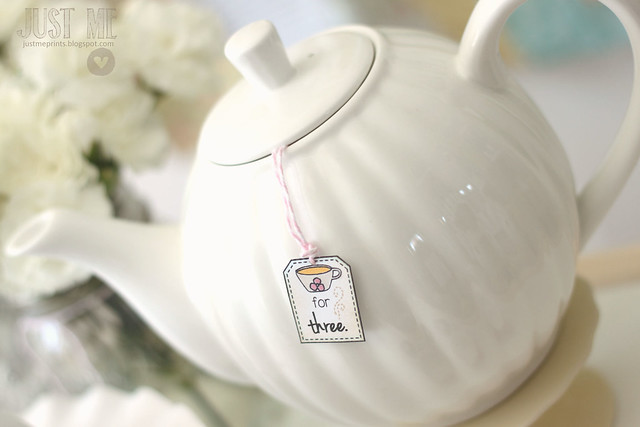
ALSO, random.org picked comment no. 12 as the winner of the "tea for three" giveaway.  The recipient of 3 new tea party stamp sets and a tea tag die is... Kara!  Kara, I will be contacting you by email shortly - congratulations!


Sunday, June 16, 2013

tea for three paperie.

First of all, thank you so much for all of your sweet comments on Maia's party post!  My heart swelled to read them all.  If you didn't catch yesterday's tea party, click *here* - there are a few new stamp sets up for grabs, but only until tonight!

Today, I thought I'd share some of the party paperie with you: invites, thank you cards, and some of the decorations.

tea for three paperie.

The first thing I had for the party was that pretty fabric banner.  All of the party colors were pulled from the springy fabrics.  I went with mainly yellows and blues, and just a few touches of pink on the invite:

tea for three paperie.

I love these images so much!  The slouchy stuffies, the "you're invited" banner, the spilled milk under the table - I'm so excited to have seen them come to life, just as I imagined.

tea for three paperie.

I did some masking, and stamped all of the elements onto the table in one layer (only the banner was paper-pieced, for the tiniest bit of extra dimension.)  I then cut out the table and all of the toppers as one unit.  I think that makes it look like something out of a paperie store...

A few of my favorite decorations from yesterday's party:

tea for three and three for tea.

I just love the little bear sitting next to his frothy drink!  I first printed the word "sweets" (and another with the word "sips" for the drinks) via computer, before die-cutting the label.  I then stamped the bear in the corner, and masked him to be able to nestle the drink "behind" in behind. so cute.

tea for three and three for tea.

These little chair-back decorations were such a sweet touch.  Very pottery-barn-party, if you ask me.  I matted the tea pot image with 2 cupcake stand die-cuts, and layered ribbon to match the party.  Even thought you wouldn't have seen it if I didn't point it out, it was a hit at the party :)

tea for three and three for tea.

tea for three. with steam escaping the three. it doesn't get sweeter than this.

And every good party host sends out thank you cards, right?  (let's pretend I always take my own advice):

tea for three paperie.

Funny enough, the thank you card marks the first appearance of a rag doll at this tea party.  I know the little dolls are the stars of the stamp sets, but I wanted to show that these sets are so versatile - and also, no one upstages my Maia, hee hee.

Some creative masking allowed me to create this little scene, and I sponged some antique linen ink over-top to further the granny-chic vibe of our tea party.

tea for three paperie.

From the bottom of my heart, thank you for all of your encouragements and beautiful comments on Maia's tea for three party!

♥.

Saturday, June 15, 2013

Tea for three and three for tea.

I am so excited to be able to share Maia's 3rd birthday party with you today.  Maia is my littlest babe, and full of personality.  Among other things, she is a complete ham, so affectionate, extremely strong-willed, and skittish in a crowd.  I had an idea to throw her a tiny tea party months earlier, and sent some designs and concepts over to Nicki (Clear and Simple Stamps owner) and Steph (illustrator for CSS) brought my vision to life.

(If you make it all the way to the end of the post, I'll share how you can win these 3 new CSS stamp sets and a matching die!)

I am also beyond lucky to have a talented friend like Marlyn (of Montreal Confections) who baked some beautiful goodies for the occasion.

We re-arranged our living room a bit to create a little party space just for Maia...

tea for three and three for tea.

tea for three and three for tea.

tea for three and three for tea

tea for three and three for tea.

tea for three and three for tea.

tea for three and three for tea.

tea for three and three for tea.

tea for three and three for tea.

tea for three and three for tea.

tea for three and three for tea.

I wanted the entire party to be very Maia-accessible.  "Lambie" (an old best friend) and the cute handmade doll (a new best friend, which you'll learn more about this upcoming week!) came together for her birthday.  Maia had so much fun playing with the set-up, and I loved seeing her so full of joy.

I bought the table and chairs, the tea set, and the little felt cake from Ikea - they were her birthday gift, and doubled as party set-up.  Not too shabby.

Even though we kept it small, we still invited family over for treats - so really, it was a full house by the time grandparents and cousins and aunts and uncles got involved.  hee hee.

A little cart is the perfect place to show off some tea treats...

tea for three and three for tea.

tea for three and three for tea.

tea for three and three for tea.

tea for three and three for tea tea for three and three for tea.

tea for three and three for tea.

tea for three and three for tea.

tea for three and three for tea.

My vision for the party was soft, vintage, shabby, and yet still toddler-friendly.  I mixed a lot of grown up florals with the adorable images from the stamp sets.  Stuffed bears and rabbits with granny-patterned fabrics and washi tape?  love it.

I hope you love it too!  I'm so excited to have shared Maia's party with you.  I'd love to hear what you think about Maia's tea party, and the images from the stamp sets that I helped design!

If you'd like a chance to win the 3 stamps sets I used to craft this party (rag doll: tea party, rag doll: tea party extras, and tablescapes) as well as the matching tea tag die, all you have to do is leave me a comment on this post.  The giveaway will be quick - comment before Sunday at 9pm EST and I'll randomly pick a lucky winner on Monday morning.

♥.


Friday, June 14, 2013

Tea for three sneak peek and flash giveaway!

At the beginning of May, my littlest baby turned 3, and we hosted the sweetest tiny tea party.  She's not big on crowds, so it was a family-only event, but I still wanted to make it special.  

The most special part for me was being able to help design the stamp sets that I used to craft the party!  I submitted clumsy sketches of what I was envisioning and Steph Zerbe (CSS' illlustrator) made it all come to life.  I couldn't stop smiling for days when I saw the finished product.

I will be showing off the entire tea party tomorrow, here on the blog, and giving the opportunity to win all 3 tea party stamp sets, and a matching tea bag die.  The giveaway will be for 2 days only - Saturday and Sunday - with the winner being announced on Monday, the first day of the new CSS release.  There is so much to get excited about!

I may be providing some sneak peeks on my facebook page and on instagram today - you can click on the icons at the top of the page to like my facebook page and follow me on instagram.  

The night before her party, my husband and I worked like little magical tea party elves.  We moved the sofa, arm chairs, and coffee table out of the way to create a party space that Maia would love.  It was a huge gamble - she does not usually enjoy surprises.  We were so worried that she would start crying when she saw it all.... deep breaths...here's the moment of truth:


I love the huge morning hair.

I think she likes it.  

See you back here tomorrow for the full party post!

Thursday, June 13, 2013

Hey mister-mister.

Father's day is only a few days away - so how about some fun card ideas?  Here's the twist: the CSS design team is showing off masculine cards that incorporate misting.  Soooo, this is a mister-mister card, and all of a sudden I can't get  "soul sister" out of my head.... ain't that mister mister on the radio, stereo, the way you move ain't fair you know...

what?

oh yeah, back to the card:

hey mister-mister.


My dapper card features a he-would-never-actually-wear-that shirt and bow-tie combo.  The background is misted on, using post-it strips and a bottle of mr. huey's manila mist.

hey mister-mister.

The "A" on the shirt pocket is for my baby-daddy :)  I can't keep surprises with these blog posts - sorry honey!

Here's a peek at how I created my background:

hey mister-mister.

I eyeballed the placement of post-it strips and sprayed.  I then removed the strips and placed new ones going the other way.  Sprayed again.  That's all there is to it.  There was some leakage on the shirt front, but I quite like it.  Rough him up a little, give him some street cred - he needs it with that light blue bow-tie....

hey mister-mister.

really light blue.

♥.

more mister-mister cards here: audrey ~ jen ~ kim ~ css blog


Wednesday, June 12, 2013

i sent your gift by turtle {lawn fawn inspiration week}

Welcome back to another day of lawn fawn's inspiration week!  A bitty set can still pack a huge punch - today we're showcasing "year two," a belated birthday set since lawn fawn released it a year late.  I love that.

i sent your gift by turtle...


If you send a gift by turtle, it's bound to arrive late...

I stamped the turtle, his birthday hat, and the gift onto a piece of white cardstock and then cut them out as one unit.  If you're like me and pretty bad at fussy-cutting, here's a tip (works for me, so it might work for you): I grab a pencil and lightly draw an outline around the image.  I can fix it so it looks right before grabbing my scissors and cutting on the line.  For some reason, cutting on a line is much easier than eyeballing an imaginary border...  just don't forget to erase the line when you're done!

i sent your gift by turtle...

I hand-drew a little arrow pointing down to the word "belated."  Nothing too complicated...

i sent your gift by turtle...

At least the belated present is glittery.  That should make it all better *wink*

I hope you like what I've created today!  Check out the lawn fawn blog for more inspiration!