Showing posts with label mft. Show all posts

Saturday, January 10, 2015

Pretty Pink Posh birthday hop!

Hi there!

I'm joining in the Pretty Pink Posh birthday celebrations today:


It's a 3 day hop, and today is day 3. If you've missed anything so far, click over to the Pretty Pink Posh blog. There have been a few projects that have made me go "wow!" already. Did you see *this* one, by Laura Bassen? Amazing.

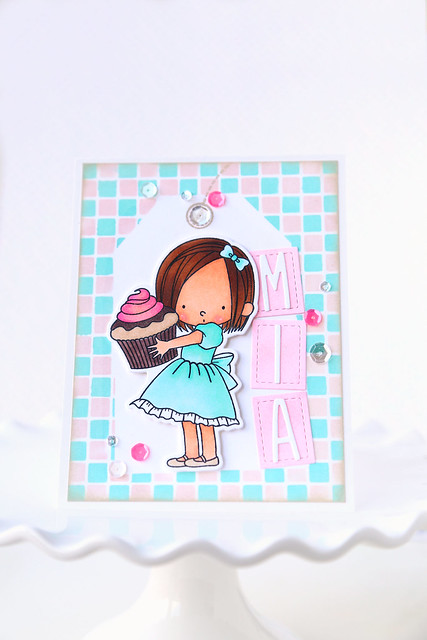
I decided to get ahead of the game and make a birthday card for my little niece, Mia.  She's turning 2 next month:

Pretty Pink Posh birthday hop


Can you spot all of the PPP stuff I used on this card?  I had to combine them with some new MFT goodies too.  I first die-cut a tag out of masking paper and laid it down on my card-front. I used a checkerboard stencil to create the bubble-gum pink and blue background. When I pulled away the masking paper, I was left with plenty of white space to place my focal images.

The Birdie Brown image is so cute, isn't it? Torico is such an amazing illustrator!

Pretty Pink Posh birthday hop

I die-cut the tiny stitched rectangles, and used them to back the letters spelling out Mia's name.

The glitter on the cucpake icing and the sequins add some birthday-girl-appropriate sparkle.  I used a mix of different sequin sizes: the tiny clear ones, and the sweetheart mix.

I hope you like it!

You can't have a birthday celebration without presents! There are prizes to be won, so comment along each stop of the blog hop. As a bonus, Paulina is offering a special discount code on her blog.


Here is today's full hop list:

PPP blog ♥ Elena (you're here!) ♥ Gayatri Nicole Laura Debby Kay Joni

Friday, November 21, 2014

cool day {MFT stamps}

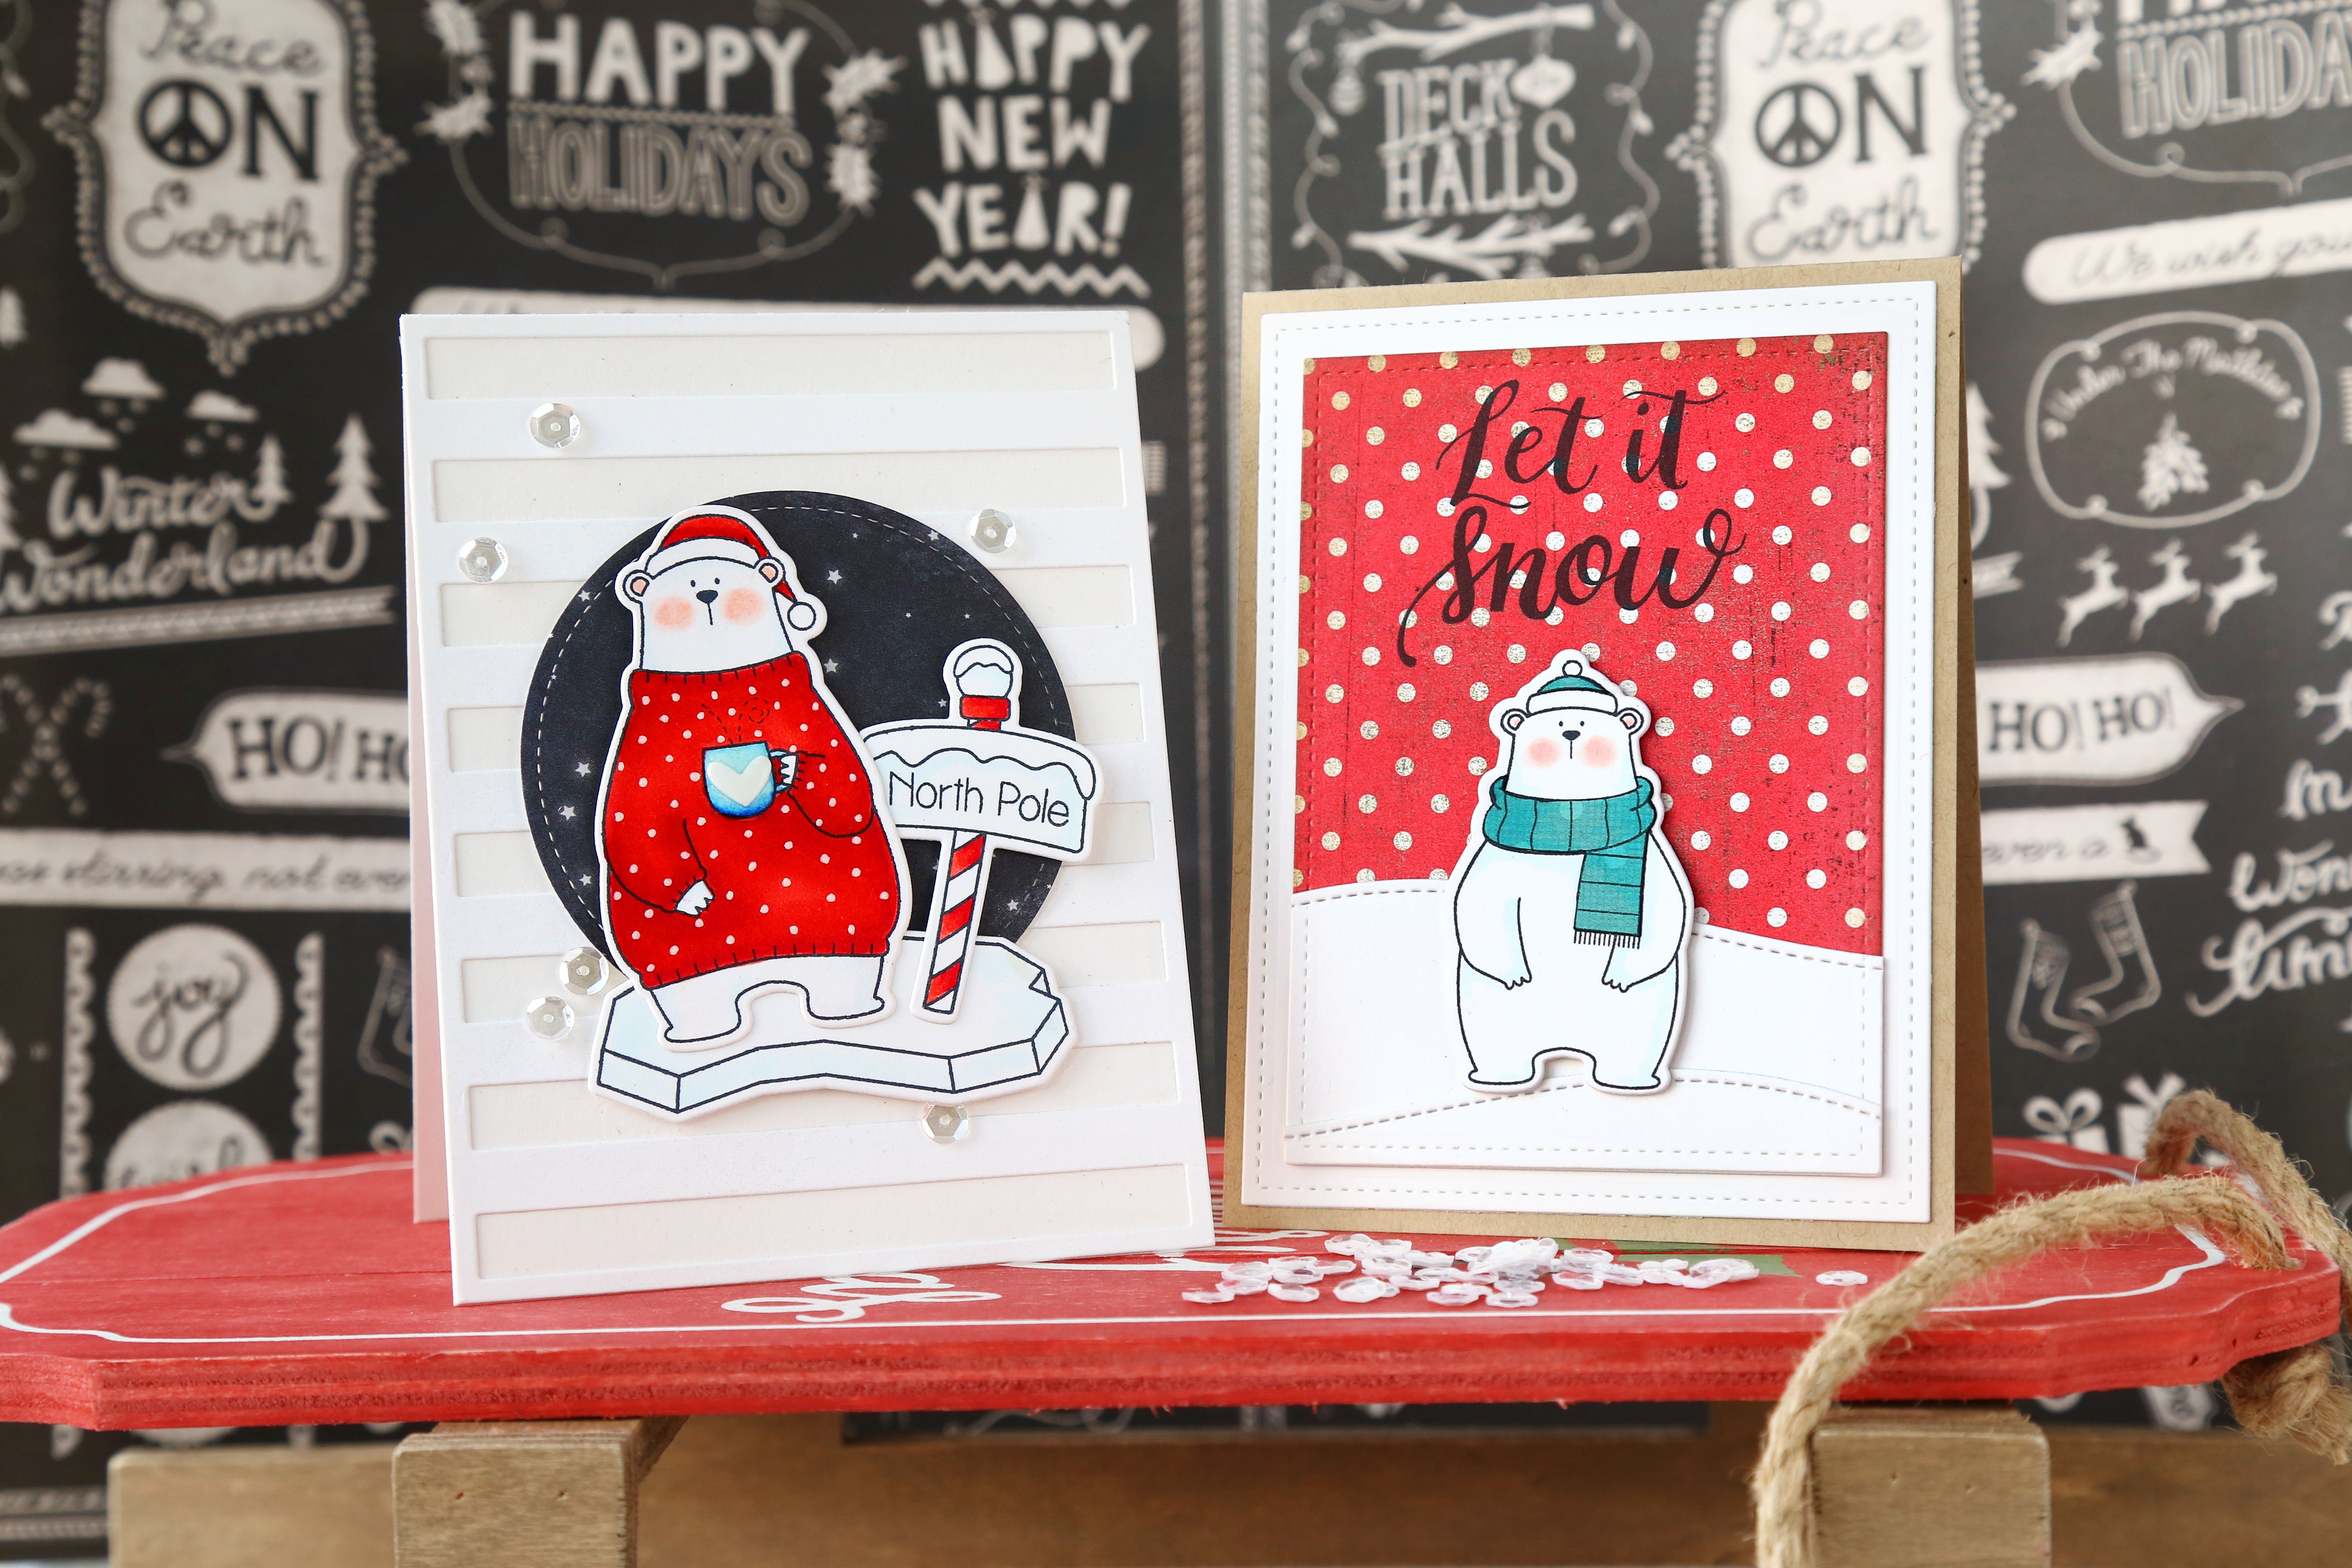
I just love these MFT polar bears so much that I had to sneak in a couple of cards for you today!

cool day {mft stamps}

I love anything Torico designs, but I really couldn't say no to these bears.  Aren't they adorable?

cool day {mft stamps}

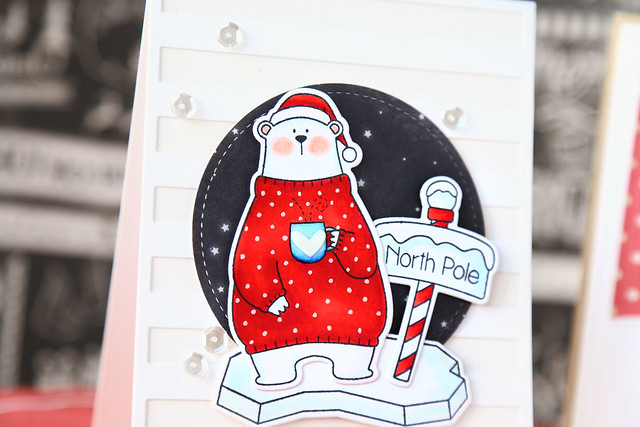
I started out with an off-white card base, and layered a stripes cover-up in white over-top.  I cut a starry night stitched circle and layered images from the set in front of it. You know, he's just nonchalantly drinking his hot chocolate while drifting on a block of ice in the north pole. haha.

cool day {mft stamps}


I am teaching a card class next weekend, so I needed to challenge myself to create a card that, with all of the pieces cut, could be stamped and re-created by stamping newbies. I hope they will enjoy paper-piecing his little scarf and hat! The Mama Elephant sentiment works perfectly on top of the polka dotted background.

I hope you like them!

♥.


Thursday, August 14, 2014

geek is chic {mft guest designing}

This is my last post for MFT, a look back at some of my favorite products just released.

Before I show you what I made, I just wanted to say a huge thank you to the MFT team and to all of you who visited my blog this past week while I guested with them. You've all made this such a fun experience!  I've been overwhelmed by the encouraging words left on my project posts and the kindness of the MFT staff (particularly Erica - you are a gem!)

On to today's project.  I went a little quirky with this one...

geek is chic {MFT guest designing}

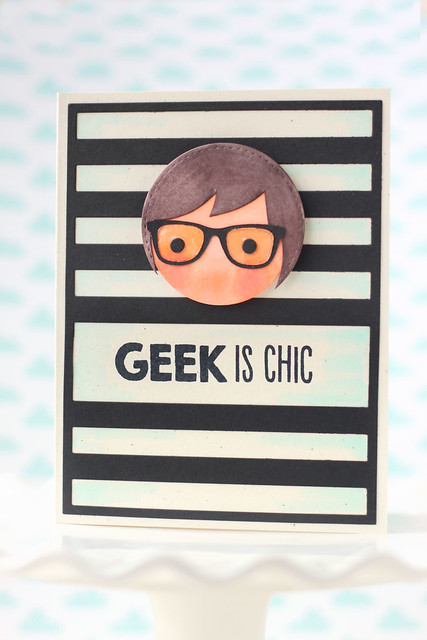
Whenever I design for a company, I like to lay out everything I own made by that particular company. With all of the dies and stamps spread over my craft area (read: kitchen table) I couldn't help but pick up the new geek is chic glasses die-namics and then look at the circle die found in the new blueprints 18 die-namics set and think of creating a little face.

geek is chic {MFT guest designing}

I die-cut the circle twice, both out of white cardstock, and free-handed a hairline out of one circle. I colored them using copic markers and die-cut the glasses out of black cardstock.  The little dots for the eyes are tag holes, from the new tag talk die-namics set.  Fun, huh? Actually, my favorite part are the glassy lenses: I filled the inside of the frames with glossy accents before setting the eyeballs inside :)

I adhered the striped cover up die-namic to the card base (in black, naturally... black and white stripes are oh-so-chic) but cut away one of the stripes to make room for the fun sentiment.

I don't know if you can tell, but I swiped a light blue marker inside each of the framed areas, between black stripes. I felt like it added a little extra depth to the whole thing.

And that's all for me! It's been grand, MFT - thank you so much for having me on as your August guest designer!


Tuesday, August 12, 2014

happy haunting mini card set {MFT release day}

Hi there!

It's MFT's new release day! As you read this, everything you need for halloween projects and more is available in the MFT store.

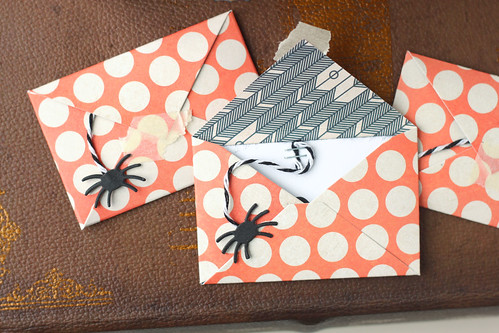
I love making things ahead of time. It doesn't happen often, but it makes me feel like I've got life under control :)  I made a little halloween card set for my little 4 year old Maia to dole out to her preschool friends come Halloween.

happy haunting mini card set {MFT guest designing}


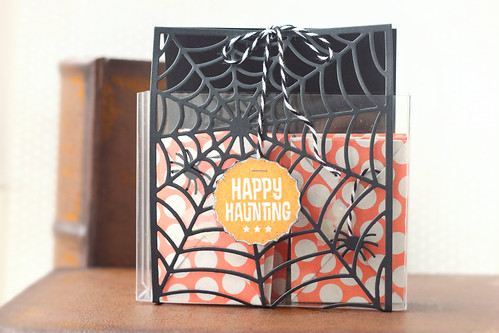
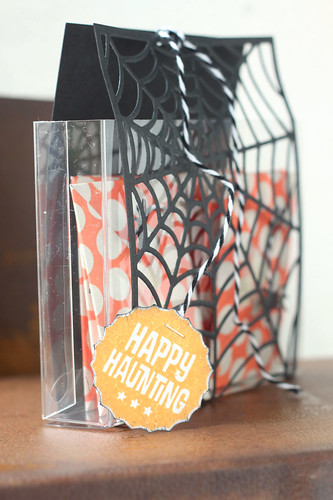
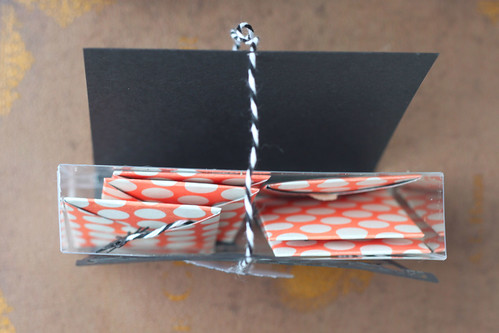
First off, the finished package.  I couldn't just give them to Maia, all willy-nilly in a plastic bag.  I grabbed a clear card box (from Simon Says Stamp) and cut it down to my desired height (which is code for I can't remember how high the box is and I am writing up this post from our beach house in Virginia where there isn't a way to go back and check.) I then die-cut a spider web cover-up die-namics but didn't cut it all the way. The rest of the strip travels under and around the box to create a closure.

happy haunting mini card set {MFT guest designing}


Inside, a collection of orange polka dotted envelopes, cut with the new envelope die from the you've got mail die-namics.

happy haunting mini card set {MFT guest designing}


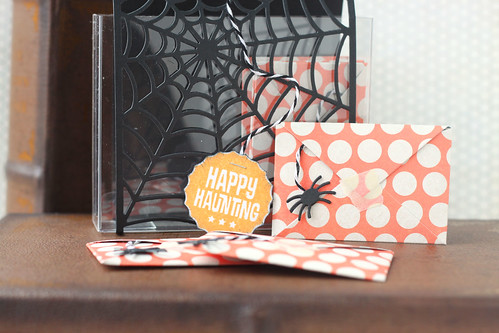
When she hands them out to her friends, this is what they'll see:

happy haunting mini card set {MFT guest designing}


I closed the envelopes with a strip of washi tape each, and a dangling spider to pull on...

happy haunting mini card set {MFT guest designing}


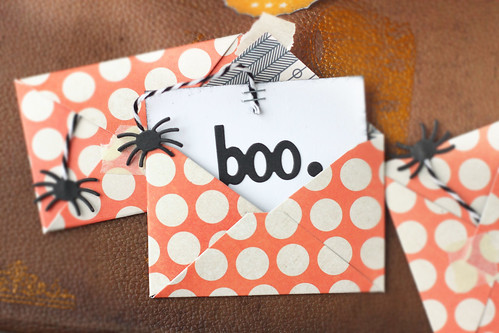
Yank the spider out for some halloween fun:

happy haunting mini card set {MFT guest designing}


hee.

I used the centerpieces spooky window die-namics for the dangling spider and the spooky scene die-namics for the big "boo" punchline.

I hope you like what I've created and happy shopping!


Sunday, August 10, 2014

batty about you {MFT guest designing}

Welcome to another day of MFT's august release countdown!  Only a few more days until the brand new goodies are available in their store at 10pm on August 12th.

batty about you {MFT guest designing}


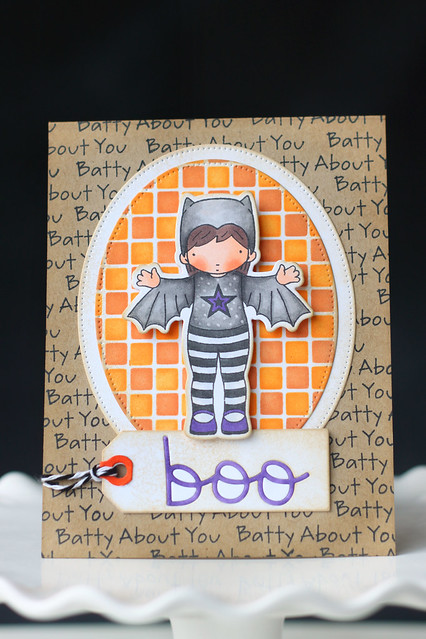
I mixed a slew of new product together to create this one card: batty about you stamp set and matching die-namics, the small checkerboard stencil, the trick or treat die-namics, and the tag talk die-namics.

First off, I covered the background with the batty about you sentiment, keeping it a little random looking. More spooky that way, no?  Then, I used their new checkerboard stencil on an oval die-cut.  I stenciled in some orange ink, then moved the stencil over and sponged on more ink in a slightly darker orange. I'm in love with this stencil!

Does the bat-girl look a bit different to you?  I couldn't resist doodling some extra hair, although she looks super cute without bangs too. I love how we can customize stamps to look a little different!  The star on her shirt is from another new set, geek is chic. I achieved the polka dots on her shirt by way of a colorless copic blender.

batty about you {MFT guest designing}

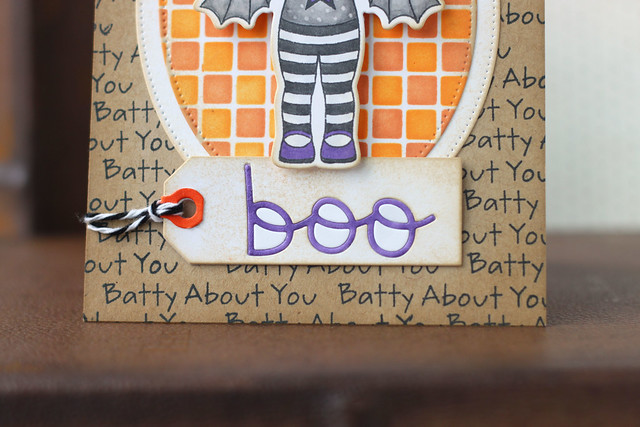
The tag was the perfect size to ground our little bat-girl.  I die-cut the boo sentiment into the tag, colored it in the same purple as her star and placed it back into the tag.

I hope you like what I've created! Visit the MFT blog for a list of participating blogs today!

♥.

Friday, August 8, 2014

Witch way? {MFT guest designing}

I am beyond thrilled to be guest designing with My Favorite Things this month! It's countdown week to their August release, and oh boy - they know how to do it up right.  It was like Christmas in July when I opened my MFT box :)


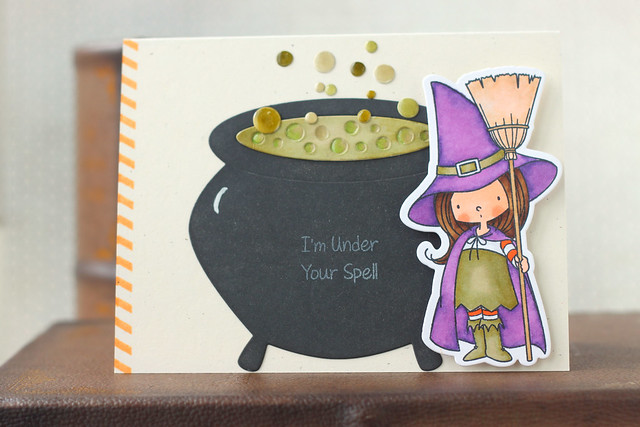
I'm showing off a cute witch today: witch way is the candy and the matching die-namics, as well as the witch's cauldron die-namics and a little strip of the you've got mail stamp set. Everything will be available for purchase in the MFT store on August 12th.

witch way to the candy? {MFT guest designing}

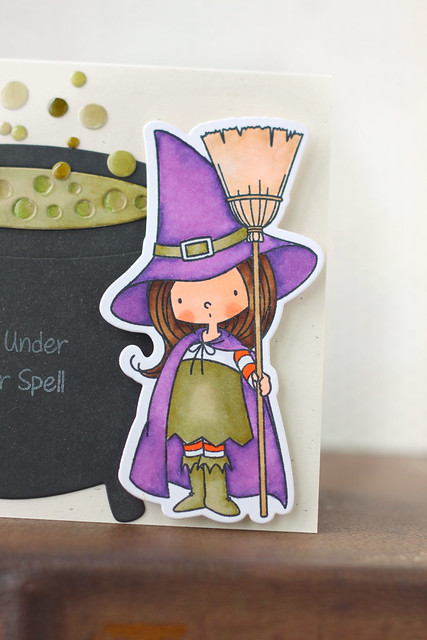
When I saw that adorable witch, I knew I wanted to play around with her.  She looks like she just cooked up some trouble, with her tiny mouth drawn like that! She naturally paired with the huge cauldron, and I used glossy accents on the potion bubbles.  It looks perfectly slimy, hee hee.

To give the card a bit of balance, I reached for the airmail strip from you've got mail and stamped it in a bright orange.

witch way to the candy? {MFT guest designing}


I hope you like it! Visit the MFT blog for more of what's new and for more inspiration today!

♥.

Tuesday, February 14, 2012

happy heart day.

I love waking up to a little something special.


and also, other little things that spell love: a coffee made, bed-covers straightened out, and time to take a shower (without little ones clawing at the shower door, lol.).  My sweet man also dove into my supplies and made me a special card - love that!

My littles enjoyed their chocolate treats and homemade cards at 6:30am.  Along with some pancakes, and pink milk...

Sofia got this card.

Thomas got this one, but with a little something special inside.


A banner of monsters.  He loved it, which is a good thing, since I think I sprained a finger cutting out 22 of these bad boys... and it's already hanging up in his room :)

Any special plans for tonight?  We're hosting my sister's family for a fondue party (which, my hubs would like me to tell you I've been calling our "fond-ue of you" party all week... because that's the kind of geek I am...)

Hope you all feel the love today - kisses from our family to yours!


could Maia look more unimpressed? hee hee.

Wednesday, July 13, 2011

card #2 for week #3.


I really do love these colors together!  I couldn't help but put together another card.


It's so easy when you have most of the elements already created (I have a pile of stuff that didn't work out from other cards or were just extras - so handy for crafting in a pinch!)  The only thing I stamped especially for this card is the leaf image.  I colored the stamp with my SU creamy caramel marker and it gave me this soft, dewy look that I rather like.  Oh, and I stamped on top of the music background with the hero arts envelope pattern again.  I can't promise I'll stop using it anytime soon.  It's so subtle, you hardly notice it - but something's missing without it.

Have a great day!