Hi there!
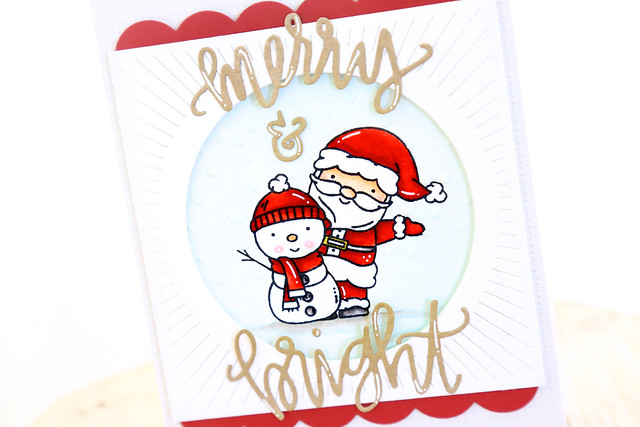
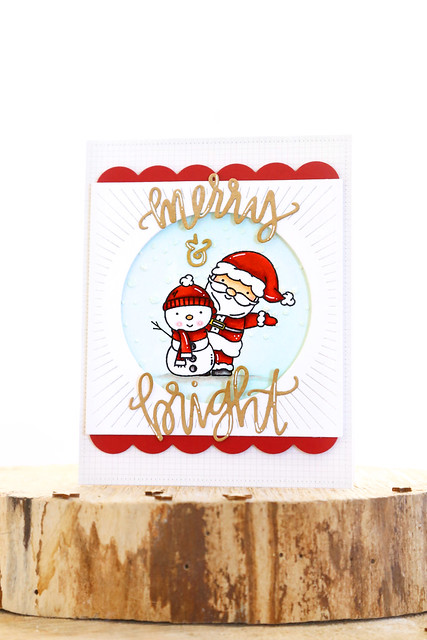
I made a card using the new Santa's Wonderland set in a bit of a different way:
I did some selective inking and next-level masking to get the snowman and Santa squished in together.
Here's what they look like in the stamp set:

Step 1: ink up the snowman and wipe off the ink on everything outside his body.
Step 2: re-draw one outstretched arm using a copic-friendly pen. mask the snowman.
Step 3: ink up Santa, and carefully wipe off the tree. this is tricky, I won't lie.
Step 4: mask Santa and color the background with a copic airbrush system. cover up any stray lines with embossing paste and a snow-fall stencil. (If you look closely, you can see the snow right near his mitten. That was very necessary.)
Step 5: Stand back and admire your efforts! I love achieving new looks with my stamps, and I hope this inspires you to do something different with yours.
♥.
I made a card using the new Santa's Wonderland set in a bit of a different way:
I did some selective inking and next-level masking to get the snowman and Santa squished in together.
Here's what they look like in the stamp set:
Santa is holding a tree and the snoman has his arms full of Christmas decorations.

Step 1: ink up the snowman and wipe off the ink on everything outside his body.
Step 2: re-draw one outstretched arm using a copic-friendly pen. mask the snowman.
Step 3: ink up Santa, and carefully wipe off the tree. this is tricky, I won't lie.
Step 4: mask Santa and color the background with a copic airbrush system. cover up any stray lines with embossing paste and a snow-fall stencil. (If you look closely, you can see the snow right near his mitten. That was very necessary.)
Step 5: Stand back and admire your efforts! I love achieving new looks with my stamps, and I hope this inspires you to do something different with yours.
♥.


Great job!! Too great for me...I'll go simpler! LOL!!
ReplyDeleteCristina
thehouseoftheblackbirds.blogspot.it