This is my last post for MFT, a look back at some of my favorite products just released.
Before I show you what I made, I just wanted to say a huge thank you to the MFT team and to all of you who visited my blog this past week while I guested with them. You've all made this such a fun experience! I've been overwhelmed by the encouraging words left on my project posts and the kindness of the MFT staff (particularly Erica - you are a gem!)
On to today's project. I went a little quirky with this one...
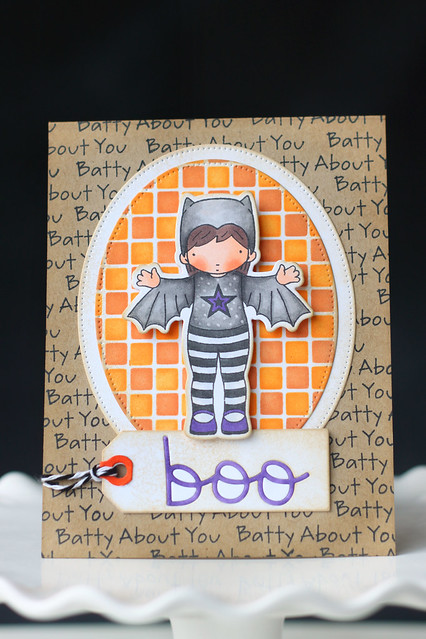
Whenever I design for a company, I like to lay out everything I own made by that particular company. With all of the dies and stamps spread over my craft area (read: kitchen table) I couldn't help but pick up the new geek is chic glasses die-namics and then look at the circle die found in the new blueprints 18 die-namics set and think of creating a little face.
I die-cut the circle twice, both out of white cardstock, and free-handed a hairline out of one circle. I colored them using copic markers and die-cut the glasses out of black cardstock. The little dots for the eyes are tag holes, from the new tag talk die-namics set. Fun, huh? Actually, my favorite part are the glassy lenses: I filled the inside of the frames with glossy accents before setting the eyeballs inside :)
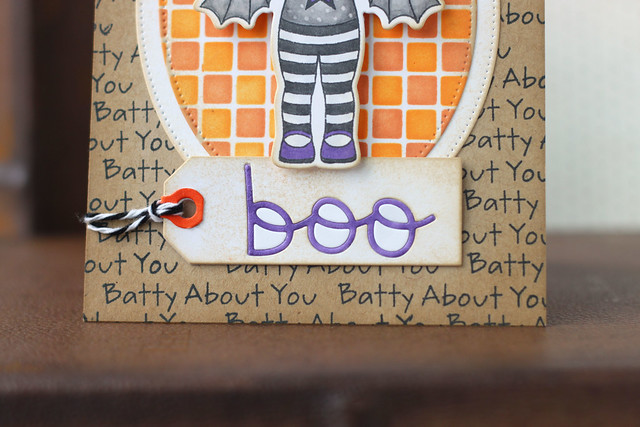
I adhered the striped cover up die-namic to the card base (in black, naturally... black and white stripes are oh-so-chic) but cut away one of the stripes to make room for the fun sentiment.
I don't know if you can tell, but I swiped a light blue marker inside each of the framed areas, between black stripes. I felt like it added a little extra depth to the whole thing.
And that's all for me! It's been grand, MFT - thank you so much for having me on as your August guest designer!
Showing posts with label die-namics. Show all posts
Thursday, August 14, 2014
Tuesday, August 12, 2014
happy haunting mini card set {MFT release day}
Hi there!
It's MFT's new release day! As you read this, everything you need for halloween projects and more is available in the MFT store.
I love making things ahead of time. It doesn't happen often, but it makes me feel like I've got life under control :) I made a little halloween card set for my little 4 year old Maia to dole out to her preschool friends come Halloween.
First off, the finished package. I couldn't just give them to Maia, all willy-nilly in a plastic bag. I grabbed a clear card box (from Simon Says Stamp) and cut it down to my desired height (which is code for I can't remember how high the box is and I am writing up this post from our beach house in Virginia where there isn't a way to go back and check.) I then die-cut a spider web cover-up die-namics but didn't cut it all the way. The rest of the strip travels under and around the box to create a closure.
Inside, a collection of orange polka dotted envelopes, cut with the new envelope die from the you've got mail die-namics.
When she hands them out to her friends, this is what they'll see:
I closed the envelopes with a strip of washi tape each, and a dangling spider to pull on...
Yank the spider out for some halloween fun:
hee.
I used the centerpieces spooky window die-namics for the dangling spider and the spooky scene die-namics for the big "boo" punchline.
I hope you like what I've created and happy shopping!
Sunday, August 10, 2014
batty about you {MFT guest designing}
Welcome to another day of MFT's august release countdown! Only a few more days until the brand new goodies are available in their store at 10pm on August 12th.
I mixed a slew of new product together to create this one card: batty about you stamp set and matching die-namics, the small checkerboard stencil, the trick or treat die-namics, and the tag talk die-namics.
First off, I covered the background with the batty about you sentiment, keeping it a little random looking. More spooky that way, no? Then, I used their new checkerboard stencil on an oval die-cut. I stenciled in some orange ink, then moved the stencil over and sponged on more ink in a slightly darker orange. I'm in love with this stencil!
Does the bat-girl look a bit different to you? I couldn't resist doodling some extra hair, although she looks super cute without bangs too. I love how we can customize stamps to look a little different! The star on her shirt is from another new set, geek is chic. I achieved the polka dots on her shirt by way of a colorless copic blender.

The tag was the perfect size to ground our little bat-girl. I die-cut the boo sentiment into the tag, colored it in the same purple as her star and placed it back into the tag.
I hope you like what I've created! Visit the MFT blog for a list of participating blogs today!
♥.
Subscribe to:
Posts (Atom)


