Hey there!
We're back for another day of Mama Elephant stamp highlights, and we're showing off the new Boutique Borders.
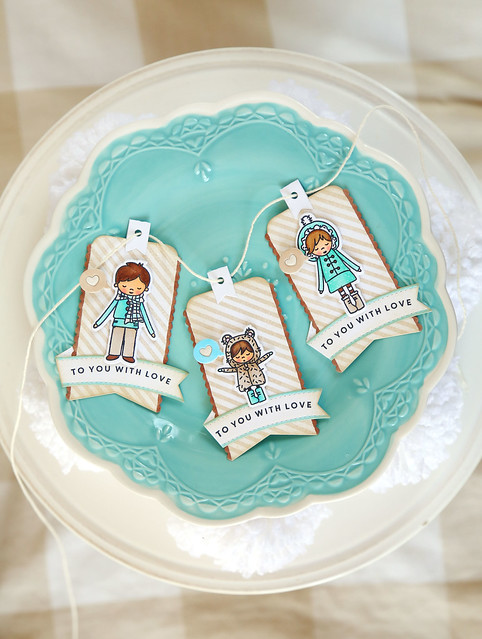
I couldn't help but pair the striped image strip with my cutie carolers:
Remember I told you that it would be easy to customize the look of the carolers? The ones on either side have been tampered with. hee.
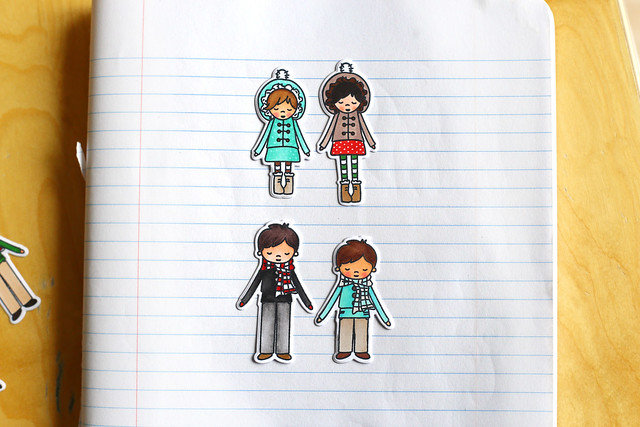
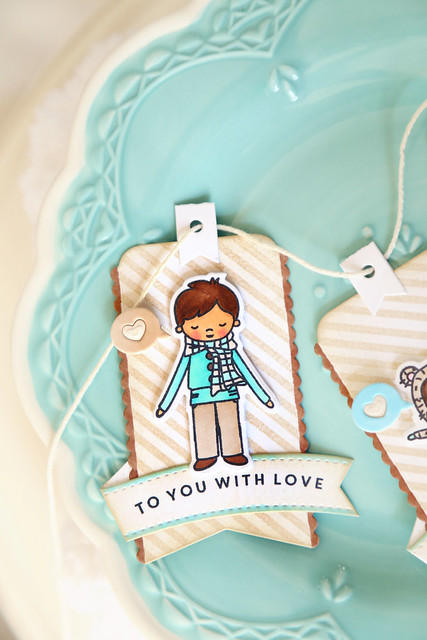
I used the ones in blue for these tags, and you can see the difference in the photo above. All it takes is a little careful inking. Wipe off the ink below the skirt (or shirt in the boy's case) before stamping down once, and then ink only part of the legs and match it up. I love that it's so easy to do with clear stamps!
When you are die-cutting the smaller carolers, you'll want to make sure to not cut it all the way through in one pass. Use the partial die-cut technique to send it through and cut each end separately.
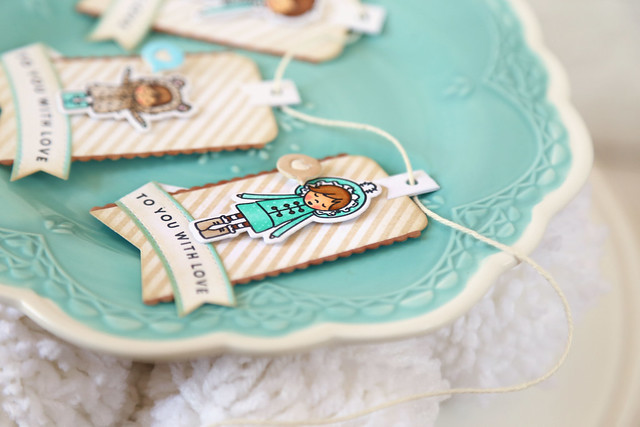
Once I stamped and die-cut the carolers, I popped them up onto a tag base - I love this shape, with its scalloped border. I swiped the scallops with a brown marker to make them pop, and did the same to the edges of the sentiment banner with a blue marker. It adds interest and polish to the final tag with hardly any effort at all.
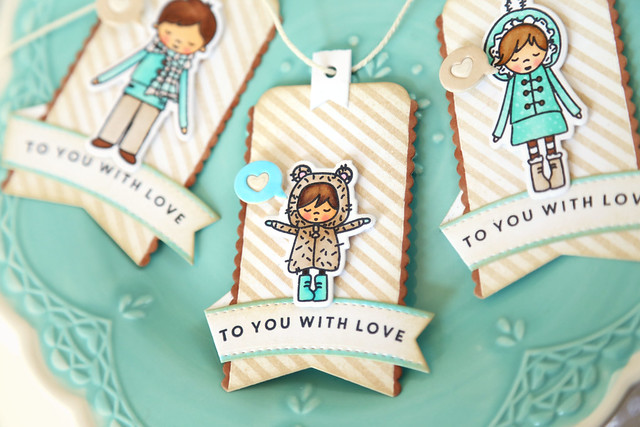
The sentiment is from bloomsies, and fits perfectly onto the banner found in the tags a lot set.
I hope you like what I've created! In case you missed it, I also turned the "daddy" caroler into a spitting image of my own hubby, hee hee - click!
♥.
We're back for another day of Mama Elephant stamp highlights, and we're showing off the new Boutique Borders.
I couldn't help but pair the striped image strip with my cutie carolers:
Remember I told you that it would be easy to customize the look of the carolers? The ones on either side have been tampered with. hee.

I used the ones in blue for these tags, and you can see the difference in the photo above. All it takes is a little careful inking. Wipe off the ink below the skirt (or shirt in the boy's case) before stamping down once, and then ink only part of the legs and match it up. I love that it's so easy to do with clear stamps!
When you are die-cutting the smaller carolers, you'll want to make sure to not cut it all the way through in one pass. Use the partial die-cut technique to send it through and cut each end separately.

Once I stamped and die-cut the carolers, I popped them up onto a tag base - I love this shape, with its scalloped border. I swiped the scallops with a brown marker to make them pop, and did the same to the edges of the sentiment banner with a blue marker. It adds interest and polish to the final tag with hardly any effort at all.

The sentiment is from bloomsies, and fits perfectly onto the banner found in the tags a lot set.
I hope you like what I've created! In case you missed it, I also turned the "daddy" caroler into a spitting image of my own hubby, hee hee - click!
♥.

I love your tampered with carolers, such a great way to stretch the set, so cute!
ReplyDeleteAbsolutely love your gift tags! And that's amazing how your altered the carolers, so creative!
ReplyDeleteya know....i'm not usually drawn to little characters and people, but these are the cutest damn people ever!!
ReplyDeleteI just got my Alpine Carolers set in my mailbox!! It's just as cute in real life! Thank you for showing how to customize the sizes - I'm going to try it tonight.
ReplyDeleteHow super sweet!!! I LOVE this project!!
ReplyDeleteSuper cute tags, and great job coloring!!
ReplyDeleteAdorable tags...love the little details like using markers on the edges and the creative masking.
ReplyDeleteI just ordered this set and dies! So stinkin' cute!
ReplyDelete