Hi there!
What goes better with a cute skunk image than scratch 'n sniff stickers?

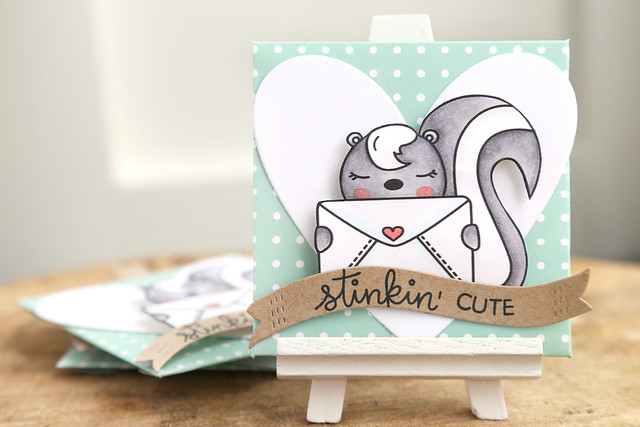
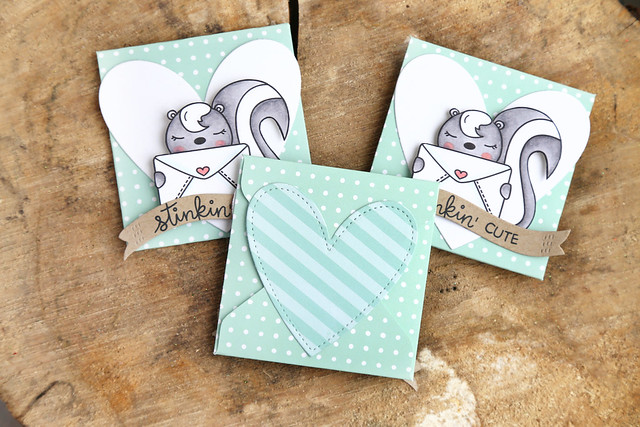
I printed, colored and fussy cut the skunk, stamped a greeting onto a banner die-cut and popped the whole thing onto a handmade envelope (time to break out those envelope punch boards!)
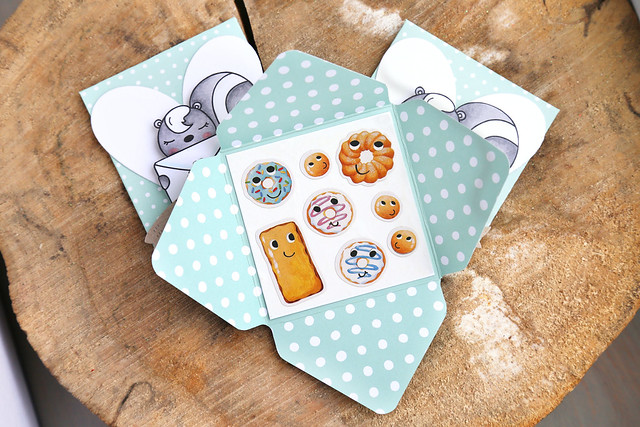
And inside?

A little set of scratch and sniff donut stickers. I was hoping to find something in a heart design, but it was either this or pizza stickers. The choice was tough...
I do have to rant about how sticker companies sell package and sell their sheets. I have 3 kids. I wanted to divide the scented stickers 3 ways. But they are not laid out in a nice, grid pattern for me to cut. boo! To solve the problem (and listen, it's only my problem because I like things all nicely cut and square. If it doesn't bother you to have wavy cuts around the stickers, then disregard my rant,) I glued a square of wax paper onto a piece of white cardstock and cut an even square. Then, I was able to put the stickers onto the wax paper. The kids will be able to use them as well as if they were opening the package themselves.

To finish off, I used a 2-way glue pen to create a seal for the back. By waiting until the glue dried before sticking, the glue isn't permanent. They can open and close their envelopes without damaging it.
I hope you like it! Thanks for stopping by!
♥.
What goes better with a cute skunk image than scratch 'n sniff stickers?

I printed, colored and fussy cut the skunk, stamped a greeting onto a banner die-cut and popped the whole thing onto a handmade envelope (time to break out those envelope punch boards!)
And inside?

A little set of scratch and sniff donut stickers. I was hoping to find something in a heart design, but it was either this or pizza stickers. The choice was tough...
I do have to rant about how sticker companies sell package and sell their sheets. I have 3 kids. I wanted to divide the scented stickers 3 ways. But they are not laid out in a nice, grid pattern for me to cut. boo! To solve the problem (and listen, it's only my problem because I like things all nicely cut and square. If it doesn't bother you to have wavy cuts around the stickers, then disregard my rant,) I glued a square of wax paper onto a piece of white cardstock and cut an even square. Then, I was able to put the stickers onto the wax paper. The kids will be able to use them as well as if they were opening the package themselves.

To finish off, I used a 2-way glue pen to create a seal for the back. By waiting until the glue dried before sticking, the glue isn't permanent. They can open and close their envelopes without damaging it.
I hope you like it! Thanks for stopping by!
♥.

These are so cute! Great idea about the stickers!
ReplyDeleteSuper cute!!
ReplyDeleteAnd great idea for the stickers, I like my lines straight too!...I have four kids and always struggle with those sticker sheets! lol I remember when I was a kid, they always had sticker sheets on rolls and you could tear off how many you wanted. I think they were around 5 cents to 10 cents for the small sticker sheets! lol (this was back in the early 80's...long ago!lol) Though, it would be nice if they still sold them that way. ;)
Such a cute idea! And I love your workaround with the wax paper!
ReplyDeleteHow cute! I just bought this skunk last week and hadn't used it yet. Going to do this for sure! Where did the "stinkin' cute" sentiment come from?
ReplyDeletelawn fawn had a mini skunk set it was giving away for black friday. it will be in their store officially sometime this year. the sentiment is from that set!
DeleteAdorable! Love how you paired up the scratch-n-sniff stickers with the skunk image and sentiment! And thanks for the tip about the seal on the back---very handy!!
ReplyDelete