Showing posts with label itty bitty welcoming committee. Show all posts

Tuesday, April 3, 2018

mommy daddy and me (Neat and Tangled release week)

Hi there!

Welcome to day 2 of this month's Neat and Tangled release week. My first set of the month is being introduced today, and I am so excited for you to see it! Mommy Daddy And Me is a sweet collection of animals and their babies, and lends itself to creating Mother's and Father's day cards.

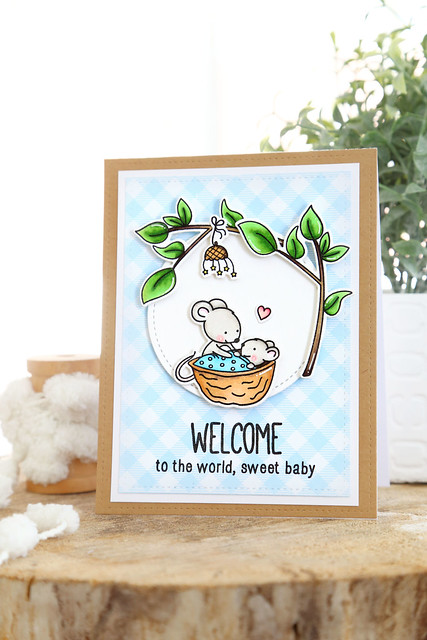
I decided to create a baby card for now, to show you a little something different:

mommy daddy and me (neat and tangled release week)


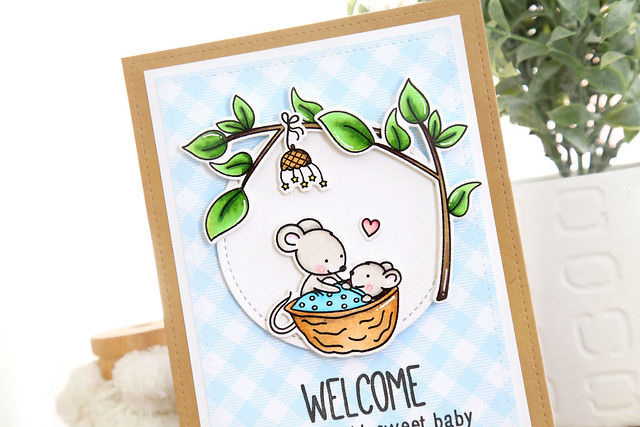
I used the image of the baby mouse in his walnut bed, being tucked in under a canopy of leaves. I doubled up the branch image so they could be layered and wrapped around the focal image.
mommy daddy and me (neat and tangled release week)

I placed the images onto a circle die-cut and layered that onto a sheet of baby blue gingham paper. I love that by just changing up the color of the baby mouse's blanket and the background paper, you could have a baby girl card instead.

The acorn mobile adds a sweet touch, hanging overhead, and the sentiment is from Itty Bitty Welcoming Committee.

I hope you like what you see so far! The rest of the images are on display on the Neat and Tangled blog this morning - click!

And don't forget to leave a comment on every post this week - there's a $25 gift card to the NT store up for grabs, which is picked randomly from all design team posts this week.

♥.

Monday, October 3, 2016

Baby card set

Hi there!

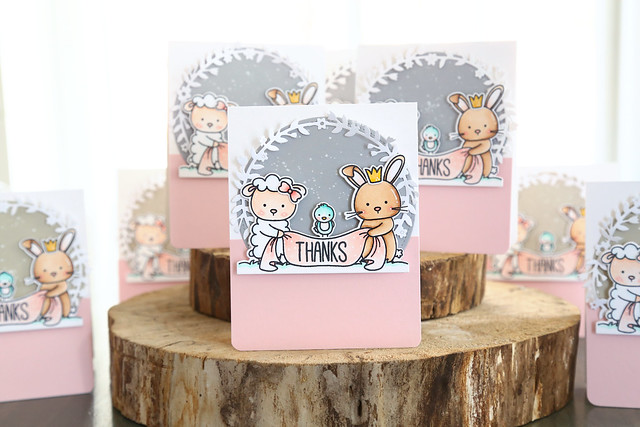
I'm on the NT blog today showing off a card set I made to slip into my sister's baby gift basket (thank goodness she doesn't check crafty blogs, lol.)

My little sister is having twins in December! She already has 2 girls and this will be girls 3 and 4. We're so excited!

baby card set

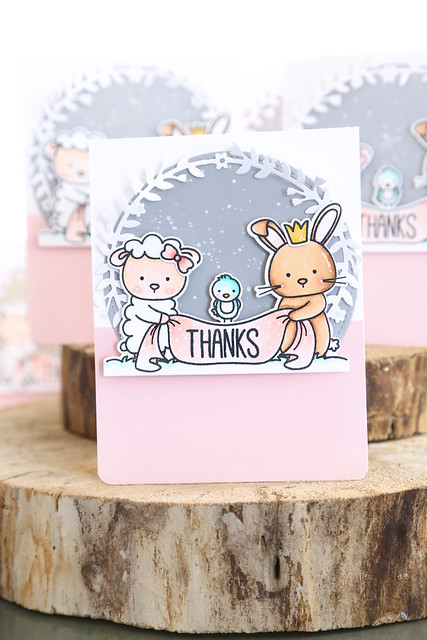
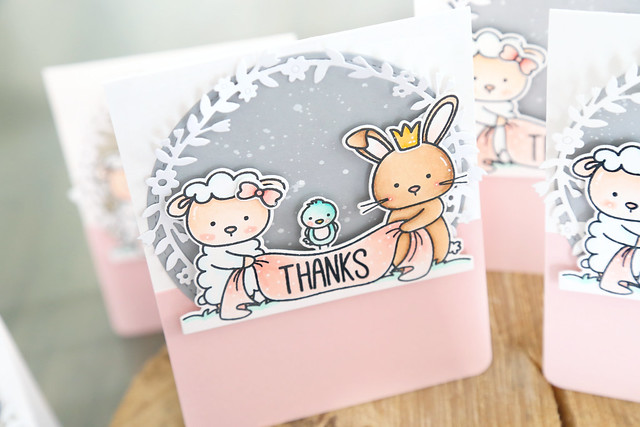
I love creating thank you cards for new moms. I used Itty Bitty Welcoming Committee for these cards. I love that the image is so large it takes the guesswork out of designing the card-front.

baby card set


When I create multiples of the same set, I usually do it very systematically. First, stamp and color all images, then die-cut them. Next, figure out what to do with them. It's not usually all planned out!

The best decision I did make was to frame out the focal image with the Hooray wreath. I snipped the word hooray out and placed it onto a piece of grey cardstock. 

baby card set

I splattered some white ink onto the grey circle to give it a dreamy quality and added some pink to the bottom half of each card to make sure that the set looked girly enough for my sister and her soon-to-be-FOUR girls.

Thanks for stopping by!

♥.


Monday, April 4, 2016

Don't give up! {Neat and Tangled}

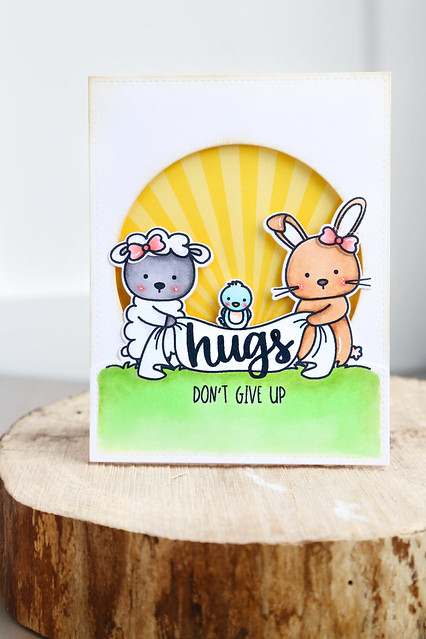
Hi there! I'm on the NT blog this morning, with an encouraging card featuring a mash-up of a few of our newest sets. 

don't give up (Neat and Tangled)


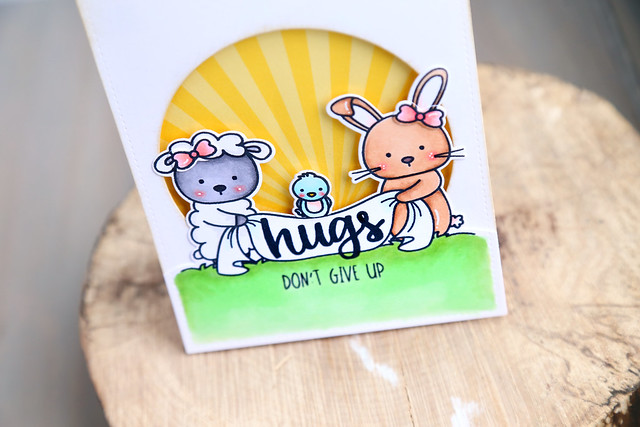
The larger-scale image from Itty Bitty Welcoming Committee obviously takes center stage. I stamped the images and die-cut them, but made sure to not die-cut the bottom of the grassy area. The entire image makes up the bottom half of the card.

I added the bird on top of the blanket, and stamped the "hugs" sentiment from another new set, Better Together

The sentiments in Scandinavian Prints are so great for supporting the larger script. A few of them could have worked here, but I chose "don't give up." I am more than a little obsessed with that stamp set's sentiments. They are basics, but I have never seen them before in a simple font that I love!

don't give up (Neat and Tangled)

Once everything was stamped and colored, I cut a simple circle out from another piece of white cardstock and adhered the image to it, showing a fun sunburst peeking from behind. A little reminder that the sun comes out eventually!

I hope you like what I created for you - thanks for stopping by!

♥.

Monday, March 21, 2016

Itty Bitty, 2 ways

Hi there!

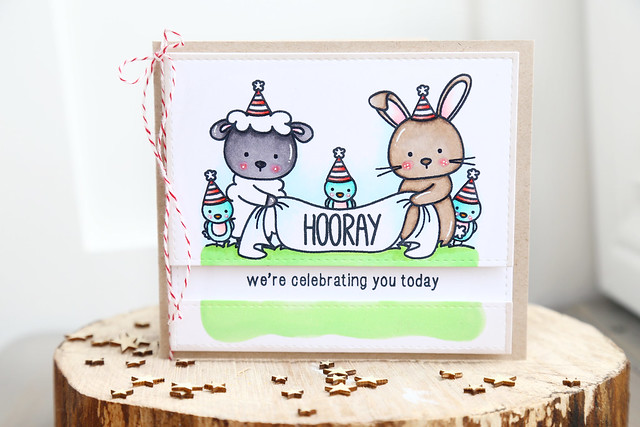
I'm here and on the Neat and Tangled blog this morning, to show off a few cards made with the new set, Itty Bitty Welcoming Committee.

itty bitty 2 ways

The first card uses it in a pretty straightforward way. I did some masking so that I could scatter some birds around the scene, and I gave everyone party hats. The party hats weren't masked - I stamped those separately, colored and cut them out (just the triangle of the hat, not the pom pom.) I then plunked them onto the stamped hats (the ones that showed the yucky intersecting lines.)

For some extra interest, I cut apart my panel and stamped the secondary greeting in the space between.

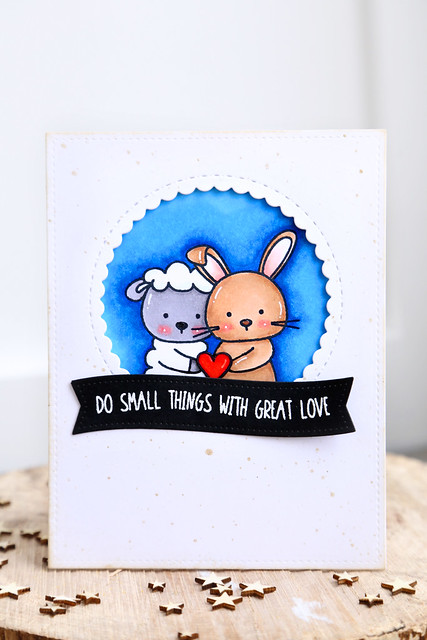
My next card uses the set a little differently:

itty bitty 2 ways


It requires a bit of masking, but it was fun to experiment with a completely different look! I first inked up the bunny side of the large image, but then wiped off everything to the left before stamping down (and even part of his hand.)  I then masked the bunny and did the same thing for the lamb.  I did have to re-draw some minor parts (what was removed of the hands) and the heart was cut out and placed in between to hide some extra lines.

Once the main image was done, I hid everything below the waist (which is what I always tell my husband when he takes my picture,) with a banner and sentiment from Scandinavian Prints - doesn't it work so well here? I really love the sentiments in that set.

I hope you like my cards for today! Thanks for stopping by!

♥.

Wednesday, March 9, 2016

itty bitty welcoming committee!

Hi there!

I'm so thrilled to be showing off the 2nd set that I illustrated for Neat and Tangled this month.  Itty Bitty Welcoming Committee is a mouthful, haha.

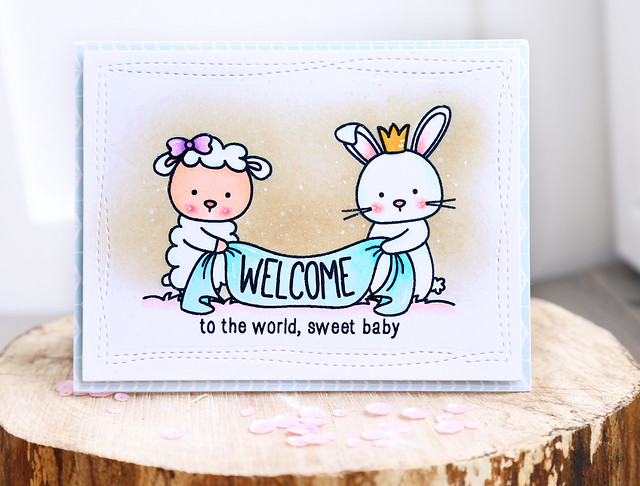
itty bitty welcoming committee

I designed the main image to be large, and everything connected together. I love making and gifting card sets, and this large image is all you need to make a quick focal point. Also, when you keep the bunny and lamb white, the coloring is a snap!

For this card, I masked the entire main image, and rubbed a soft brown ink around the outside. Since I was keeping the animals mostly white, I needed to darken the area around them to make them pop. I also splattered some white ink to soften the brown and make everything look more hazy and dreamy. I stamped the bow onto the lamb's head, and the crown onto the bunny's head - both accessories are included in the set. The soft blue blanket and subtle pink grass finish off this simple card.

I hope you like it! Before you go, don't forget to leave me a comment! You could win a 25$ gift certificate to the Neat and Tangled store.

There's more to see on the NT blog this morning - click!