Friday, September 12, 2014

the girl with the bear hat - a free digi stamp

Hey there!

I know not all of you are into digi stamps, but as I work and practise on translating my hand-drawn doodles into illustrated artwork, I just love to be able to share a little something with you.

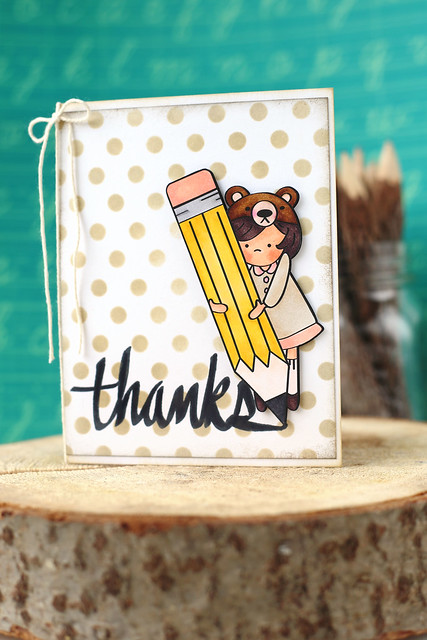
the girl with the bear hat - free digi stamp


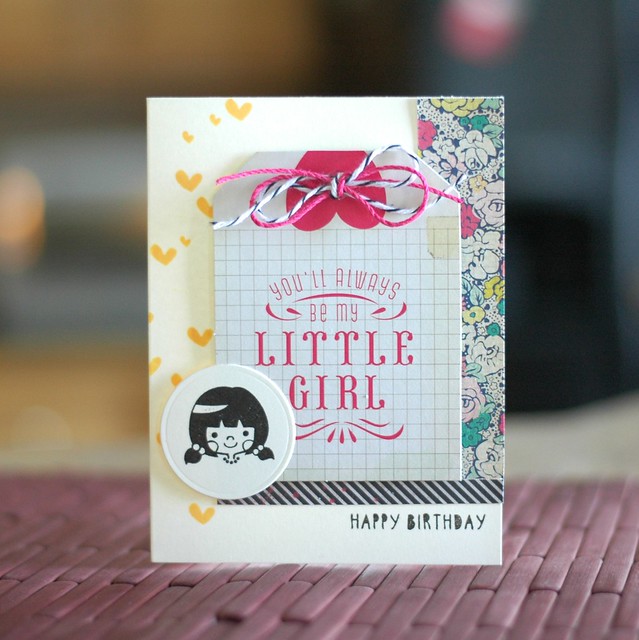
I drew a few back to school images, but I had in mind that she could be used for just about anything. Stick her next to a dear Santa sentiment, or a happy birthday and it would be just as cute. I love her bear hat and little school-girl dress.

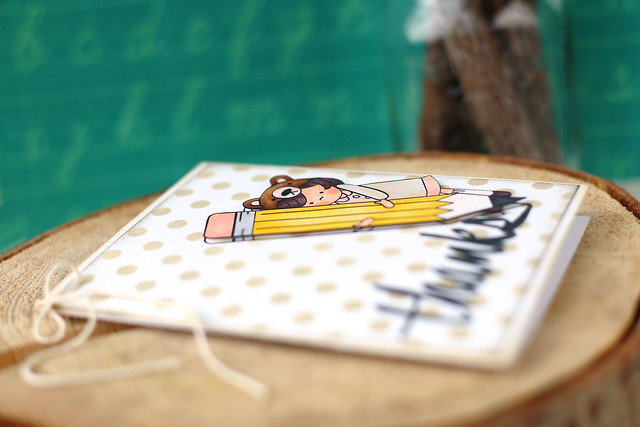
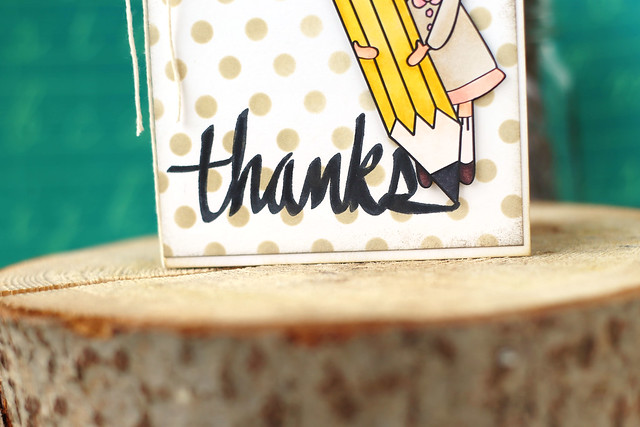
I used a stencil on the background and printed her again so that I could fussy cut and pop her up. The sentiment is by Altenew.

the girl with the bear hat - free digi stamp

This is my little gift to you, thanks for visiting my blog! I hope you like her.  If you decide to download and color her, leave me a link in the comments so I could come see - it always gives me a thrill!

the girl with the bear hat - free digi stamp

If you want to download the png file, click HERE.

If you would rather download the jpg file, click HERE.

If you want to check out last month's free digi stamp, click HERE.

♥.

Wednesday, September 10, 2014

milk & cookies {a mini party for lawn fawn}

hi there!

this month's lawn fawn party is a yummy one...

milk & cookies

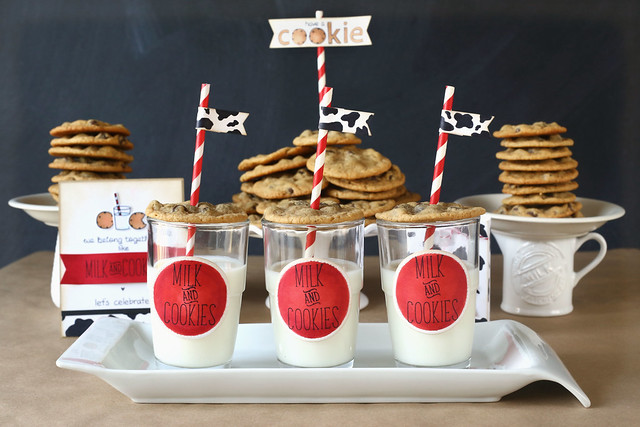
Create some decor using the new milk & cookies and violet's abcs stamp sets, bake up a batch of chocolate chip cookies, and suddenly it's a party.


milk & cookies


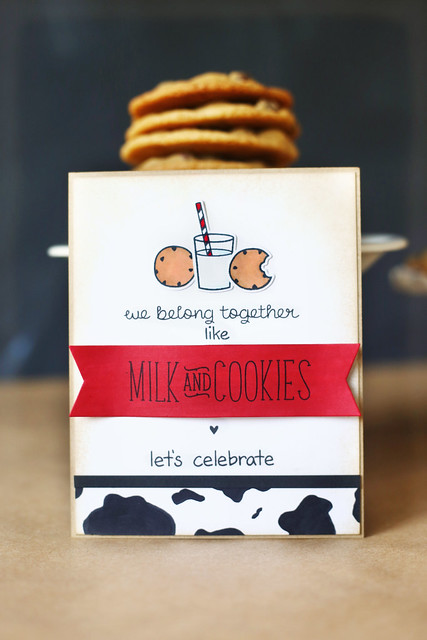
This would make the perfect little anniversary or valentine's day card too! I added some free-handed cow print throughout the decor, (and by free-handed, I mean it was me and a black copic marker, squiggling and splotching all over the place) starting with this invitation.

milk & cookies


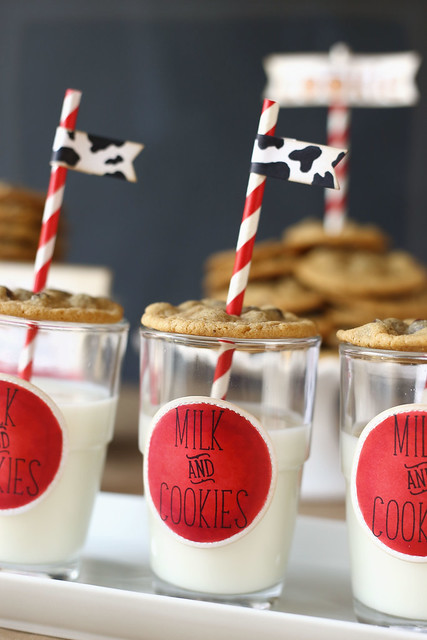
These labels are my favorite. I love the white border left around the die-cut edge, and the variation of color you get by sponging the ink on.  Violet's ABCS are so perfect, with that little fancy "and" in the middle, don't you think?

milk & cookies

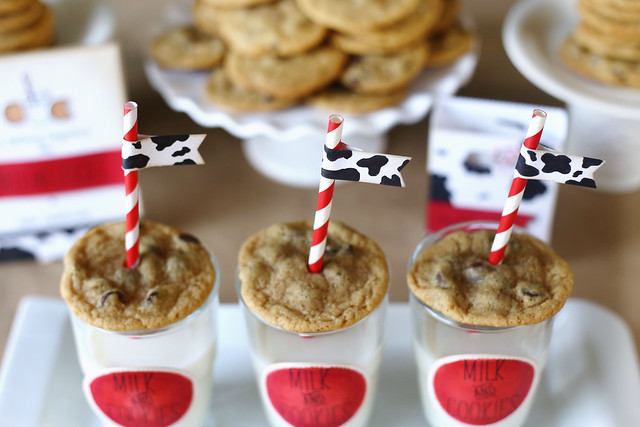
The cookies on top don't hurt either. My kids loved this after-school snack!

milk & cookies


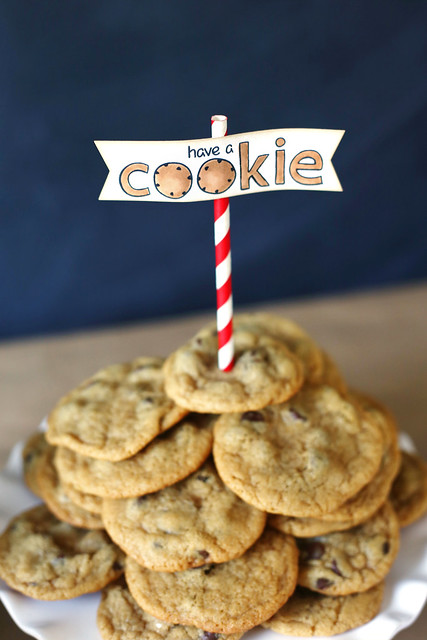
I made a simple flag to decorate the plate of cookies, swapping out the double o's for two cookies and coloring everything to look like baked goodies.  To create the double-ended banner, I used the one-sided flag, (from the large stitched journaling card die set) sending it halfway through my Big Shot, and then flipping it over and doing the same on the other side. easy peasy. I also did the same thing for the milk & cookies banner on the invitation you saw above.

Every party needs a take-home favor.

milk & cookies

I scribbled on the fancy cow-print again, added a little tag and tucked a couple of cookies inside. These were for my hubs, who couldn't party with us after school. A consolation prize, ha.

I hope you like my milk & cookies party! Hop over to the lawn fawn blog for a link to the chocolate chip cookie recipe I've been using for years - it's foolproof, especially if you slightly underbake the cookies. YUM!

♥.

Monday, September 8, 2014

Getting to know me blog hop

Hi there!

Today's post is a little different.  I am taking part in a kind of blog-tag-you're-it chain hop - the getting to know me blog hop. I was tagged by some of my favorite crafty friends to answer questions about my creative process and at the end of the post I'll send a high five to a few more who will continue the chain in their own posts next Monday.

I was nominated by some amazing bloggers: Melania (Deasy), a previous Gallery Idol winner and all-around blow-your-socks off creative mind, and also Taheerah, whose style is ethereal and dreamy and always unexpected. I am proud to count both as friends.

Let's get started!

1. What creative projects are you currently working on?

I have piles of Mama Elephant and Lawn fawn stamps in my work area.  I am so blessed to be a part of both company design teams and I am in the middle of working on projects that will go live in a few weeks.  I am also learning how to use Adobe Illustrator.  I offered a free digi stamp last month (click!) and I'm working on a new one for you - it will probably be offered later this week. Here's a sneak:

the sentiment is courtesy of Altenew.
Lastly, I was asked to help create table decor for a fall ladies' event at my church.  I'm thinking some brainstorming and a test-run or 2 may be in order this week!

2. What inspires your designs?

Inspiration can hit at any time: a wallpaper design, how things are stacked up in a display window, or the layout of a print design. I am first and foremost inspired by fellow crafters, especially fellow design-team members. Sometimes, I create something and think: so great! and then I see what the others made and I am in awe. I would love to craft with some of them to see how they operate!

3. What method or process do you apply to each of your creative projects, and how long does each project take to complete?

I'll answer the time component first: a looooong time. Even though I'm a stay-at-home-mom, I don't like to ignore my babes to work on stuff (even though, in a crunch, it's been known to happen as much as I try to work ahead and stay organized.)  I try to limit my crafty time to before they wake up and naptime. That doesn't leave enough of a chunk to start and finish a project all at once.  I find that I need to start with a clear vision, so I always sketch ahead, or at least figure out my focal images first. I may stamp and color an image in the morning, then work on the background in the afternoon and figure out placement in the evening. That's just how I roll.

4. If you have to describe your signature style, what would it be?

It's definitely cute. And as CAS as you can get with sponged edges? ha. I'd say I still like things to look clean and un-busy, but it has to look cute, dynamic, and fun. Quirky, even. I'm not too good at this, huh?

5. What 3 crafty tools or products can you not live without?

This is an impossible question. I obviously need stamps, a copic-compatible black ink and copic markers. But paper would be nice too, and at least scissors. This answer is a #fail. I can't narrow it down to 3 items!

If you've made it through my babbling (!) it's time to hand off the baton to 3 more worthy card-making bloggers:

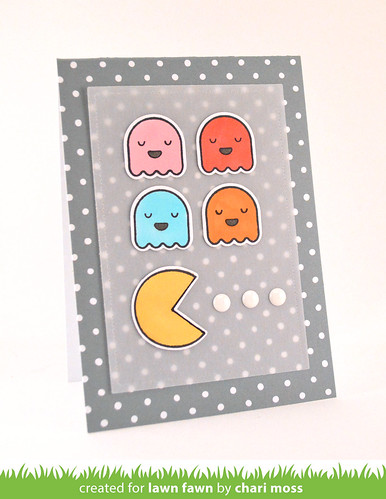
Chari Moss - one of the lawn fawn teammates I was talking about. She's creative and her designs are so sweet, with just the right amount of quirky to make me go whoa! Did you see the pacman card she made? Like that.


Wida Miller - the newest HA girl on the block. I'm happy to have known her from way back when. She layers things with an ease that I can only dream of, and always has an unexpected pop to her cards.  And, the icing on the cake is that her blog posts are as much of a treat to read as they are to look at. She makes you feel like you know her when you follow her blog.


JJ Bolton - I mean. of course she's on my short list. She's a cardmaker, stamp and die designer, and all around genius. The things she thinks of doing with dies is beyond what my brain can come up with.  Plus, I have a huge weakness for party crafting - hee.


Thanks for stopping by, and have a beautiful Monday!

♥.

Friday, September 5, 2014

Beach par-tay!

Ok, so not so much a beach party, as a party at the beach house.

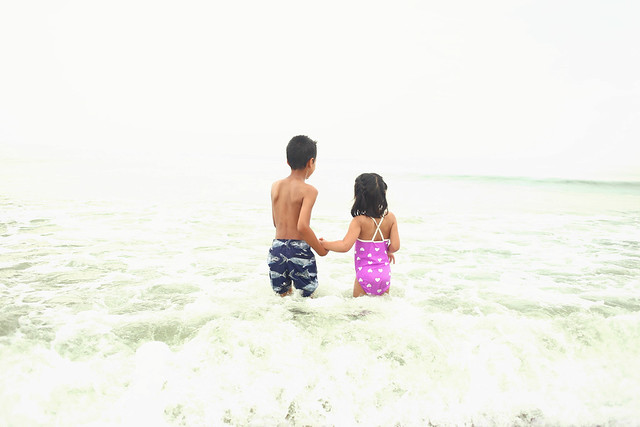
You may remember that we spent a few weeks in Virginia Beach just last month.

20140823_172

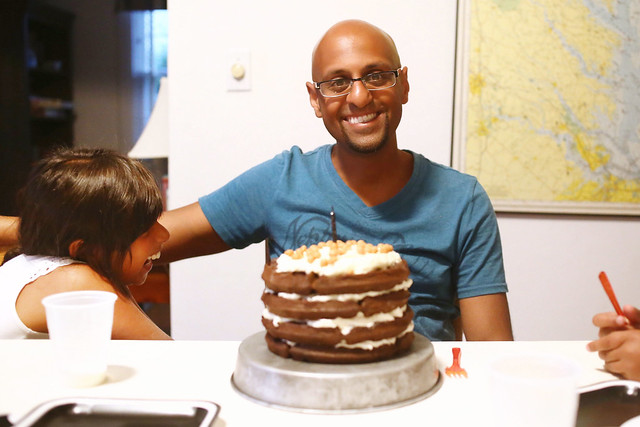
It was glorious. During that time, both my nephew and my hubby celebrated their birthdays.  My sister brought all kinds of Teenage Mutant Ninja Turtle decorations to the beach. I totally winged it for my man. And for cheap too, so I thought I'd share.

beach par-tay!

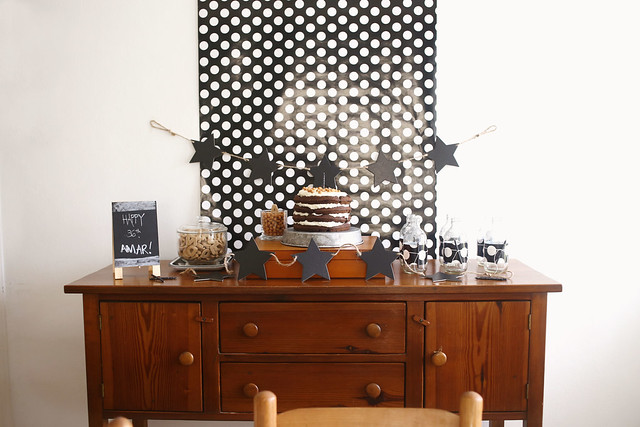
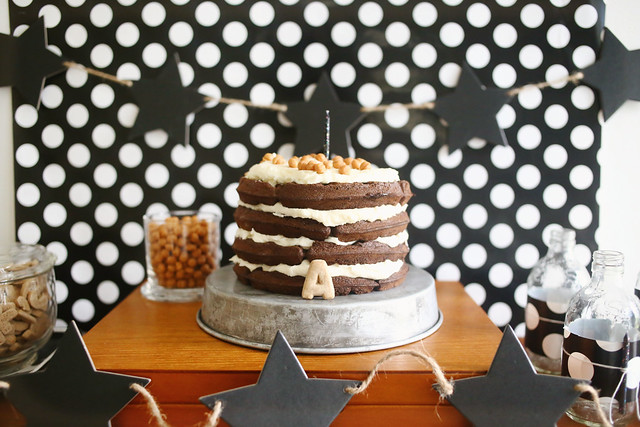
I picked a spot in the dinning room to stage the desserts. The sideboard was perfect, as was the cutlery box that I propped the cake up onto.

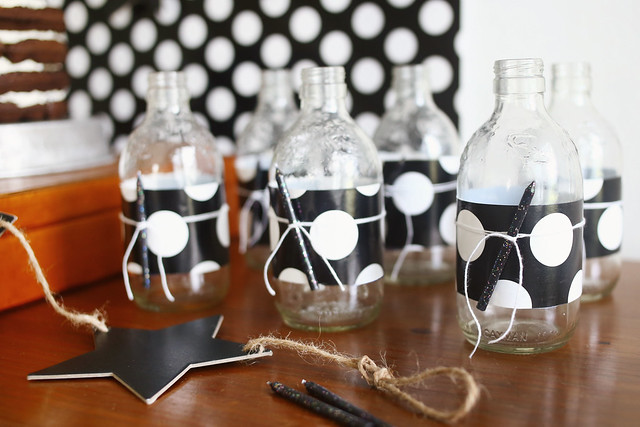
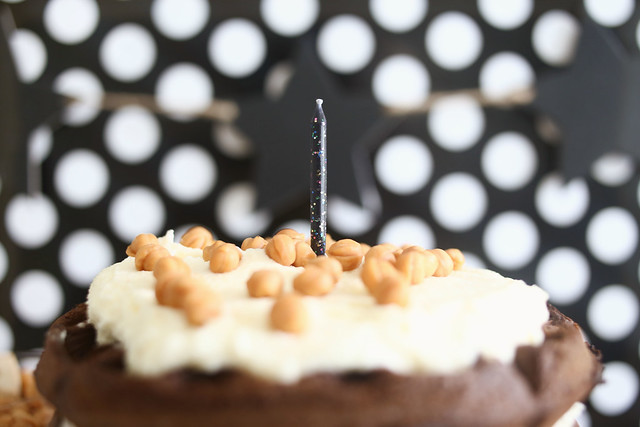
The first thing I bought was a 2$ roll of black and white wrapping paper and went to town, using it as a backdrop and also as bottle wraps.

beach par-tay!

Now, these bottles. I didn't find them at the house. When on vacation, we like to scout for drinks that are not available to us in Canada. I picked up a 6-pack of Margarita drinks and washed and stored each bottle as they were polished off. I cut lengths of wrapping paper, wrapped them and called it a day.  Just don't look too closely - I was really missing my paper-cutter! My scissor work is questionable, hee hee.

beach par-tay!

For the cake, I went REALLY fancy. A chocolate cake mix. The only problem was the lack of cake pans. The one I used as a cake stand was the only one I could find. Boo-urns. I pinterested my problem and thankfully found a solution: i baked the layers in the waffle-maker we'd been using all along for breakfast. At 3 minutes per cake layer, this was such a quick solution. While the layers were baking, my sister whipped up the filling and we were done really quickly.

beach par-tay!

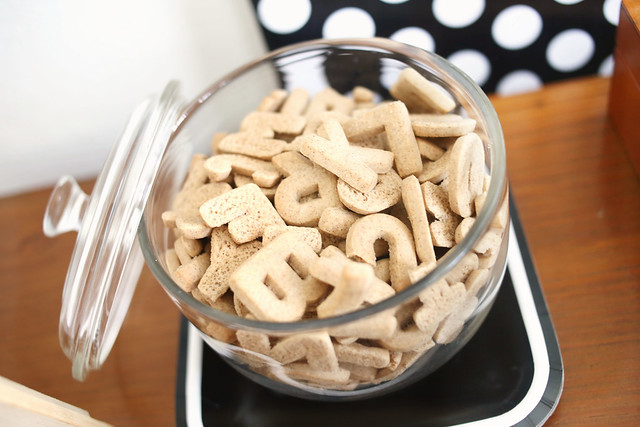
Dudes. These cinammon cookies from Trader Joe's are amazing. I wish we had a Trader Joe's around here!

Back to the party.

beach par-tay!

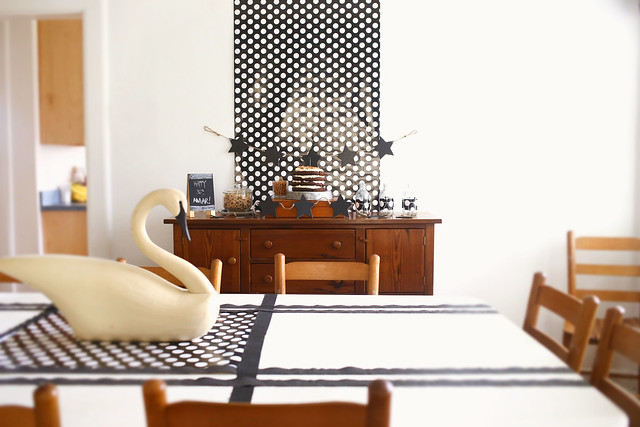
The swan centerpiece was hilarious. I had been eyeing it, atop a bookshelf for about a week before I climbed up and brought it down. It matched my color scheme, so I thought, why not? What I didn't expect was everyone asking where the swan came from. Not much of a eye for detail, the rest of them!

I used a leftover square of wrapping paper and a roll of crepe paper to dress up the table.  Let's pretend it all works.

beach par-tay!

This guy looks pretty happy.

Here's the decor damage:

roll of wrapping paper - 2$
roll of crepe paper - 1$
candles - 1$
chalkboard easel - 2$ with a half-off coupon at michaels
garland of stars - 8$ each (I bought 2 of them on liquidation, but I justified it by knowing I'll use it for christmas decor this year.)

If you wanted to throw a similar party, you could even skip the chalkboard stars and cut a garland out of cardstock. With just a few special touches, you can throw a cute party anywhere you go!

beach par-tay!

Thanks for stopping by,

♥.


Thursday, September 4, 2014

a crafty break: back to school photos

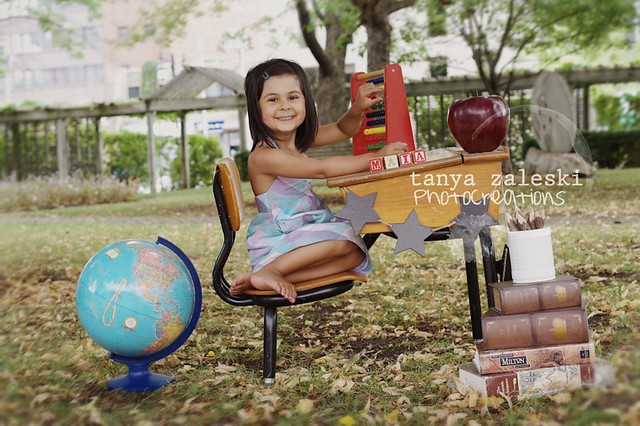
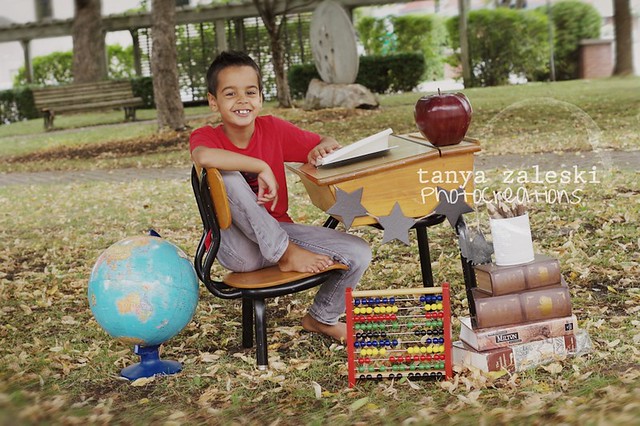
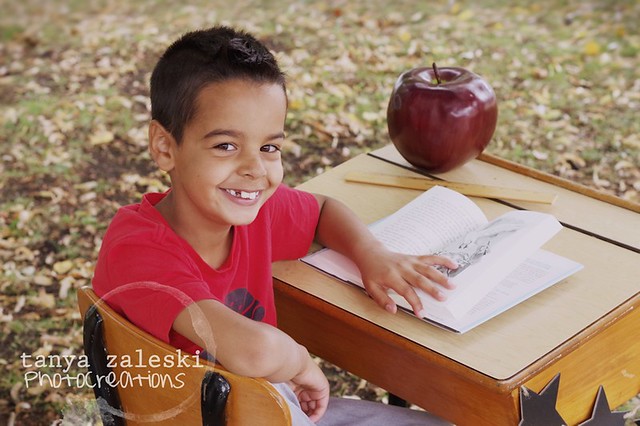
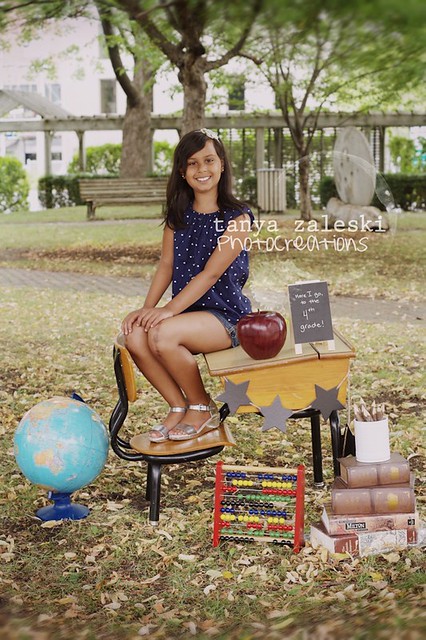
If you follow me on instagram (mom2sofia), you may have seen how I spent my last day of summer vacation. I helped style a little vignette with my favorite photog and friend, Tanya Zaleski.  She brought the desk, and I filled it out with a few items I had around the house... you know, like the big giant apple and the Milton and Shakespeare texts from my English Lit days.

Here are my kids!

back to school photos

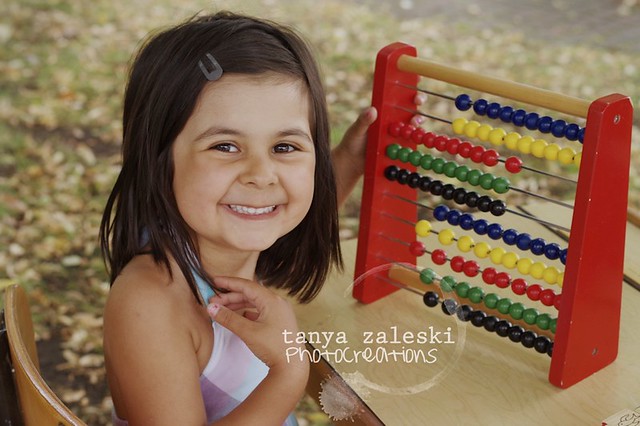
This is Maia's 3rd and final year of preschool. Every year until now, the teachers have had to peel her from my body and distract her with promises of toys so that I could slip away.  My heart couldn't take it. Thank goodness this promises to be a better year.

back to school photos

She wakes up excited for school now, with a smile as big as the one in the photo. She lights up my life.

back to school photos

Thomas is in grade 2 this year! I swear this kid only grows lengthwise. I keep trying to slip him extra servings of fat, but to no avail. When I woke him up, at 6:15am, for his first day of school, he shot up and high-fived me. Way to start the year off right.

back to school photos

I slipped a treat bag into their lunchboxes yesterday, with a crafted tag on it. He came home and said thanks, mom! but my friends said you shouldn't have made that for me because I was embarrassing myself.

I guess we're at that age now?

back to school photos


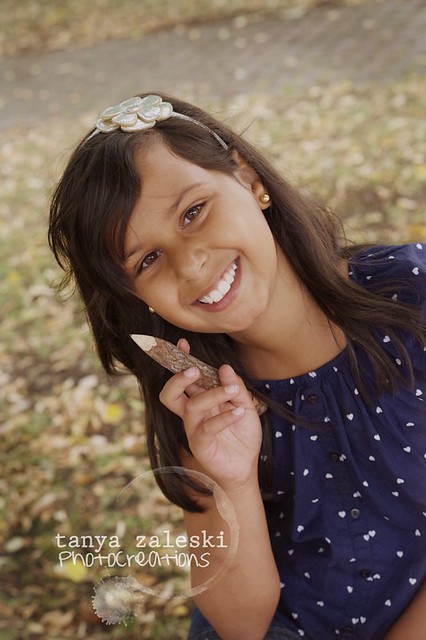
Sofia is off to the 4th grade! What a difference a year makes. Last September we weren't going back to school - we were in the hospital where Sofia was being operated on both knees. Having missed the first few months of school back then is making this year's experience that much sweeter.

back to school photos


I am so proud of this kid.  Every piece of her is a burst of beautiful.

♥.

Wednesday, September 3, 2014

stretch your stamps...monster style

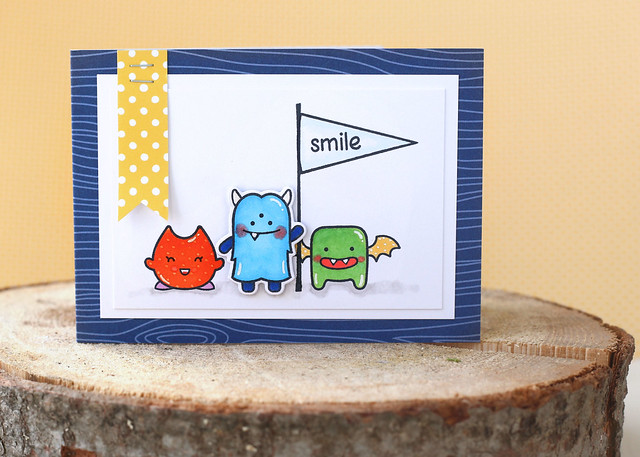
hi there! I have a fun card for you today, and a little hint on how you can get even more use out of your new lawn fawn stamps:

monster mash {lawn fawn august inspiration week}

Those monsters are the cutest. I colored them in bright colors, and used a white gel pen to make them pop even more.

Do you recognize the flag image?  no?

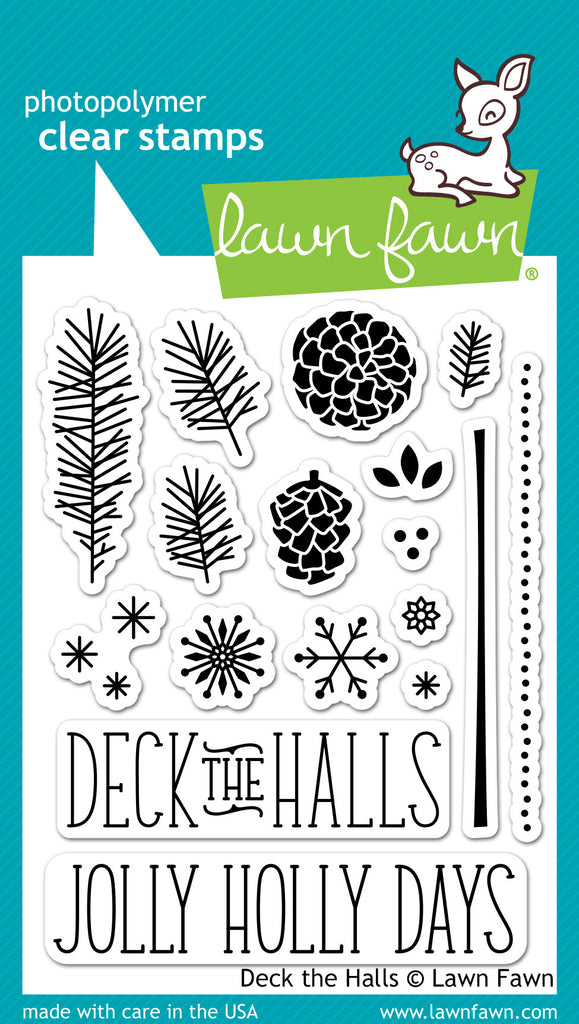
The branch image from Deck the Halls,


combined with the open tree image from Snow Day.


Once I inked it up, I just had to wipe off the tree's trunk before stamping it sideways as a flag. And voila!

I hope you like it!

♥.


Tuesday, September 2, 2014

carnival toppers {mama elephant designer series}

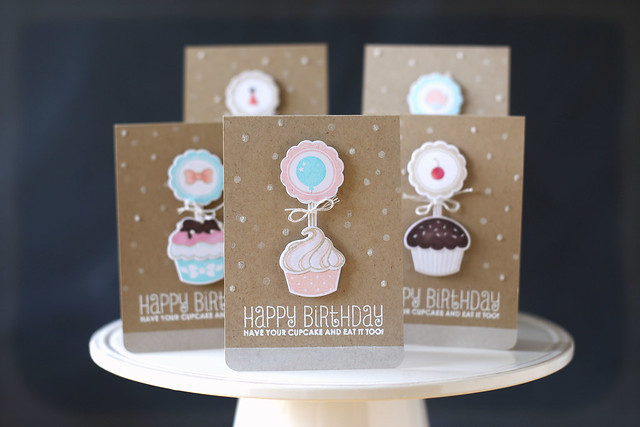
Hi there, I'm here and on the Mama Elephant blog today with a quick and easy carnival toppers card set.  When paired with carnival cupcakes and their matching dies, it's a snap to create a gift set, or just a slew of birthday cards to have on hand for last minute parties.

carnival toppers

I'm so sorry I didn't take extra pictures, but I was literally out the door to hand-deliver these as a birthday present to a friend.

Some tips for you, as you mix and match for a gift set:

  • keep to a color scheme: I kept mine loose but still cohesive in pinks, light blues, and browns.
  • keep the same design on each card: a cupcake, its topper, a bit of twine, some confetti dots and sprinkles, the same sentiment and a swipe of white ink along the bottom.
  • package it pretty: I put these into a clear card box and finished it off with a gorgeous ribbon.
I hope you like it!

♥.