Hi there!
Welcome to day 1 of this month's Lawn Fawn inspiration week! Today, we're showing off the BEARY cute Oh What Fun stamp set and matching dies.
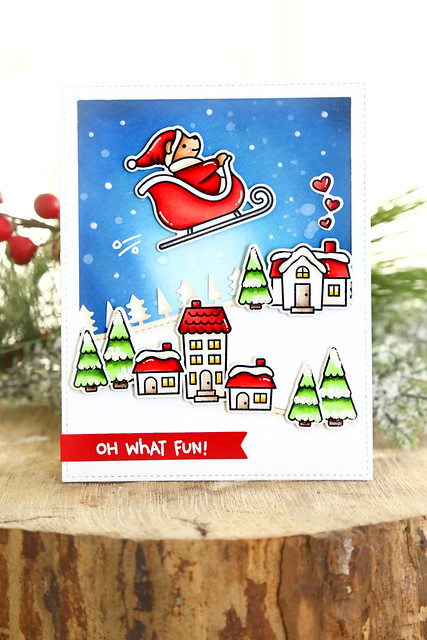
I did some ink blending with different distress inks (faded jeans, tumbled glass and black soot) to create the rich blue background.
The Santa-bear was placed high in that sky, over the little Winter Village houses. I set the houses onto layers of the Stitched Hillside backdrop, and added a forest border behind to fill in the scenery. I love how Lawn Fawn creates these products to work together!
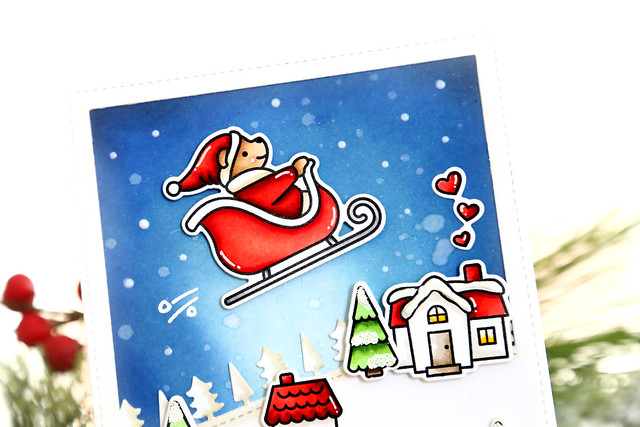
Doesn't he look a little like Winnie the Pooh? ugh, so cute.
I hope you like it! There's more to see on the LF blog this morning - click!
♥.
Welcome to day 1 of this month's Lawn Fawn inspiration week! Today, we're showing off the BEARY cute Oh What Fun stamp set and matching dies.
I did some ink blending with different distress inks (faded jeans, tumbled glass and black soot) to create the rich blue background.
The Santa-bear was placed high in that sky, over the little Winter Village houses. I set the houses onto layers of the Stitched Hillside backdrop, and added a forest border behind to fill in the scenery. I love how Lawn Fawn creates these products to work together!
Doesn't he look a little like Winnie the Pooh? ugh, so cute.
I hope you like it! There's more to see on the LF blog this morning - click!
♥.