Showing posts with label turning a new leaf. Show all posts

Friday, March 30, 2012

ColourQ #130

I whipped up a quick card for this week's colour Q.  (Quick, because I'm in the middle of sewing 7 stuffed, fleece monsters, and making monster party invitations... I can't wait to start sharing all the party stuff!)

If the card looks familiar, it's because I just finished making baptism invites with a similar pattern, but the brighter colors freshen it up a bit...

Here's is the challenge inspiration... so pretty for Easter:


and my card:

I used the colors listed, but the closest thing to tempting turquoise that I have is SU's pool party.  I'm wishing I had that stronger blue to pack in a good punch!

I stamped a floral pattern onto my focal panel, then die-cut a PTI "fillable frame" and stamped the coordinating image onto my card base.  I mounted the floral panel onto the base with foam squares.

Have a great weekend, all!

Monday, March 19, 2012

Using leftovers+PTI princess challenge.


Sometimes, happy things happen.  Like, the baptism invites you were in the middle of creating gave you enough extra pieces to create a(nother) card set by request....  

And, in spring colors too!  So I'm entering it into our latest PTI princess challenge :)  Let's peek inside, shall we?  (ps, today's pics are courtesy of Tanya.... these are the kinds of photos I want to take when I grow up.)


This is what happens when you place a beautiful little rosette onto 10 card-fronts... no box would hold these fatsos, so into a bag they went :)


I love the pitter-patter of rain behind the gift bag.  le sigh.


For this card, I used a hero arts grid-pattern background, and a mix of PTI stamps to create the floral pattern in pinks and peaches.  The little rosettes were cut out of sunny yellow cardstock.  


Thanks for peeking!

Friday, March 2, 2012

Digital+stamped invites.

I have the happy dilemma of having crafted too much this week!  Sooo, I'm just sitting here wondering what to share with you today, and what to keep on the burner 'til Monday... and just  now, in this instant, the samples I made for a baby baptism are winning out :)

The couple asked for something feminine, floral, and with a spring-time feel.  Obviously, besides the little girl's name, all information is incorrect (ok, I think the church is real also, since I thieved it from a previous invitation I'd made for someone else... I seem to have tapped into this particular market...ha!)


I formatted the text, and simply stamped some florals from PTI's "friendship jar: summer fillers" set at the top, and the line strip from Hero Arts' "my happy" at the bottom.  A huge pearl gave it the necessary bling (we greeks, we need some bling on a card!)


This was her favorite :)  The text is a soft grey, with her daughter's name in pink.  I used a few PTI sets to stamp the pink and peach florals: "in bloom," "rosie posie," "YOTF: marigolds," and "turning a new leaf."  


This one was my personal favorite.  I used a peach, pale plum, light blue, light green color combination and lots of different sets.  I even threw in a few snails from "way to go, kiddo!" - I love it *big grin*

Thanks for peeking, and have a great weekend!

ps, I must have taken 100 pictures of these 3 cards, and I am still not impressed with the outcome... sigh.  I should have tried photographing them flat, I think...

Tuesday, November 1, 2011

MIM #39 - multi-stamp-background

Using different stamps, in different sizes, you can create your own background papers.

I custom-made the floral background paper, using the following steps:

step 1: stamp rows of the circle border (from "tag its #2")
step 2: stamp the flower inside each circle (from "in bloom")
step 3: fill in the gaps with the tiny circle image (from "fly away") - I just noticed that I missed to stamp one area!  Can you spot it?  ha ha.  I'll go back and stamp the live card :)


I did create an extra step, which was to stamp over the whole thing with the hero arts envelope pattern background stamp.  I feel like the subtle pattern helps to unify everything...

The colors I used (crumb cake, baja breeze, and very vanilla - all SU) fit in with this week's Play date cafe challenge.  I'm sliding my card under the door, so to speak.  I think there are only a few more hours of play on that one.


Thanks for looking!

Tuesday, August 23, 2011

Happy day.

I have another card using the emboss-resist technique for you today - and another floral embellishment!  It feels like I've been putting a lot of flowers on my projects this week ;)


I started with a vintage cream card-base, and clear-embossed the sheet music images over the entire length of the card front.  I rubbed tumbled glass distress ink over the entire area.  Here's a closer look at the embossing:


I distressed a paper doily with antique linen distress ink, and layered a tag-sale 4 shape over it.  On the tag, I stamped images from Button Boutique before adding my floral embellishment and a "turning a new leaf" die-cut piece.  I nabbed the sentiment from my stash of old SU rub-ons...


The flower was so easy to create!  Here's  photo step-by-step:


I punched a 1.75" scallop circle shape, and burnished it with my bone folder (ignore the blatant Martha Stewart product placement!) until the fibers of the paper broke down enough to gently pull them apart.  I then scrunched each scallop circle and placed one on top of the other.  You can mold them even better if you gently mist them with water... Add a rhinestone or button in the center, and voila!  Another kind of floral embellishment.

Thanks for looking!

Thursday, August 18, 2011

on the cool side...


The latest PTI princess challenge was to create card using either only warm or cool tones.  I immediately went cool - the blues of the ocean and the greens of summer found their way onto my card...

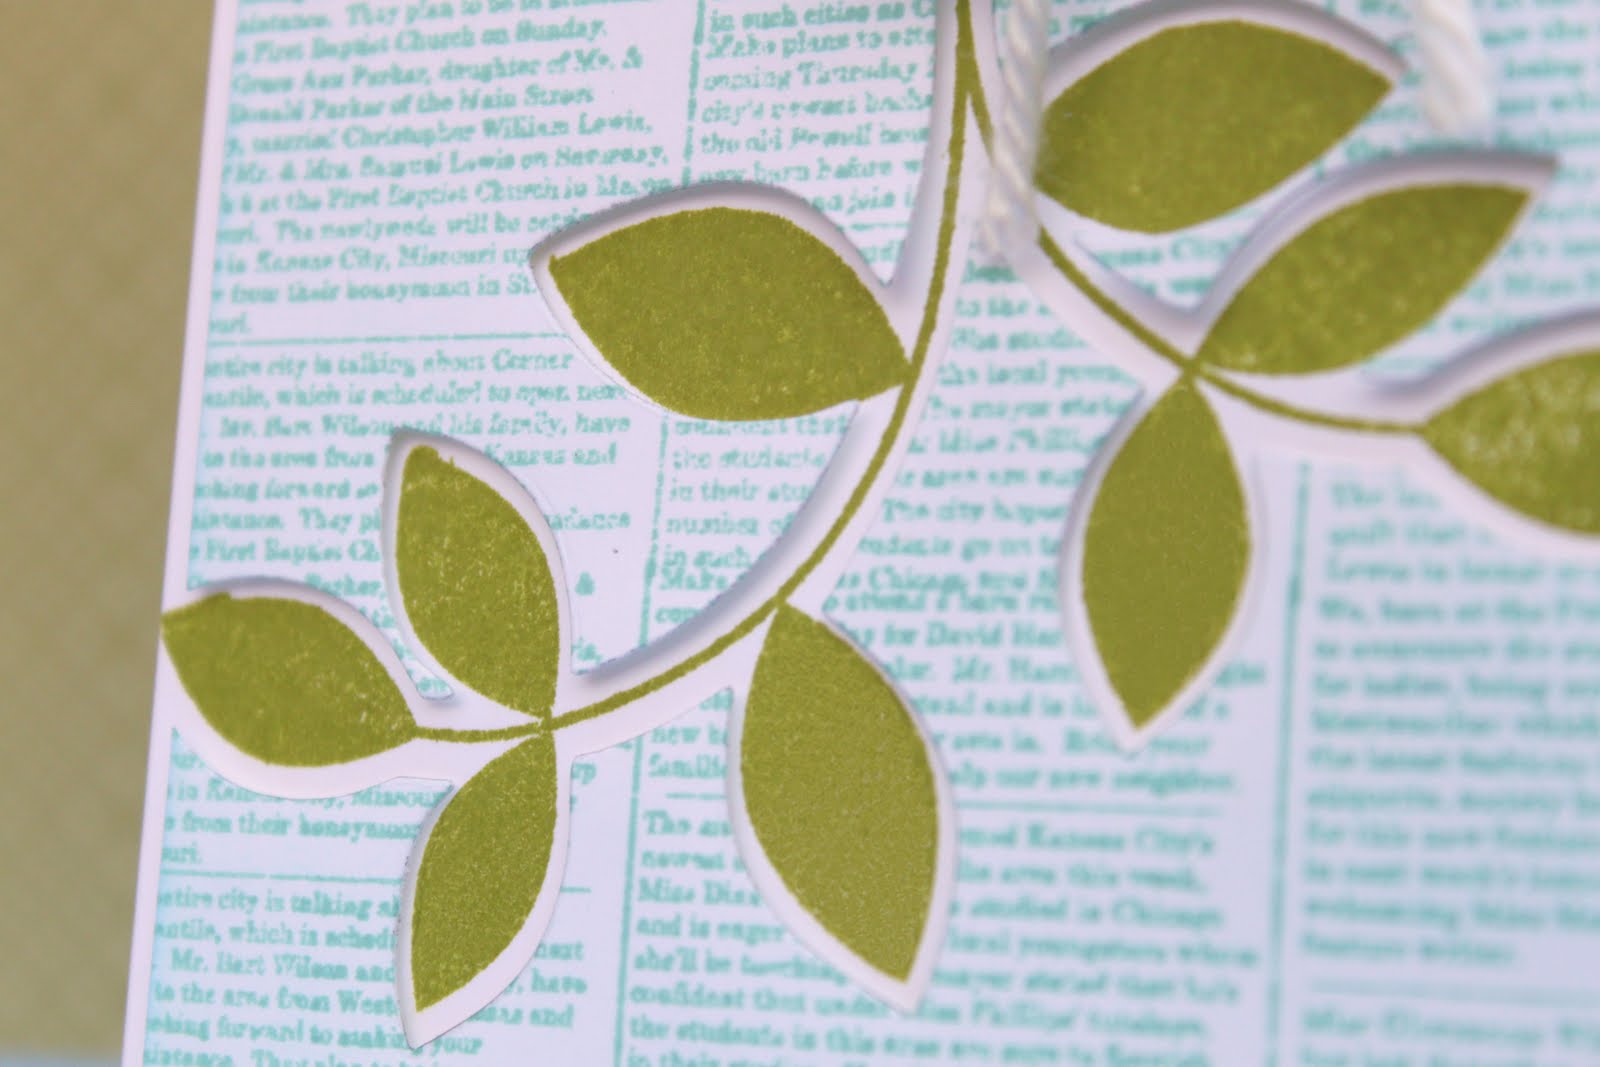
I stamped the newsprint background over my white mat, distressed the edges, and cut into it with my "turning a new leaf" die, and popped it up on foam squares.  In the negative space, I stamped the coordinating leaf image.


Thanks for looking!

Wednesday, July 13, 2011

card #2 for week #3.


I really do love these colors together!  I couldn't help but put together another card.


It's so easy when you have most of the elements already created (I have a pile of stuff that didn't work out from other cards or were just extras - so handy for crafting in a pinch!)  The only thing I stamped especially for this card is the leaf image.  I colored the stamp with my SU creamy caramel marker and it gave me this soft, dewy look that I rather like.  Oh, and I stamped on top of the music background with the hero arts envelope pattern again.  I can't promise I'll stop using it anytime soon.  It's so subtle, you hardly notice it - but something's missing without it.

Have a great day!


Friday, June 10, 2011

MIM #18


This super 3-D card is NOT going in any envelope - let's put it that way.  I'm not sure where I was going with that pom-pom, but I'm not feeling well today and it looked cozy, so there.  I'm entering this one into PTI's MIM challenge:  "adding texture with tissue paper".  On my white mat, I stamped an image from "turning a new leaf" in different directions in old olive ink.  I then painted a thin layer of white glue onto it, and carefully-but-not-too-carefully placed a layer of white tissue paper on top (you know, the kind you use as filler in gift-bags...)  It  made a really cool texture!

It also really sudbued the color of the old olive ink!  You'd hardly be able to tell that the embossed leaf on top was die-cut using the matching old olive paper...

The pom-pom is so easy to make!  There are so many tutorials out there, but this is a quick run-down of what I did.  I wrapped and wrapped yarn around my index and middle fingers (bunch more fingers together, get a bigger pom) - until the whole thing was nice and thick.  Then, I tied it in the middle (so now it looks like a figure 8, with a nice belt in the middle).  I cut all of the loops with scissors - and the more you trim the pom, the better it looks.  Actually, I can still see spots where it needs more of a haircut... but pretty cute!


The brown layer is a chocolate chip mat stack 5, with a kraft scallop circle on top.  Does the pom look a little like the center of a flower to you?  A very funky flower?  Good.  We're on the same page.

Have a super weekend, peeps!

Wednesday, May 25, 2011

Flowers.


It's PTI blog-hop time!  I'm so excited to see what everyone's come up with - there are so many ways to use flowers in our work.  Since I'm desperately longing for a real spring (the kind that comes with sunshine and some warmth) I decided to go all "birds and blooms" with this one.

For each flower, I cut 6 flower-fusion #1 shapes.  Each layer was folded, folded again and then stitched in place.  I love the frayed edges, and that each flower looks a bit different.  I also die-cut the banners from an old t-shirt and stamped on them with text-style II.  I did the same thing on the leaf die-cut after stamping it with vintage cream.


I think I'm a little obsessed with banners lately.  Love making them, love looking at them.  There are a few that haven't been taken down in the house from the kids' parties...I even whipped up a cute banner for my kids to hold up during our family photoshoot this morning.  Speaking of which - time to put on some makeup and get everyone going!  I can't wait to sit down with a tea later this afternoon and make my blog-rounds!  Have a great day and thanks for looking.

Friday, April 8, 2011

Happy birthday, mom!


I haven't updated my blog all week!  It's not that I haven't been crafting - my crafts are actually starting to eat up valuable space in the living room:  pink napkin-flowers strewn on the mantel, crepe-paper-rosette-wreaths on the shelf where the books used to be (books banished to the basement), a pirate banner on the dinner table... the list goes on, believe me!  And, to top it off, it's my mommy's 60th birthday this weekend!  Happy birthday, mom!  I can't show off any of the decos or cards created until after her Sunday-evening-party, but here's a birthday card in her honor.  Cheers!


Supply list (all PTI, unless otherwise noted)
Stamps: Background basics: newsprint, background basics: gingham, tiny treats: birthday
Ink: Bashful blue, basic grey (both SU)
Dies: turning a new leaf, buttoned up #1, beautiful blooms 2 #1
Misc: yellow tissue paper, rhinestones, doily, PTI felt

Wednesday, March 9, 2011

MIM - distressed

Distressed edges.  It's a papercraft-y thing, not my mood today ;)  The challenge is to add distressing to our projects.  You can catch the video here if you're interested.  Without further ado, here's my bright and flowery contribution (in direct defiance to the 15cm of snow we're scheduled to have drop tomorrow - grrrr!)


I stamped the medallion from mat stack 2 in a pattern on the base cardstock layer, then distressed a layer of gorgeous basic grey paper, added a sentiment from signature greetings and a leaf from turning a new leaf.  I distressed the leaves with the edge of my scissors - I like how that looks!  I also wanted to add a pattern to the leaf image, so I inked it up in yellow and "kissed" it to the striped image from background basics: retro.  Once in red and again in blue.  Hope you like it!

Friday, March 4, 2011

You're a peach! (no, really - you are!)


Did ya miss me?  Probably not, lol.  We packed up our crazy family and went to Vermont for a few days of spring break.  Apparently, 3 other families we know had the same idea :)  Our kids had the time of their lives with other little friends in the hotel pool (and when you are 5 and 3 yrs old, there is nothing more fun as swimming in the hotel pool - it's a fact.  Let's not talk about the 10 month old who freaks out over everything... water included.)  We even ran into Sofia's school principal - in her sweats, feeling around for her morning coffee at the breakfast bar... hilarious.

We went to Michaels (I usually schedule trips around where the nearest Michaels can be found, since it doesn't exist in Montreal,) but it turns out I have been tainted.  Way too spoiled by PTI and SU stuff to appreciate much of anything there.  I ended up raiding the dollar bin for the kids so they could stamp in the hotel after their baby sister went to bed.  I thieved one of their new stamps for this card - I thought it was pretty cute!  I stamped it 3 separate times:  once on the notebook die cut, and 2 other times on post-it notes.  I created a mask for the peach and for the leaf out of these post-its, so that I could stamp a pattern inside without adding extra layers to the card.  Here's a close-up shot:


See?  No extra layers.  And by the way, thanks for reading my blog.  You're a peach. xoxo.