Showing posts with label MIM. Show all posts

Wednesday, December 21, 2011

the cram-it-in-before-christmas post.

this is the one where I share more than I should in one post.

no time for chatter - let's jump in, shall we?


First up: teacher gifts and MIM tags.  Oh, and some chalkboard art.  No holiday is complete in our home without a decorative chalkboard... I mean, if we're being honest, that wall-of-chalk is as much for me as it is the kids...


Back to the tags.  I used PTI's tag sale 5 die to cut these tags, and they open up to reveal a little christmas message to each teacher in Thomas' preschool.  The tags themselves are all 1 layer tags.  I had fun using masks and layering stamps to make it interesting, but still non-bulky.


I created 4 designs, and made the little gingerbread tag twice - he's so cute :)


Inside the jars?  A homemade hot chocolate mix, topped with a layer of milk chocolate chunks, mint chocolate, and chopped up candy canes, topped with a layer of jumbo marshmellows - yum!


Thomas also gave each of his little friends a tasty treat - and I don't know if this exists on any blog out there, but I think it's pretty genius.  I made some gingerbread cookies, then melted some hersey's candy cane kisses and spread a layer of the melted chocolate on each cookie.  The mint and gingerbread combo is delicious!  And they look so festive  - although the color scheme is a bit girly for Thomas to be handing out... I only thought about it afterwards... hee.


Not to be outdone, Sofia filled 22 of these long cello bags with holiday-colored jelly beans.


The toppers were simple enough that she could actually do the work all by herself (except the stapling).  I think she did fantastic!

If you made it all the way through, whew!  Thanks for looking!

Monday, November 21, 2011

MIM #42: backgrounded sentiments

This week's MIM challenge is to make a layered background, using sentiment stamps.


I layered some "think big sentiments," and a few sentiments from "tiny treats: christmas" and "friendship jar holiday fillers."  I stamped them in full strength, but kept them tone-on-tone to still treat them as a background pattern.  To add some extra depth, I opted to stamp the hero arts envelope pattern background stamp over the whole red mat.  I love that stamp so much - it's subtle, and adds the perfect amount of texture.


My snowman duo was die-cut from the "in the meadow" dies and propped up with foam squares.  The tiny snowflakes to the left of the "merry and bright sentiment" are from lawn fawn's "making frosty friends."

I also dry-brushed some shimmer paint onto my little snowmen.  They glimmer in real life, even though they may look a little dingy here...

I'm also entering this card into the CAS-ual fridays challenge - I used their lovely sketch for my card :)

Friday, November 11, 2011

MIM #40: reverse applique

This week's challenge on Nichole's blog is to add stitching around the negative of a die-cut.


I didn't trust myself with a sewing machine for these delicate snowflakes, so I drew my stitching lines instead.


I used my MFT snowflake dienamics to cut into a sheet of kraft cardstock.  I stamped Hero Arts envelope pattern background over the entire area, and used a brown marker to add my stitching lines.  The sentiment is from PTI's think big favorites.  I love that font!

Thanks for taking a peek!

Tuesday, November 1, 2011

MIM #39 - multi-stamp-background

Using different stamps, in different sizes, you can create your own background papers.

I custom-made the floral background paper, using the following steps:

step 1: stamp rows of the circle border (from "tag its #2")
step 2: stamp the flower inside each circle (from "in bloom")
step 3: fill in the gaps with the tiny circle image (from "fly away") - I just noticed that I missed to stamp one area!  Can you spot it?  ha ha.  I'll go back and stamp the live card :)


I did create an extra step, which was to stamp over the whole thing with the hero arts envelope pattern background stamp.  I feel like the subtle pattern helps to unify everything...

The colors I used (crumb cake, baja breeze, and very vanilla - all SU) fit in with this week's Play date cafe challenge.  I'm sliding my card under the door, so to speak.  I think there are only a few more hours of play on that one.


Thanks for looking!

Friday, October 21, 2011

MIM #37 and a gift.

settle in - this is a picture-heavy post :)


This week's MIM challenge is to layer mats and create frames with different die-cuts.  This cute onesie tag was layered with a mat stack 4 shape.  Into the mat stack 4 shape, I die-cut the car from "enjoy the ride" before stamping its coordinating image into the opening.  The sentiment is from lawn fawn's "admit one."

The gift tag fits onto a homemade drawstring bag:


 I sewed it from scratch (a woman of many talents, I keep telling y'all... hee hee) and I ironed-on the stamped car to coordinate with the tag (I ironed some scrap fabric onto fusible webbing, die cut the car shape, stamped the car outline onto it with memento black ink and the colored part with a blue pigment ink.  The whole thing got ironed to the front of the bag.)

I made the bag from a tutorial found here.  I'm a complete beginner sewer, but I love how I can use my papercraft supplies in coordination with my fabric stash - so fun!

In case you're in complete awe, and you can't believe I made the bag from scratch, here's a close-up of the wonky stitching:


but look at that nice bottom (ha!):


In any case, I can't wait to go see my friend and give her the goodies inside and hold her sweet little boy for the first time.  Wanna sneak peek? (Kimmy, if you're reading this, now's the time to look away...)


First up, the card set from this post:


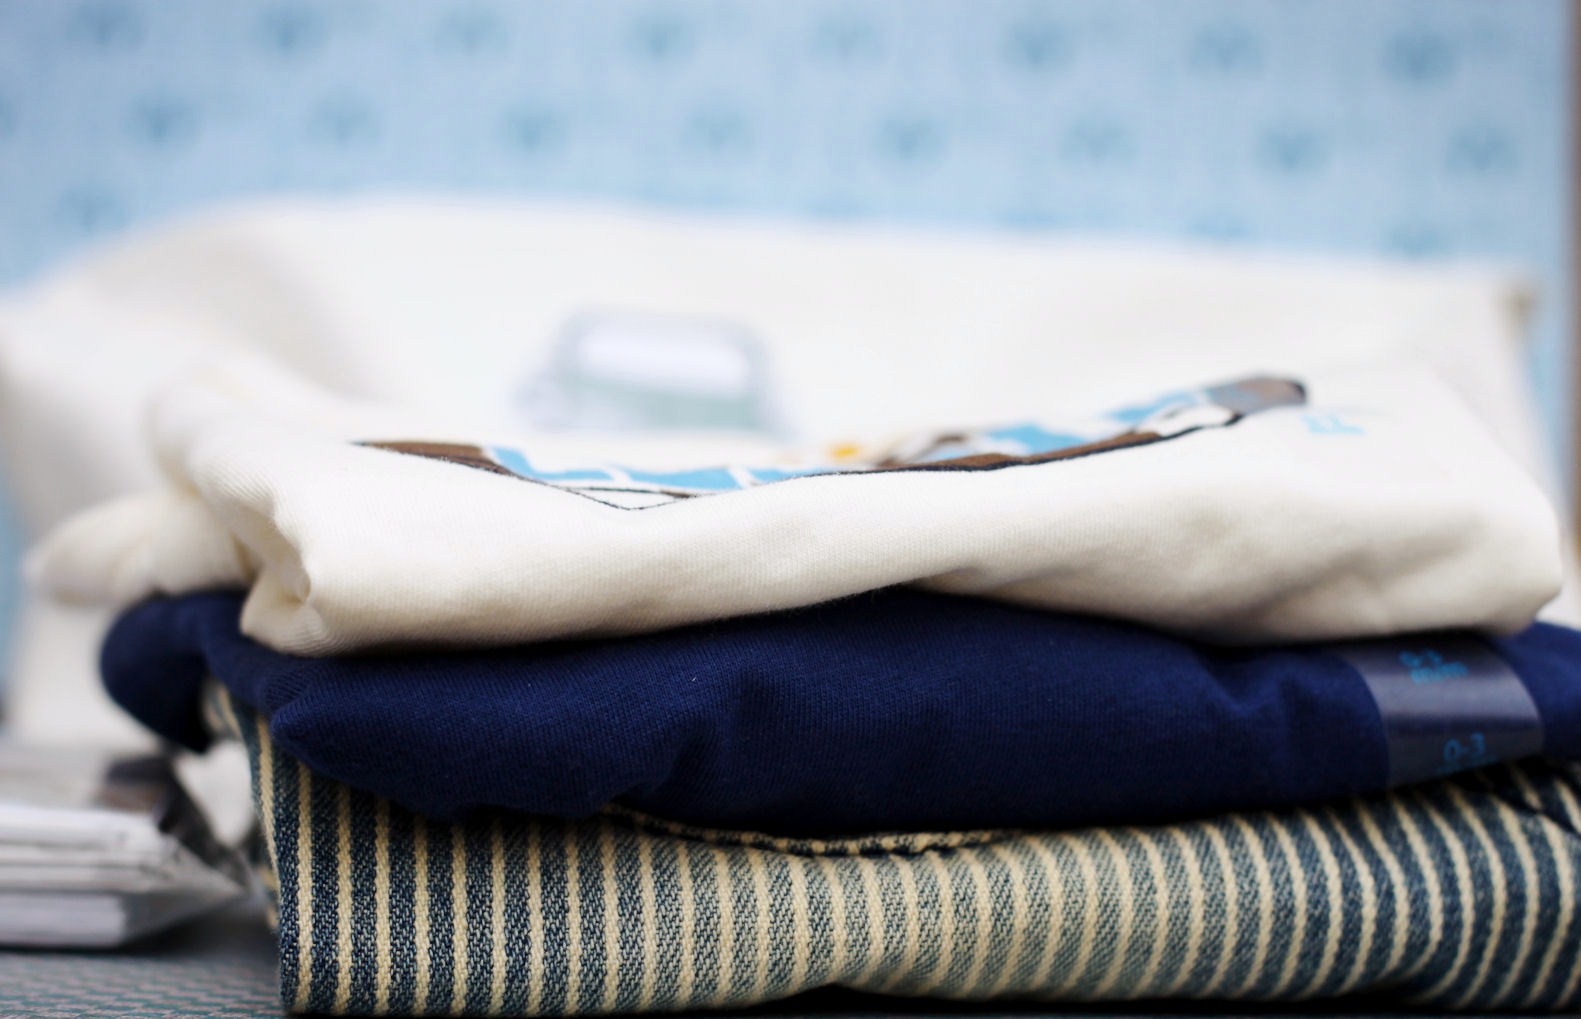
and who doesn't love some itty bitty clothing? Pinstripe pants on a newborn?  Yes, please!


That's all for now - have a great weekend!

Tuesday, October 4, 2011

MIM - washi tape

I l-o-v-e learning new techniques!  And I especially love when the technique is simple and fun, and something I would have never thought of on my own.

I made my own washi tape!  Click over to Nichole's blog if you're curious - and make your own washi tape!  It's addictively fun.


I used PTI's grid lines cardstock and held my doily in place with the homemade washi tape.  Thanks to a silhouette-owning-crafty-friend, I had a few speech bubbles on hand.  It was stamped with a "think big favorites" sentiment, and framed out with "in bloom" images.  I also added a faux-stitched border all around and mounted it with foam squares.

I'm also sending a shout-out to my PTI princess friends with this card!  Our current challenge was to use red on our card.  I made a red gingham washi tape strip, and stamped out the florals in the same deep red.

Thanks for looking!

Wednesday, September 28, 2011

bulky mail...


The MIM challenge this week is to create your own chipboard accents - so fun!  Since their steel dies can only cut the thickness of a thin piece of cardboard at a time, the trick is to glue 5-6 layers together to get a really thick accent for your project.  The top layer should be in the cardstock color of your choice and/or stamped with the coordinating image.  And voila!  A homemade chipboard accent.

I'm also entering this card into the current CAS-fridays challenge: to use at least 3 shades of a monochromatic color, and then add the color brown as well.


I've used 2 PTI sets to create this card: "postmarks", and "tag-it's #2".  I started out with a kraft base, and added a vintage cream mat on top.  The postage border was stamped onto the cream layer in SU's real red ink.  The air-mail image in the top left corner was first stamped off on a scratch paper so that it would be less vibrant.  Same goes for the wavy cancellation lines.  Beside the wavy lines, I stamped the tag-it's frame in a rose-red, to provide a frame for my chunky postage stamps.


I stamped the postage stamp frames in "vintage photo" distress ink, and the crown and lady silhouette images in a darker, burgundy ink (SU's cherry cobbler.)

The sentiment was stamped in the same brown distress ink, and stamped again over-top without re-inking.  In person, it gives the softest shadow-effect.


Thanks for looking!

Tuesday, July 26, 2011

there's no place like home...

Are you clicking your glittery red shoes together?

This week's MIM challenge was to paint with white ink.  I stamped the house from "boards and beams" onto craft paper, and colored the roof, door, and shutters before taking an aquapainter (a paintbrush with water built into the barrel) and painting the main part of the house white.

If you look closely, can you see that I masked all the windows and stamped a woodgrain pattern over the white ink?  I really did!  It's so faint in the picture...


I also did a bit of layering with the clouds, stamping the notebook lines from "it's official" on top of the white clouds.  I like the subtle texture it gives!  My sentiment was stamped into a label basic shape and stapled to the side.

Thanks for looking!

Saturday, July 16, 2011

a pocketful for you.


My sis came over yesterday, and we put my mini-rolled rosette die to good use.  She's so excited to have a baby girl she can doll up, and I needed to make a present for a little girl I'll be seeing soon...


I'm loving the blue and peach combo - I hope she does too!  I made her 3 clips - one with a blue rosette, one with a peach rosette, and one with 2 tiny little buds (one in each color).

With the clips made, I had to find a way to package them!


I'm entering this into the MIM challenge: creating a pocket with edger dies.  I used my mat stack 4 to cut a decorative top on my little vellum pocket.  I love how they look like a little bouquet of flowers, peeking out of the top!

Happy weekend, all!

Tuesday, June 28, 2011

MIM #21 - 2 step masking

I absolutely LOVED this card that Nichole Heady created during the June countdown posts - and now so thrilled that she created a how-to video!

For my take, I created my mask in the same way that she taught, so that I could sponge fresh snow ink around, leaving a striking black rectangle in the middle of my mat.  Perfect space for stamping my tulips (also in fresh snow ink) and then using a q-tip to apply some blue and green pastel inks.  Do blue tulips even exist?


The q-tip isn't a tool for precise application, obviously, but I thought it added to the softness of the image, along with all that billowy white sponging around the rectangle...

The black panel was matted onto another layer, covered in BB: gingham.  I finally think I've got the hang of lining up those ginghams!  I love a full panel of that pattern - I'm going to be using it a lot more now!

Thanks for looking!

Friday, June 10, 2011

MIM #18


This super 3-D card is NOT going in any envelope - let's put it that way.  I'm not sure where I was going with that pom-pom, but I'm not feeling well today and it looked cozy, so there.  I'm entering this one into PTI's MIM challenge:  "adding texture with tissue paper".  On my white mat, I stamped an image from "turning a new leaf" in different directions in old olive ink.  I then painted a thin layer of white glue onto it, and carefully-but-not-too-carefully placed a layer of white tissue paper on top (you know, the kind you use as filler in gift-bags...)  It  made a really cool texture!

It also really sudbued the color of the old olive ink!  You'd hardly be able to tell that the embossed leaf on top was die-cut using the matching old olive paper...

The pom-pom is so easy to make!  There are so many tutorials out there, but this is a quick run-down of what I did.  I wrapped and wrapped yarn around my index and middle fingers (bunch more fingers together, get a bigger pom) - until the whole thing was nice and thick.  Then, I tied it in the middle (so now it looks like a figure 8, with a nice belt in the middle).  I cut all of the loops with scissors - and the more you trim the pom, the better it looks.  Actually, I can still see spots where it needs more of a haircut... but pretty cute!


The brown layer is a chocolate chip mat stack 5, with a kraft scallop circle on top.  Does the pom look a little like the center of a flower to you?  A very funky flower?  Good.  We're on the same page.

Have a super weekend, peeps!

Tuesday, May 24, 2011

MIM - sympathy.

Sympathy cards are hard enough to send out, let alone create.  It's a fine balance between somber, elegant, and uplifting at the same time.  When I saw that the PTI: MIM challenge was sympathy cards, I decided to add to my stash... I figure that when you NEED a sympathy card is probably not the best time to be creating one... you know?

I have never tried the "emboss-resist" technique before, but gave it a whirl here.  The clear-embossed florals (from PTI's "larger than life") "resist" the ink that I sponged and stamped on top - so cool!  The bird is from SU's "notably ornate" set, and was "kissed" with PTI's "text-style II".

Monday, March 14, 2011

way to go, kiddo!


A new MIM challenge over at PTI!  This time, to use an impression plate on only part of your panel.  I love this look!  I used my SU square lattice folder about 3/4 up the kraft cardstock and added some score-lines above to create some definition.

The card itself is for my oldest boo-boo.  Sofia brought home an impressive report card a few weeks ago!  Ever since then, she wants to know if she's getting "A's" for everything:  "did I do a great job making my bed? Like an A+ job?"  "do I get an A for eating my carrots?" haha.  So I thought I would make her a little card to let her know that she's awesome...

And totally unrelated, but did any other mommies have a harder time getting the little ones to school this morning?  Sofia was dragging her feet because of the time-change, poor thing.  Then again, so was the hubby :)  Same difference, I guess.