Showing posts with label argyle backdrops. Show all posts

Monday, November 3, 2014

lawn fawn and imagine crafts week!

It was like an inky fairytale when I opened a box of goodies from the generous folks at Imagine Crafts.

How did they know my Memento Tuxedo black ink was running dry? hee.

I have 2 cards to show you today:
tsukineko and lawn fawn week


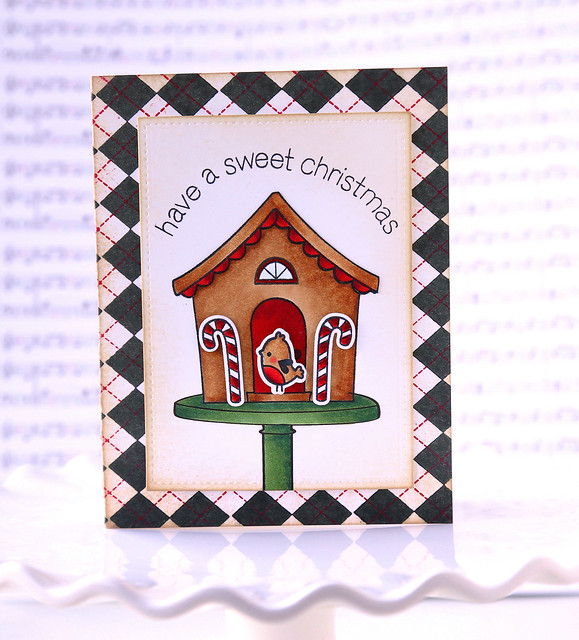
I drew my own cake stand for the sweet christmas gingerbread house. I was pinterest-ing gingerbread ideas, and I guess I had cakes and parties on the brain.
tsukineko and lawn fawn week

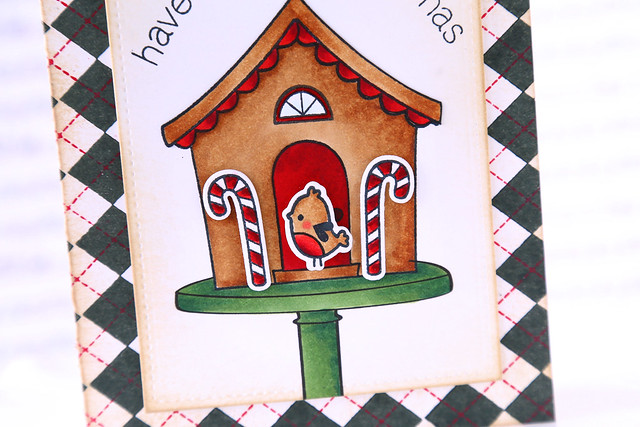
I used memento black ink to be able to color with my copic markers, and used some of their sparkle shimmer mist to add sparkle to the house. I curved the sentiment to arc around the top of the house.

On the card base, I stamped a cozy background using their memento luxe inks in love letter and nothern pine. Those inks are the juiciest I have ever used! Great for creating a rich background.
tsukineko and lawn fawn week


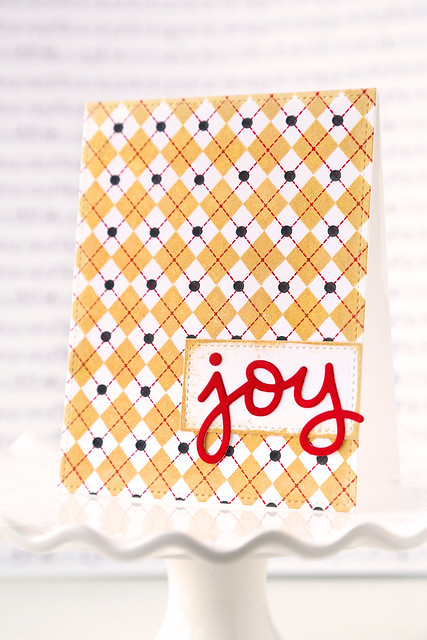
I still had argyle backdrops out on my craft table, and I really wanted to try out their delicata gold ink. It's beautiful.  I know it reads more yellow here, but it's a shimmery gold, perfect for the holidays. Once I stamped the argyle, I grabbed a little dot image from another lawn fawn set and stamped it in the same northern pine ink in a grid pattern. It all looks a little "nutcracker" to me... does that even make sense?

I hope you like what I've created!  Hop over to the lawn fawn blog to see more - click!


Friday, August 29, 2014

monster party! {created for lawn fawn}

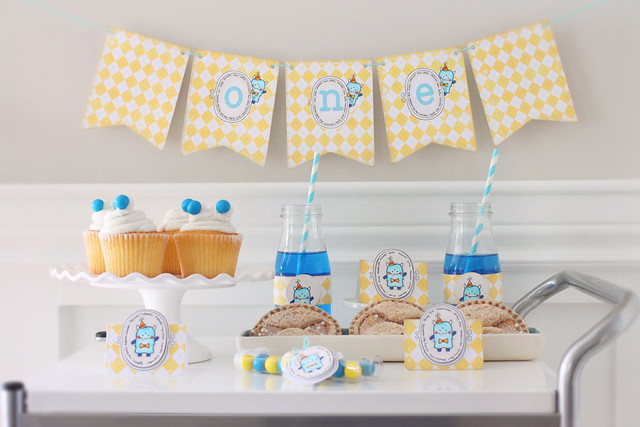
I seem to have a thing for linking monsters and babies together. I created a new baby card using lawn fawn's new monster mash set (click!) and now I'm showing off a first birthday party with a preppy monster theme:

monster party!

This party was so fun to create. I imagine a little boy with unruly curls wearing an argyle bowtie to match the decorations. Sidebar: I don't usually create parties that have absolutely nothing to do with my kids, so this one had them entirely confused. Who's turning one? Is this for someone's birthday? Do we still get to eat the cupcakes?


monster party!


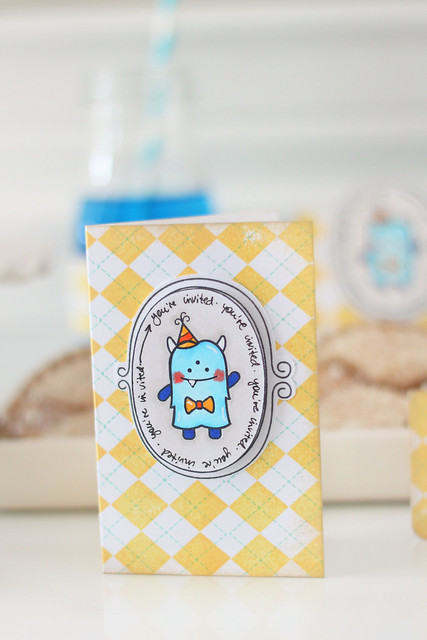
First off, the invite. It's for a wee little one, so why shouldn't the invite be tiny as well? It's only 3x5 inches and perfectly whimsical. I chose to handwrite all of the labels, but you could always design and print something on your computer.  All of the decorations feature the same focal design: the frame from sweater weather (where I hand-cut the inside oval, since the dies hadn't arrived at the time!) and the 3-eyed monster from monster mash, decked out in a party hat and bow-tie.

Wondering what to serve at a preppy monster party?

monster party!

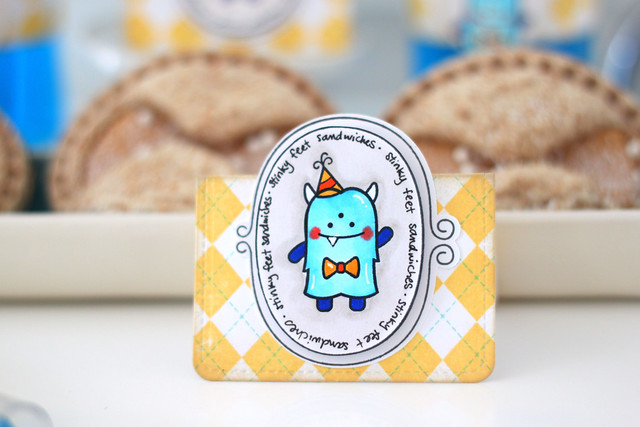
Stinky feet sandwiches. Bonus points if you use a foot cookie cutter.  I folded a journaling card die in half for all of the food labels.

Tip: I stamped an entire sheet of white cardstock with the argyle pattern and then die-cut the best parts for all of my decorations. My shaky hands mean that lining up patterns isn't always the easiest thing for me to do!

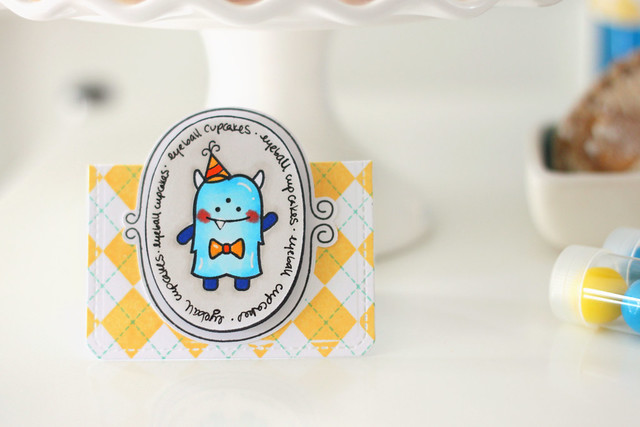
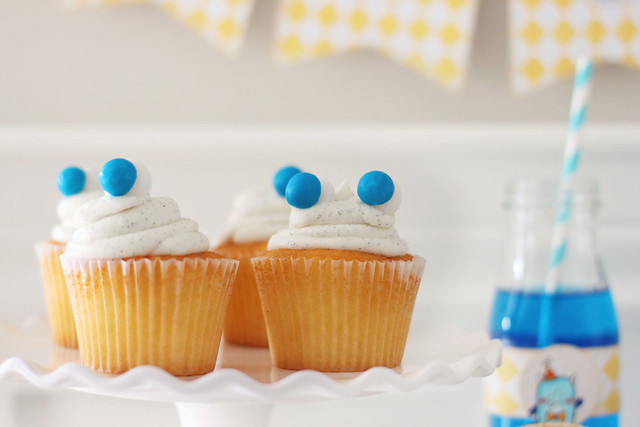
For dessert, eyeball cupcakes.

monster party!

I stuck a few blue smarties for eyes on top of the frosting - nothing easier:

monster party!

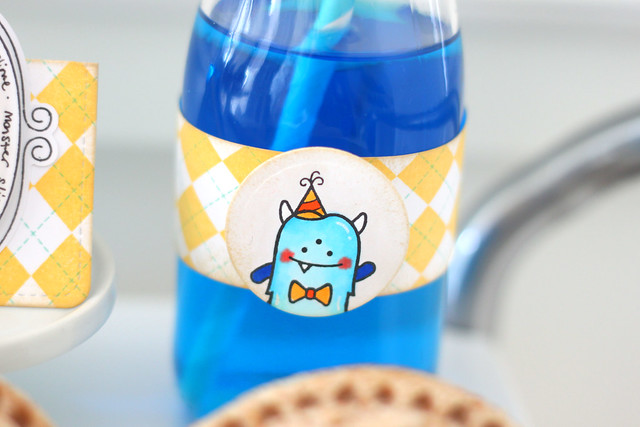
A few drops of blue food coloring to jazz up the bottles of water help to add some pops of color to the party table.

monster party!

The label that goes with the water bottles reads monster slime. The kids loved that one!

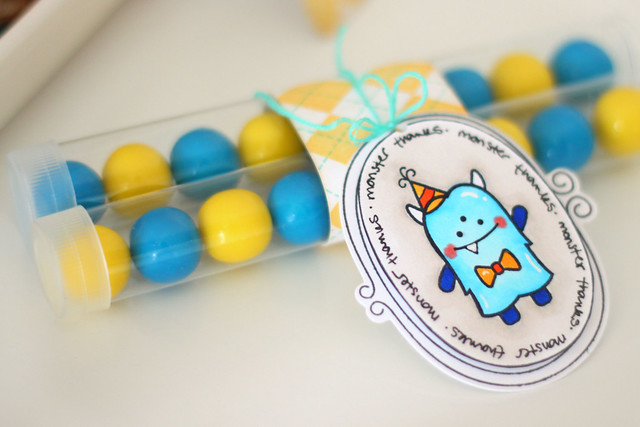
For the favors, I slipped blue and yellow gumballs into plastic tubes and tied them together with a monster thanks tag.

monster party!

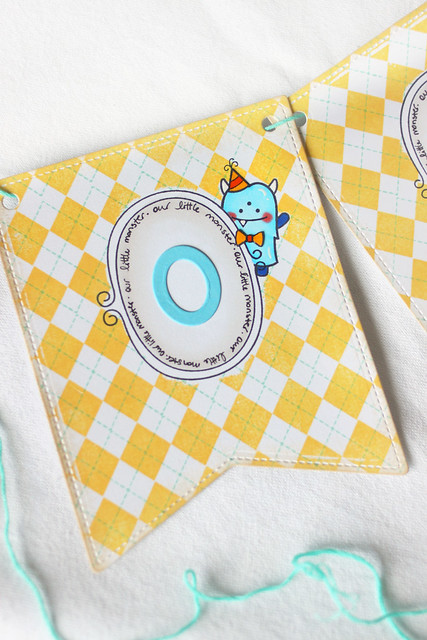
My favorite part of this whole party is the banner.  I didn't have the dies yet, so I had to resort to masking to create the look I wanted. (Did I say resort to masking? I think we all know this was my first choice all along, haha.)

monster party!


I'm on the lawn fawn blog today too, and if you click there you'll find a photo tutorial for how to create the banner panels, with the cute little monster peeking out from behind the frame.

I hope you like this month's party!  Thanks for stopping by!

♥.

Thursday, July 24, 2014

lawn fawn sneak peek week continues!

Are you as excited over the new lawn fawn release as I am?  I'm still waiting on some sets and dies (it takes forever to cross the border to Canada!) and I'm giddy over every post on the lawn fawn blog this week. hee.

I have two cards to show you today, using new sets that will be available for sale at the end of August.

lawn fawn sneak peek week!


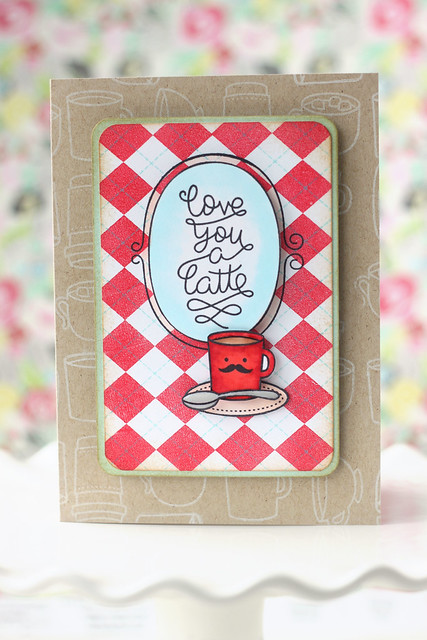
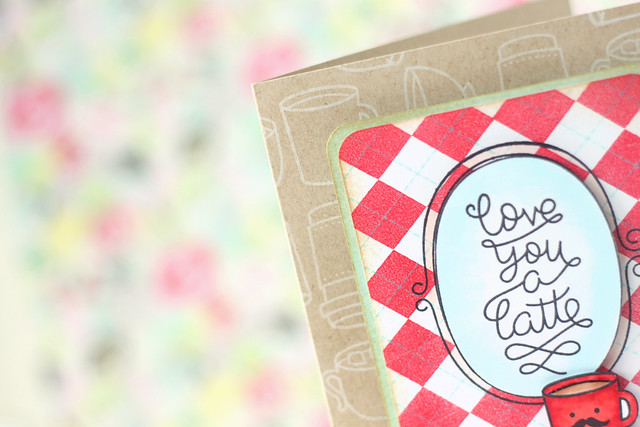
Love You a Latte is the sweetest set!  I love the mustache face.  I paired the latte images with a cozy argyle background and the frame from Sweater Weather.

I stamped the card base full of mug and tea-cup images from the set.

lawn fawn sneak peek week!

My next card brings on Christmas in July.

lawn fawn sneak peek week!


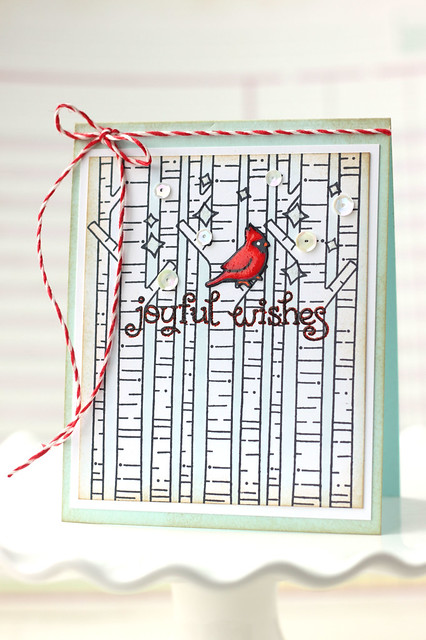
Joy to the Woods is such a fantastic set - I just adore those birch trees!  I did a bit of masking to be able to fill the background with the birch trees, and colored the spaces between the trees with a light blue marker.

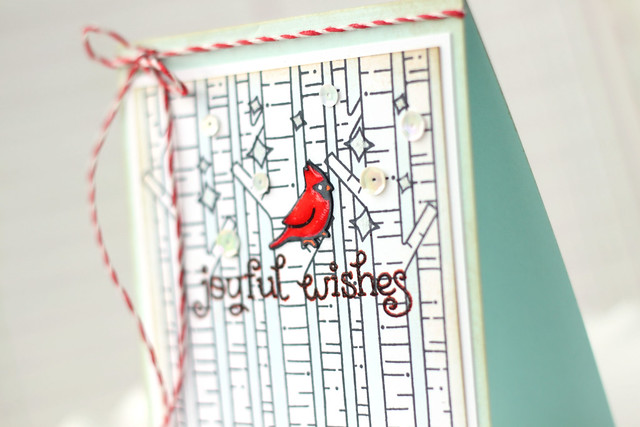
I added a glossy cardinal to one of the branches and double-stamped the sentiment to mimic the cardinal's red and black coloring.

I stamped the sentiment first in red ink, and then stamped it again and heat-embossed it with black embossing powder. The red just peeks through.

lawn fawn sneak peek week!

I hope you like what I've created!  There's more to see on the lawn fawn blog today (click!)

♥.

Tuesday, July 22, 2014

sunshine doodles and lawn fawn.

It's lawn fawn's second day of fall/winter sneak peek week. Check out new product and inspiration on their blog today (click!)


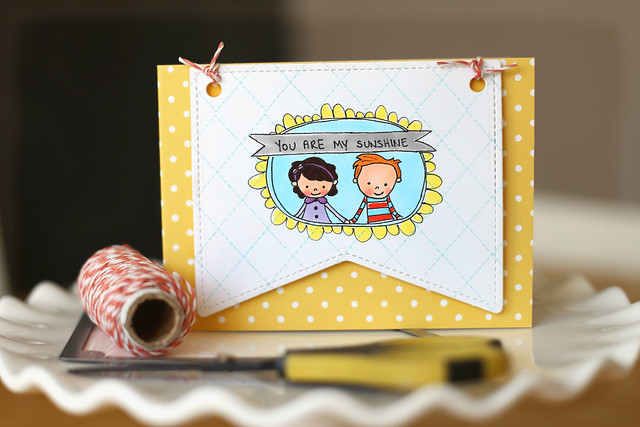
I doodled a little something and paired it with lawn fawn's new argyle background (they previewed it here.) I love how, stamping only the dotted background, it gives a soft and subtle, almost quilted look.

sunshine doodles & lawn fawn

I drew my little hand-holding couple in pencil, framed them out, and hand-drew the banner. I went over everything with a copic multiliner pen and then erased my pencil lines to be able to color the images with copic markers.

Once I was done, I die-cut my panel with the largest stitched party banner, but customizing it to a smaller size by die-cutting it twice.

I hope you like it!

♥.