Showing posts with label baby. Show all posts

Wednesday, August 6, 2014

A little dazzle/lawn fawn week!

The lawn fawn team is working with metal sheets by a little dazzle all week.  They look like foil, but with a great weight to them. They look fantastic when cut out with our lawn fawn dies!

a little dazzle/lawn fawn week


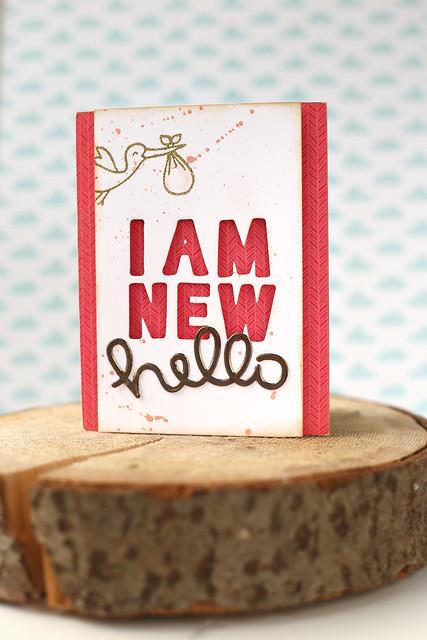
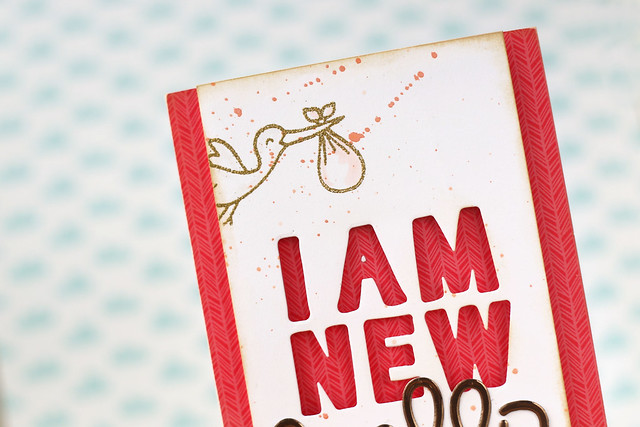
I thought it would be fun to pair a gold hello with a gold stork and do something a little more graphic than I'm used to making.

a little dazzle/lawn fawn week

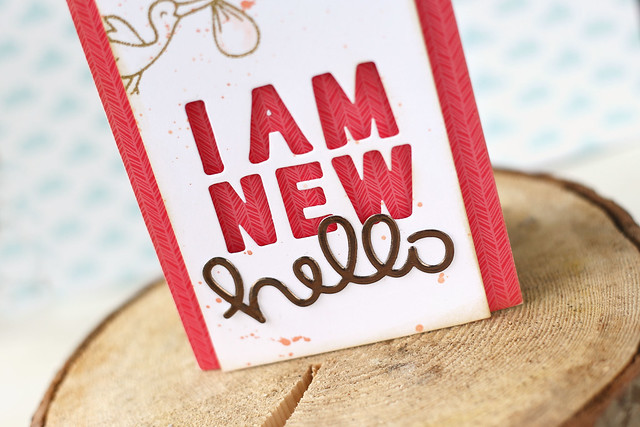
Doesn't that shine look amazing? I love a gold hello, especially paired with Quinn's capitals lettering...

a little dazzle/lawn fawn week

The paper I used to cover the card base is new, and available for purchase wherever lawn fawn is sold as of the end of August. It's part of their "snow day" christmas collection of papers.

I hope you like my card! Be sure to visit the lawn fawn blog all week for more razzle dazzle!

Tuesday, December 11, 2012

a CASE for JOY {CSS group project}

Hi peeps!

When the busy-ness of the holidays starts to set in, CASE'ing (for you non-crafties, it stands for "copy and selectively edit") a favorite project can be the way to kick-start some creativity, without having to start from scratch.  We're refreshing our favorite oldies, using the new limited edition Joy set.

Since we're personally in the middle of some home renovations (which is upsetting our kids to no end, because they're convinced EVERYONE else has their Christmas tree up already), this group project was right up my alley.

Do you remember my "apple of her eye" ensemble?  with the apple-appliquéd onesie and handmade bib?  Click *here* for a refresher *wink*

I decided an entirely girly set was in order:

Bundle of JOY

I created a strawberry set, featuring a card with matching envelope, and a gift box... with a gift inside.

I'll show off the gift, but first things first:

Bundle of JOY


I used the strawberry appliqué die and, instead of making a strawberry shaped card like I've done in the past, offset it onto a white card base for a bit of a different look.  The "welcome baby" sentiment (from "trendy tags") was stamped onto a favor flag die-cut, and stripes (from "create a plaid") were added above and below to complement the custom-stamped envelope liner.

Bundle of JOY

The party favor 4 box was stamped with the same stripes as the envelope liner, and I added a tiny strawberry to carry the theme (from "perfect harvest").  From the new "Joy" set, I stamped the "bundle of joy" sentiment.

And now, inside the box (if you've been waiting for this, go on and add a drumroll):

Bundle of JOY

I couldn't very well CASE my previous project without creating a new appliquéd onesie!  I picked up a plain pink onesie from Walmart (where were these when I had newborns?  I've never seen them at Walmart in nice colors before!) and stitched many layers of fabric together for this strawberry appliqué.  I wanted it to have a quilted look.  I've already sent the whole thing through the wash, so that the edges could look a bit ragged and soft when I gift it out:

Bundle of joy

I hope you like it!

These designers are CASE'ing their way into fantastic projects today:

Kim Lori Laurie Jaclyn Jennifer Dana Tracy ♥ CSS


Tuesday, January 24, 2012

MIM #50 - shake it!

I love shaker cards - I think it's the kid in me :)  I especially love it when they make noise when you shake 'em.  Seeds, beads, candies = such fun creations!

The tutorial over at PTI is fantastic.  But, since I didn't have any fun foam lying around, I made do with what I had.  Here's how I made my little tag (click on any of the photos to see them bigger):


I stamped a gingham background onto my tag shape.  I then created a "channel" for my shaker-fillings by laying foam adhesive all around (be sure there aren't any gaps or it will all fall apart!)  It doesn't have to be pretty - exhibit A is above.  Here's a small tip:  I used some glossy accents to fill in the spaces that I was nervous about.  The only downside to that is waiting for it to dry :)


Add the filling.  I found a jar of tiny white beads in my stash - yay me!


Add the top to seal it all up!  I die-cut a 2.5 inch circle 2 times: once out of acetate, and once out of white cardstock.  Into the white cardstock, I then die-cut a cloud shape.  I stuck the acetate to my white circle (using glossy accents, to make sure it's all secure!) and when it was dry, I then carefully stuck it down to the base I'd created.  I dare you not to play with your creation when it's all done :)

How 'bout seeing it on a prezzie?


A plain kraft box got dressed up for a party :)  The "ribbon" is actually the seam of an old white tee-shirt.  I save the weirdest things.  My crafting personality and my regular personality are so opposite.  Crafting Elena is a bit of a hoarder.  Real-life El chucks things like crazy without a backward glance... No idea how to make sense of it all :)  

I love all the texture for a baby gift.  Soft and cuddly and fun, don't you think?


Thanks for looking!