Showing posts with label cozy christmas. Show all posts

Thursday, November 27, 2014

by the fire {25 days of Christmas tags guest post}

Hi there! I'm joining some of the lawn fawn girls for Tracey's 25 days of Christmas tags bonanza. (Because, 25 days of anything can clearly be labelled a bonanza.)


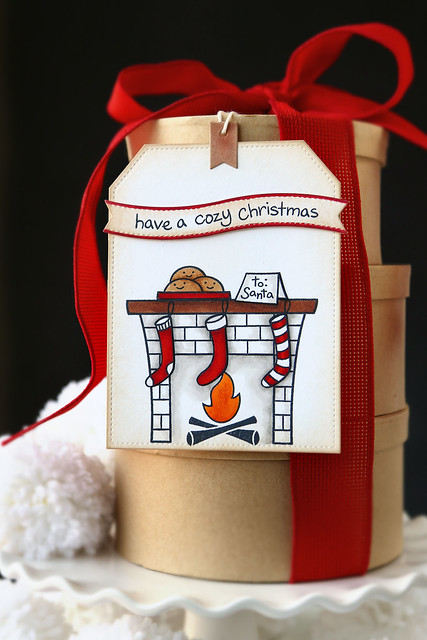
I grabbed lawn fawn stamps, and mama elephant dies and got to creating another gigantic tag:

by the fire...25 days of Christmas tags guest post


I have loved Cozy Christmas for so long - it's still a classic Christmas set, in my opinion. To limit the number of smiley faces, I opted for the woodsier fire from Love You S'more.

by the fire...25 days of Christmas tags guest post

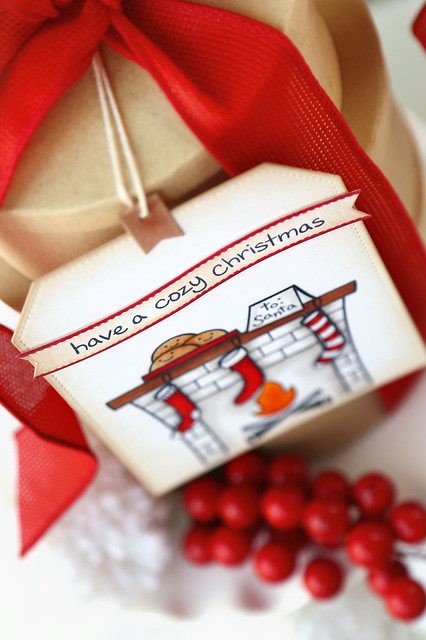
I didn't bother masking anything; I stamped the stockings and note to santa separately and snipped them out.  Because figuring out how to stamp and mask everything perfectly was making my head hurt.

by the fire...25 days of Christmas tags guest post


Plus, I love the hint of texture you get from glueing the stockings onto the fireplace. It's subtle, but makes a handmade tag a little more special.

I hope you like it!

Tracey's tag bonanza comes complete with prizes from amazing companies like:

lawn fawn ♥ paper smooches ♥ neat and tangled ♥ cas-ual fridays ♥ clearly besotted ♥ reverse confetti

She's allowing me to choose a winner from commenters on this blog post! So, leave me a comment by the end of the day today and when I wake up tomorrow morning, I'll randomly pick a name to forward to Tracey. That person will be included in the prize draw that she will be doing tomorrow.

Good luck!

♥.

Thursday, September 18, 2014

Cozy Christmas...

I'm back again here and on the Mama Elephant blog today, for a closer look at the new Cozy Christmas dies and what you can do using them.

cozy christmas {mama elephant designer series}

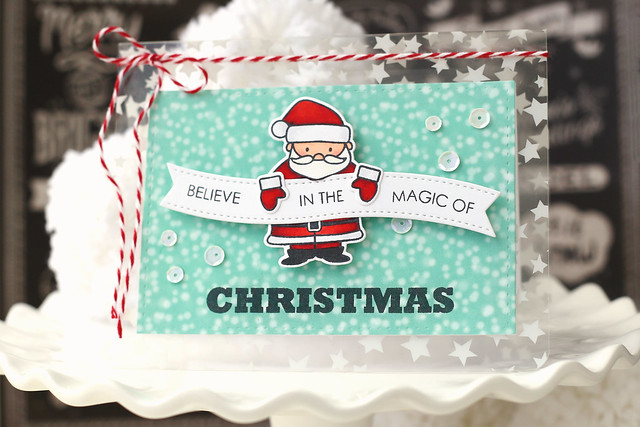
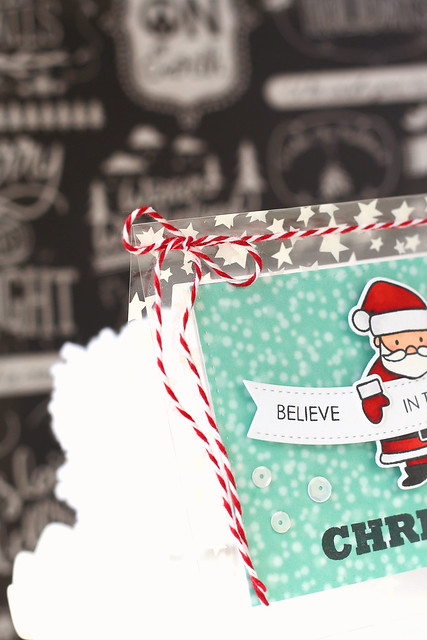
I think this Santa is so cute, and it's extra nice not having to cut out those arms!  I stamped, colored and die-cut Santa and his extra arms, and wanted to have him perch over the sentiment banner (from the new Tags a Lot die set.)

but he was too short.

womp, womp.

cozy christmas {mama elephant designer series}

Here's what I did: i cut him in half. Complicated, right? ha.

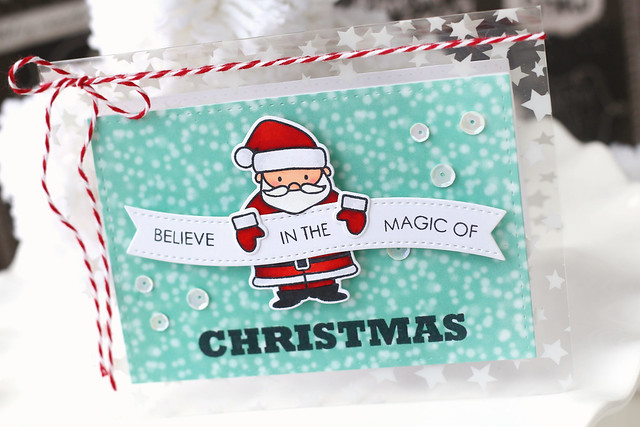
Having sliced Santa above his belt, I was able to take my scissors and cut around his beard a bit, so that when I put the card together, his beard could overhand onto the sentiment banner.

cozy christmas {mama elephant designer series}

Once I had everything stamped out (including the sentiment from Believe in Magic,) I adhered the focal rectangle to a starry clear card base. I think this is my first-ever acetate card base. Pretty nifty.

A length of candy-cane twine and some pretty sequins finished it off. That was that!  I hope you like what I made for you today, Visit the Mama Elephant store to see what else is new this month - click!

In other news.

I will be back tomorrow, and the day after that, and the day after that, and for the next 6 days in a row - because today marks the beginning of Lawn Fawn's September inspiration week!

Check out their big giveaway post here.

And, did you see the exclusive set lawn fawn designed for Simon Says Stamp's big Stamptember event? You can see it here.

THEN. I just want to show you this sneak of what I worked on all day yesterday:


My niece is turning 4 at the end of October and wants a mermaid party. You recognize some of the stamps: lawn fawn's critters in the sea and the frame from sweater weather. But what's that on the left? Oh yeah. I drew myself a mermaid. And she fits right into the lawn fawn scene with an ease that blew my socks off. I can't wait to keep making more decorations for this party. 

The more I play around in Illustrator, the more excited I get to create new images. I cannot wait for you to see what I have in store in October! Stay tuned!


♥.

Wednesday, September 17, 2014

You can't be sad... {mama elephant designer series}

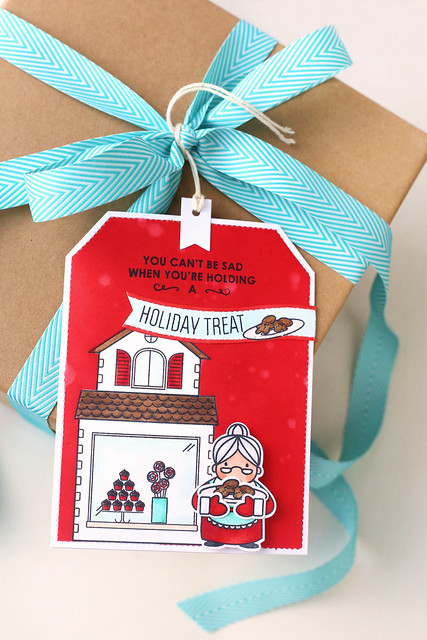
Hi there! I'm here and on the Mama Elephant blog today, to show off the brand new "tags a lot" die. I went bananas when I first saw this tag set. If you're thinking who needs another tag set - the answer is you do. this one. The oversized tag is making my life.

you can't be sad... {mama elephant designer series}

Who needs holiday cards when the tag is card-sized? Fantastic.

I combined the following sets for my tag:  toy shop, cozy christmas, and carnival toppers.

you can't be sad... {mama elephant designer series}

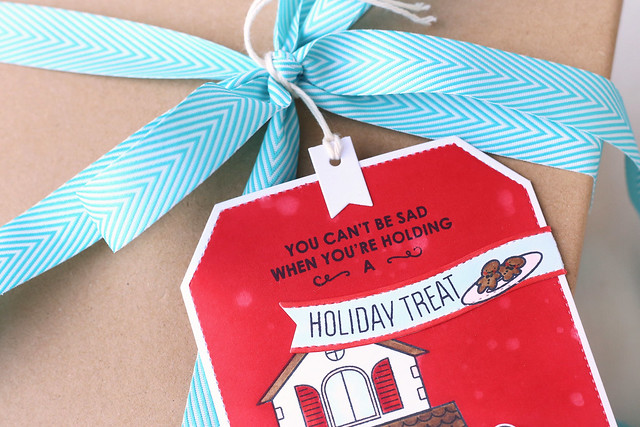
You can't be sad when you're holding a holiday treat is my new fave. I did some selective inking to achieve this sentiment. Forget cupcakes! Gimme a plate of gingerbread cookies, please.

you can't be sad... {mama elephant designer series}

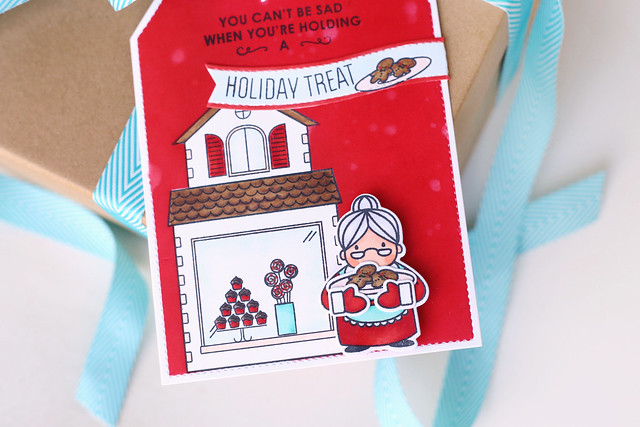
I stamped the toy shop directly onto the tag, masking it and the tag's edges to be able to sponge on the rich, red ink.  I like the pop of white around the outside of the tag!

I also created a bit of a bokeh effect by splattering water onto the tag. The red distress ink reacted with the water and gave this great effect.  In front of it all, Mrs. Claus is standing out front passing out free samples.

I hope you like it!  I'll be back tomorrow with a Cozy Christmas card.

♥.

Sunday, September 14, 2014

Mama Elephant first look: believe in magic dies

Hi! I'm here with a pair of projects to show off the new Mama Elephant dies for Believe in Magic. I have loved this set since it was released last year, and now I love it even more! The dies will be available for purchase as of September 15th.

believe in the magic {mama elephant first look}

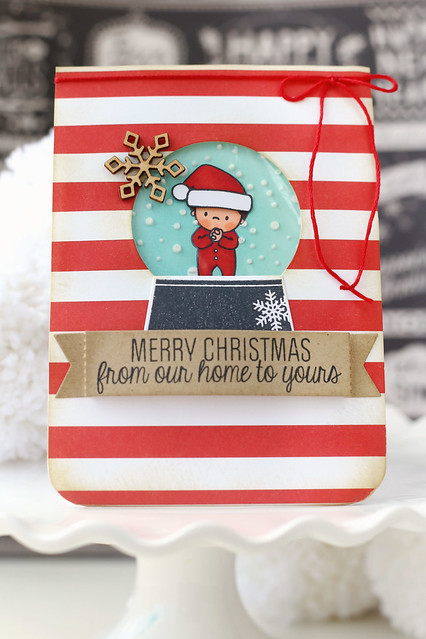
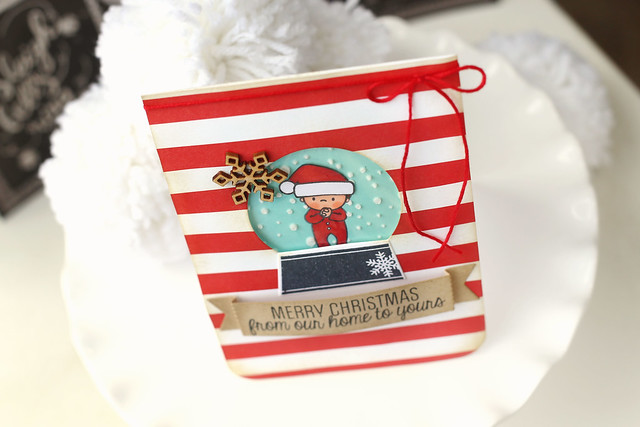
My first card features a snowglobe-santa-baby. hee. I love that he's wearing Christmas pjs, and a Santa hat (borrowed from Santa himself, from the Cozy Christmas set.) I stamped the little boy, masked him, and swirled a light blue ink all around. Keeping the mask on, I used white embossing paste and a snowfall stencil to create the snowglobe blizzard.

believe in the magic {mama elephant first look}

Once the inside of the snowglobe was all set, I grabbed some candy-cane striped patterned paper and used the globe's die to create an opening through which to peek my santa-baby.  On the back of the patterned paper, I taped down some clear packaging (ok, really just a piece of a ziploc sandwich bag. i'm so fancy.) and propped it all up onto a white card base.

believe in the magic {mama elephant first look}


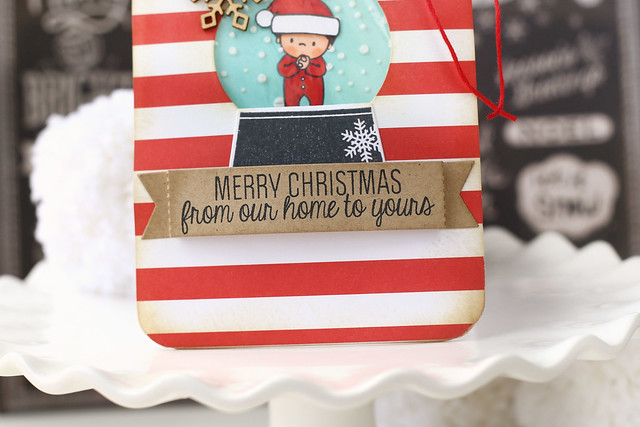
The base of the snowglobe was adhered to the front of the card, as was the cozy greeting.

My second project uses the Believe in Magic stamp set and die set in a more straightforward way:

believe in the magic {mama elephant first look}

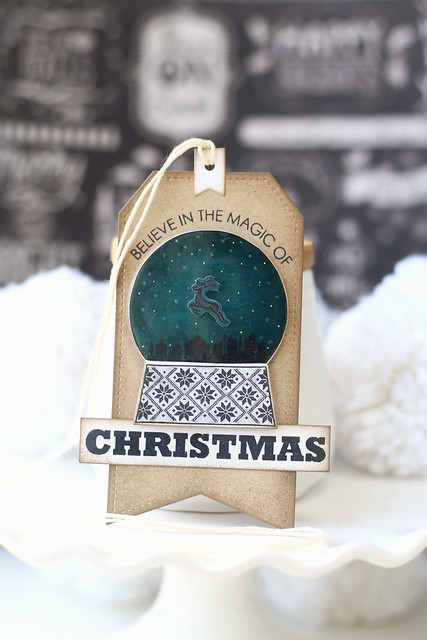
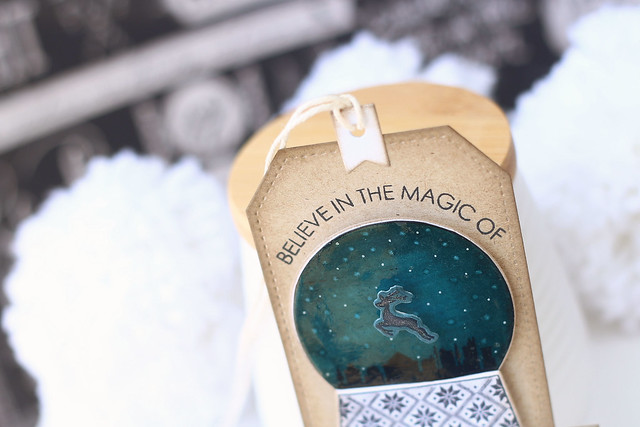
I love everything about this tag.  The night sky, the dark reindeer (that requires no cutting, thank you new dies) and the twinkle of stars overhead.

I colored the sky with dark blue and black copic markers, and then used the colorless blender to remove dots of color. I also used a white gel pen to add brighter dots of stars.

believe in the magic {mama elephant first look}

I stamped the reindeer in black and colored the die-cut outline to match the sky.  I then used a wink of stella glitter pen to make him stand out a bit more.  Before placing the reindeer onto the globe, I brushed on a thin layer of glossy accents.  It shines in real life!

I hope you like both of my projects today, and thank for stopping by!

♥.

Friday, June 13, 2014

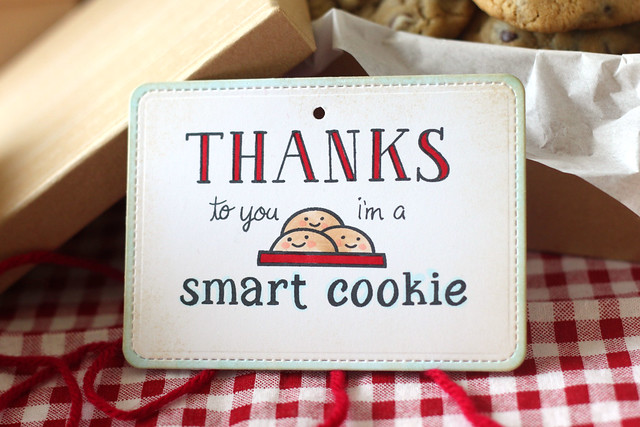
i'm a smart cookie {end of year teacher gifts}

i'm a smart cookie {end of year teacher gifts}

I was browsing Pinterest a little while back, trying to think of something simple I could do for all of the teachers. I came across some printable tags that read "thanks to you, i'm one smart cookie!"  And the tags were free printables.  But I decided to make my own because

1. I always like my life to be as hard as possible, and
2. challenge: accepted.  if i have the stamps, and i could possibly 
fathom recreating something with what i already own, 
i'm a gonna try.

So. A slew of lawn fawn products on my table and this is what I came up with.

i'm a smart cookie {end of year teacher gifts}

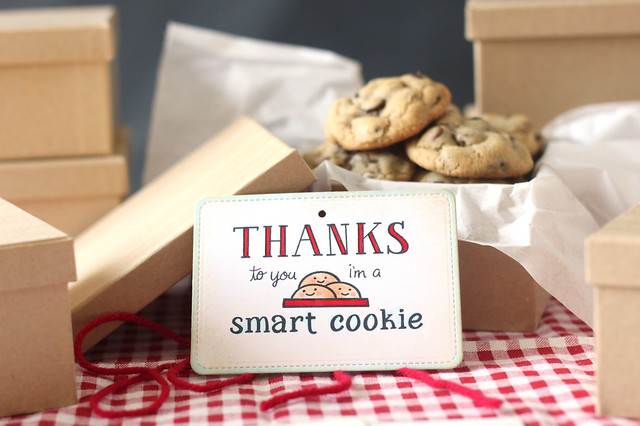
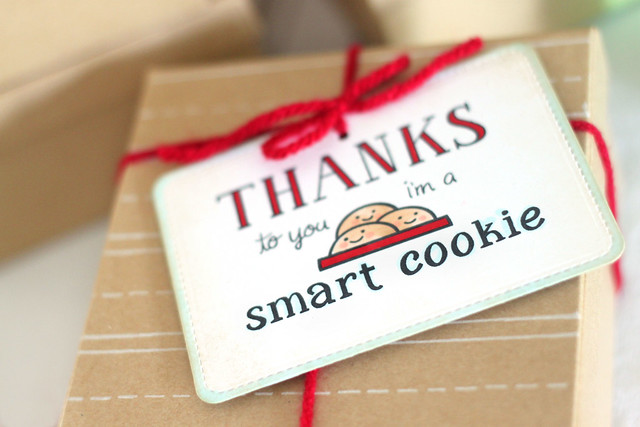
I grabbed the "thanks" from a good apple, the "to you" and "i'm a" from check this out (i had to get creative there,) the cookies from cozy christmas and the letters to spell "smart cookie" from riley's abcs.

Whew.

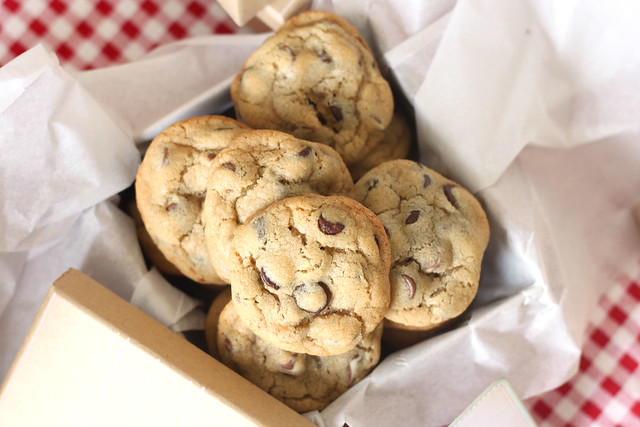
Are you still with me? Allow me to distract you with cookies.

i'm a smart cookie {end of year teacher gifts}

I hope the teachers will like them as much as Maia and I did. Between us, there may be a half-dozen missing. We didn't even offer any to the man who now works in the basement. ha. poor Amar.

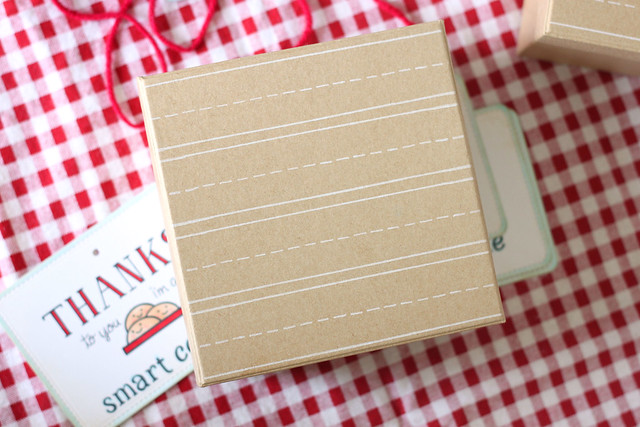
I bought kraft boxes from the local Dollar Store and stamped the tops with a strip from schoolhouse backdrops. A little more custom looking that way.

i'm a smart cookie {end of year teacher gifts}

We still have a full week of school left, so all of the cookies are in the freezer until then, but when I do get around to making the packages, they will look something like this:

i'm a smart cookie {end of year teacher gifts}

Thanks for stopping by!

ps, if you want to go the easy route and print your own tags (pffft, i won't judge, but...) just find yourself on pinterest and do a search for "smart cookie tag" and you'll end up with a bunch of choices.

♥.

Friday, December 13, 2013

milk & cookies for santa {lawnscaping winter blog hop}

Hi and welcome to the winter edition of the lawnscaping blog hop!  You should have clicked over from the always beautifully styled and photographed Nicole's blog.


There are prizes up for grabs and a complete hop list up on the lawnscaping blog, if you lose your way.  Since you have many stops to get to, I'll keep the chatter to a minimum. I was so inspired by this pin:


I mixed stamps from lawn fawn (specifically, the gnome, the banner, the cookies, and the gingerbread man), Wplus9, CSS, and Papertrey Ink to create my version:

milk & cookies for santa {lawnscaping winter blog hop}


The focal panel is one layer.  I wanted it to look like a print, so everything was carefully (sooo carefully) masked.  I started with the cookies, then the milk bottle, santa, the banner and finally the sunburst background.  whew!  I held my breath the entire time, and when I was coloring in the images, I prayed to Santa, "please Santa,  no red-marker-bleeding.... and let my 3 year old still like what I've bought her for Christmas, because she keeps changing her mind."

So there you have it. hee.

Your next stop is the lovely Sarah's blog.  Don't forget to check out all of the prize and giveaway details on the lawnscaping blog.  To be eligible, you can leave comments along the way, from now until Sunday December 15th at 11:59EST.  Good luck!

♥.

Wednesday, November 27, 2013

no peeking.

This Friday marks the last of my 8 weeks of card classes, but I'm still playing catch-up to share all of the Christmas cards we crafted.

I love this Mama Elephant set so much that we created this card in two different classes, with only a slight variation.  The inky fingers were too much for the ladies when they created this version:

no peeking.

I used a stencil, sponging red ink onto a kraft card-base.  And, I'd like to point out: no sponged edges anywhere on this card. so weird. ha.

no peeking.

Santa's such a tease.

♥.

Monday, July 1, 2013

missing you.

It's lawnscaping time! This one is a sketch challenge:


I kept this one simple:

missing you...

It makes me smile, and I hope it does for you too!  I went back to my very first lawn fawn stamp set (!) and created this little scene.

missing you...

The sketch shows a cloud in the corner, but I wanted to do something a little different.... apparently, I couldn't completely veer from the cloud shape, though!  I picked the thought bubble from "a birdie told me."

missing you...

The sentiment was printed.  I love creating custom sentiments - it's a great way to get a fresh use out of older stamp sets :)

I hope you play along!  We're being sponsored by Simon Says Stamp this time!


ps, I just got back from a little trip to Texas, to visit a sweet friend.  It's the first time I've ever been away from the kids for longer than the time it takes to birth another one, hee hee.  I was slightly worried that they would be nonchalant about my return, the way they usually are for their daddy when he comes home from a business trip.... but being greeted at the gate with flowers and bouncing kids who won't stop coming in for kisses is pretty nice.  Maybe absence really does make the heart grow fonder (aaaaaaaand, just like that, I've tied it back into my card.  You like? hee.)

♥.


Tuesday, October 9, 2012

my first published card!


sorry for being a bit blog-lazy... I've been in an over-fed-thanksgiving daze :)  In my defense, that was some good eatin'...

I am overjoyed to share with you my first-ever published card!  You can find it as of today on newstands in the november/december issue of Paper Crafts magazine:


I used my favorite lawn fawn set, "cozy christmas," paired it with "bannerific," and "sally's abcs," and decorated a little holiday mantel.


thanks for sharing in my excitement!

Monday, May 7, 2012

Milk & Cookies party.


I feel like I could nap for days... party season is officially over at casa Muni... 3 parties, in 3 weekends, for 3 very excited kids... it was crazy and fun all at the same time!

In case you missed out, Sofia kicked it off with her "sew seven" party.

Thomas' monster party is split into part 1 and part 2.

And now... milk & cookies!

We decided to keep things very simple for Maia.  She doesn't really have friends of her own yet, so we invited family to come and celebrate.  I created a *gasp* digital invite:


Staging Maia for a picture was, obviously, the easiest thing in the world.  Just give a kid a cookie...

I dug up some leftover banners from her 1st birthday party last year (it pays to keep party decor...)  The ruffled crepe paper banner and the pom poms worked perfectly.  I created a simple banner using lawn fawn images and other stamps.  Here's a close-up:

Once I settled on a design for the banner, it was easy to continue creating more paper-goodness for the rest of the party.  For starters, everyone got a "cookie report card" - a kraft envelope...

 with all of the recipes inside... and a spot at the bottom to rate each cookie.  And speaking of cookies...

There were very yummy varieties: like peanut butter and jam thumbprints,

 classic chocolate chip...

 sugar cookies with white chocolate icing...

 nutella & marshmallow-filled oatmeal whoopie pies... (ignore the melting marshmallow on the side... I do paper-pretty more than food pretty!)

and... there were some cranberry/white chocolate chip oatmeal cookies that I was obviously too busy scarfing down to photograph.

You know how some people make health resolutions on January 1st?  Not me!  I hold out until after party season.  Time to detox all this sugar :)


ETA:  I had more than a few requests for the recipes!  They've all been abbreviated to fit into the small-ish recipe cards.... HERE YOU GO!

Thanks for looking!

Thursday, January 19, 2012

an early valentine...

First off, thank you so much, everyone who was so encouraging yesterday about my white card (and the photography of it.)  It means a lot to me!  I've decided to leave the white cards to the experts for now, and, in complete defiance, have create a much more inky card for you today:


I've had this card on the brain for a while, so I thought I'd put ink-to-paper.  Some people prefer to express their love with real, loving words... I prefer to revive old rock anthems... (Full disclosure: my hubs is the more tender, mushy one in this relationship.) 


light my FIRE - hee hee!  Isn't he just the cutest flame-on-a-log?  


The card was actually fairly simple to create.  I started out with a sheet of white cardstock, and stamped letters from lawn fawn's "quinn's abcs" to create my sentiment.  I stamped the fire twice (lawn fawn's "cozy christmas"), once on the white card, and once on a separate piece, so that I could color it, cut it, and pop it up.  The little bubble with the heart inside is from my cute stamps - their monster set.  (Which, incidentally, I might be using a lot of, since my son has already requested a monster party for the spring!)

Once everything was stamped, I created a very quick mask (I just cut out pieces of post-it to hide the words) and stamped a textured background over the entire mat.  Then, the distress inks came out to play.  I thought it made the whole thing look a bit "campy."  As in, fire-campy.  Not kitchy-campy.

Thanks for peeking!

Friday, December 9, 2011

Lawnscaping blog hop - for the love of all things RED!


Welcome to another Lawnscaping Blog Hop!  Last time was so fun, we're giving it another go!


You should have come to me by way of Danielle.  

The hop runs from Friday, December 9th to Sunday, December 11th.  Make sure to comment on all of the blogs because there are lots of prizes to be won! 


 I don't know why, when the "red" theme was announced, my mind jumped to glowing red christmas lights.  I only string up the clear kind myself, but these smiley-faced-cuties look perfectly at home in red.  I stamped myself a string of lights, from lawn fawn's "cozy christmas" and then masked every single one of those lights so that I could stamp a woodgrain pattern "behind" them.  Each Christmas light was colored in red, received a bubbly coat of glossy accents, and then with a q-tip (when the glossy accents dried up), got smeared with white ink around their bottoms.  Don't they look like they're glowing?


I hope you like my hop card!

Next, head over to Cathy's blog.  If you fall off-track at any point, no worries!  Head back to the Lawnscaping blog for a full list of participants, and all the details of prizes to be won.