Showing posts with label woodland critter huggers winter add-on. Show all posts

Wednesday, August 21, 2019

bats and turkeys (Lawn Fawn inspiration week)

Hi there!

Welcome to Lawn Fawn's August inspiration week! We're showing off items from the fall/winter collection leading up to the August 22nd release week (and woot! that's tomorrow!)

Today, we're showing off a new Woodland Critter Hugger - a Bat Add-on! and another add-on, the Tiny Gift Box Peacock and Turkey Add-On.

Critter boxes (Lawn Fawn inspiration week)

I couldn't help but start out by making the turkey. he's so cute! I used an off-white cream cardstock for his face, and a kraft for his body. I used markers to draw stripes on the tail-feathers, to break up all of that kraft cardstock.

Critter boxes (Lawn Fawn inspiration week)

The little pilgrim hat is so fun!

I also made a little gift bag using the Goodie Bag die and the new bat dies.

Critter boxes (Lawn Fawn inspiration week)

In real life he's much cuter - in the photo the gray of his body looks so washed out you can hardly see his white fangs! But trust me, he's cute. I added a little scarf (from the Woodland Critter Huggers Winter Add-On) and some black crinkle paper to break up all of that grey. The finishing touch was a little piece of purple candy for him to hold.

I hope you like them! Check out what the rest of the design team cooked up on the Lawn Fawn blog today - click!

♥.

Saturday, December 22, 2018

Letterboard Christmas tree (Ellen Hutson)

Hi there!

With only a few more sleeps 'til Christmas, I'm gonna try to sneak in a few cards that I made but never blogged yet.

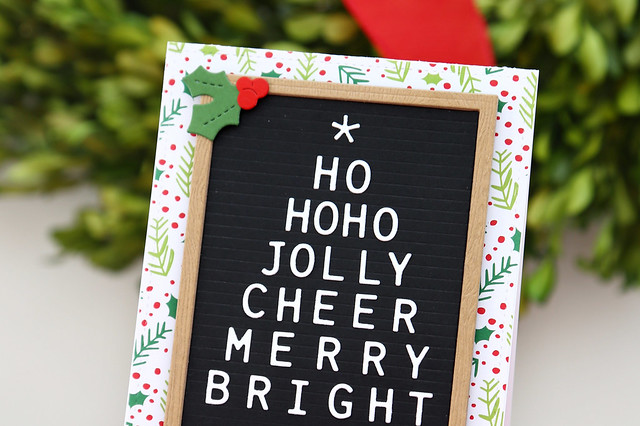
I used the Ellen Hutson Letterboard die set to create this fun card:

letterboard christmas tree (Ellen Hutson)


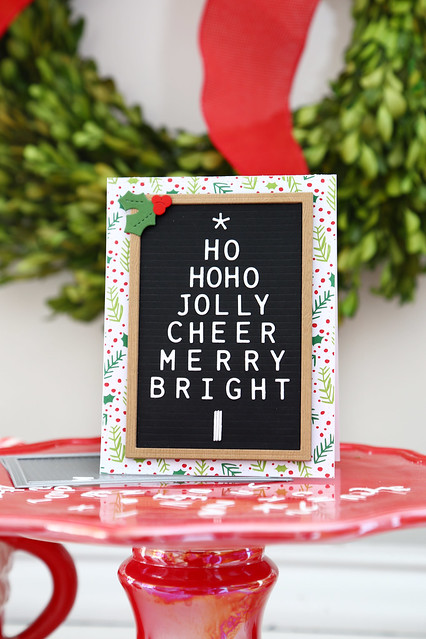
There is so much online inspiration for letterboard quotes! This one was so clever I had to re-create it. I started out by die-cutting the "felt" part using black cardstock, and the frame out of Lawn Fawn woodgrain paper.  I then die-cut all of the letters I needed and set them up to form (what I hope looks like) a Christmas tree.

letterboard christmas tree (Ellen Hutson)

I added an asterisk star at the top, and put together 3 of the straight lines (from the percentage symbol) to form the base of the tree.

I adhered the letterboard onto a piece of Christmas paper, and added a holly accent (using Lawn Fawn's Woodland Critter Huggers Winter Add-On dies.)

I hope you like it! Thanks for stopping by!

♥.

Monday, December 17, 2018

Elf party (for Lawn Fawn)

Hi there!

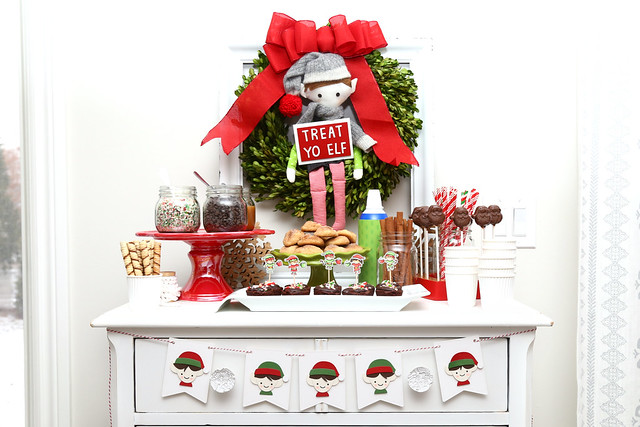
Last week, I put together a little hot chocolate night for all of the little cousins, using stamps and dies from Lawn Fawn to decorate.

Elf party (for Lawn Fawn)

We're still using our handmade elf, and he was the star of this show. I made a little sign for him to hold, and stuck him into a Christmas wreath.

Elf party (for Lawn Fawn)

The cutest part of the party decorations was this elf banner! I made it using a mix of dies from Lawn Fawn and stamped the face (from Let's Toast.)

Check out the elf-banner tutorial on the Lawn Fawn blog today - click!

♥.
Wednesday, November 21, 2018

25 days of Christmas Tags (Lawn Fawn)

Hi there!

I'm thrilled to be participating in Tracey Mcneely's 25 Days of Christmas Tags again this year!

There are sponsors for every day of the event, and today's sponsor is Lawn Fawn.

25 days of Christmas tags (Lawn Fawn)

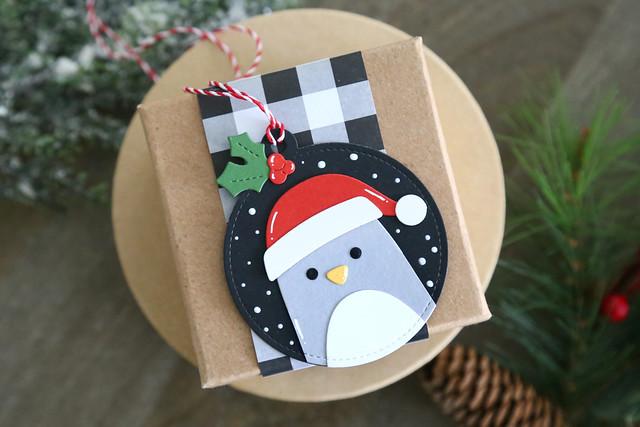
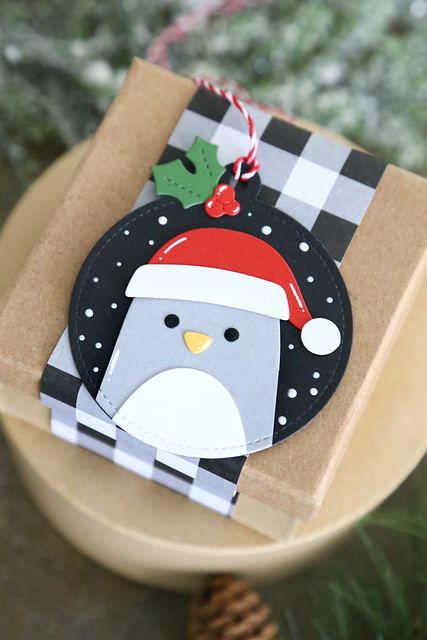
I used a Stitched Circle Tag for my tag base, and created a penguin using Woodland Critter Hugger Dies and the Woodland Critter Hugger Winter Add-Ons dies.

I used the belly die from the Woodland Critter die set to create the body of my penguin, and again the tip of that same belly die to create his belly. The rest is more straightforward! The Santa hat fits perfectly onto his head and the holly-and-berry accent at the top of the tag adds a cute final touch.

25 days of Christmas tags (Lawn Fawn)

I scattered white enamel dots all around to look like falling snow.

I hope you like it! Be sure to visit Tracey's blog this morning for a list of participating designers - click!

♥.

Monday, November 19, 2018

Snowman party (for Lawn Fawn )

Hi there!

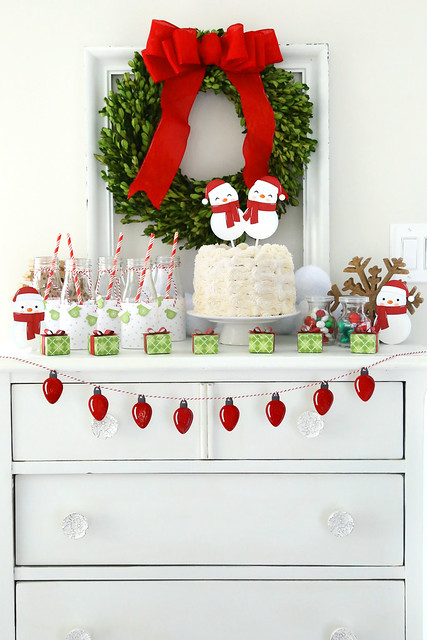
I'm here and on the Lawn Fawn blog this morning, with some fun ideas for a Christmas snowman party.

Snowman party (for Lawn Fawn)

It just started snowing here last week, so I am definitely in the mood for all the holiday things!

Snowman party (for Lawn Fawn)

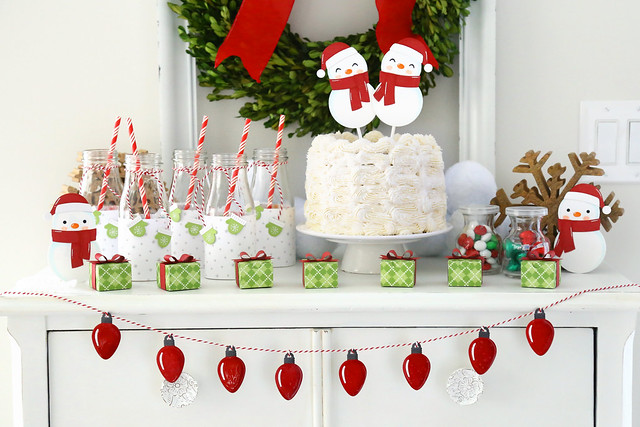
I went with a red and green color scheme - it is so bright and cheerful!

Snowman party (for Lawn Fawn)

The banner was created using the String of Lights dies, and I added glossy accents to each one so they really shine! I strung them up onto some Peppermint Cord. To keep the lights facing forward, I added a loop of twine to each light, securing it in the back with some tape.

Snowman party (for Lawn Fawn)

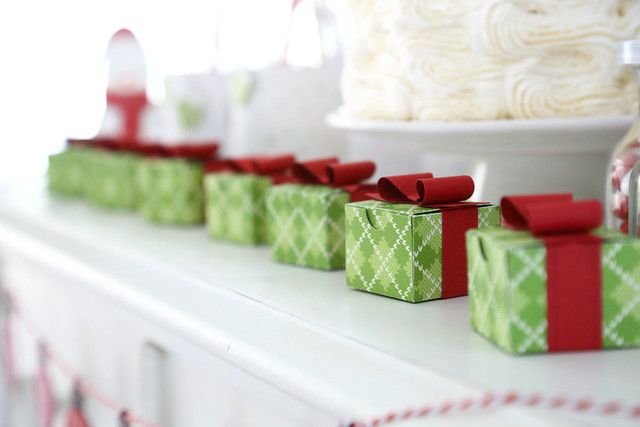
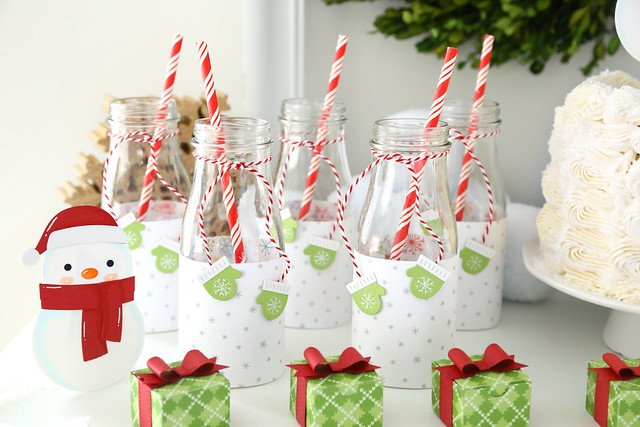
I created little favor gifts using the Tiny Gift Box die and topped them with red bows using the dies from Gift Box.

Snowman party (for Lawn Fawn)

The green argyle patterned paper is so cozy! And they looks so pretty, all in a row.

Snowman party (for Lawn Fawn)

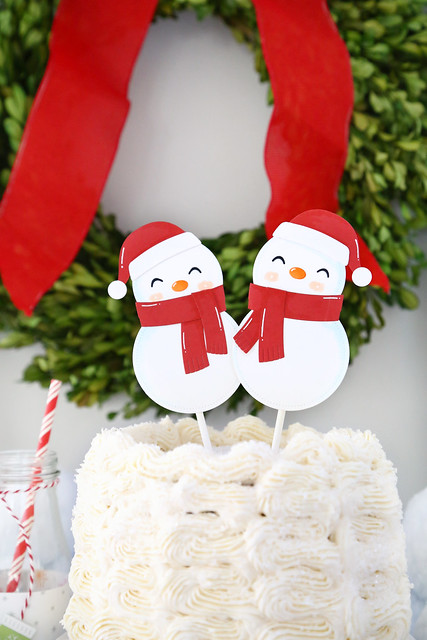
It's really hard to tell from the photos, but I iced the cake in rows of vertical waves and then threw some clear sanding sugar onto the entire cake. It looks like freshly-fallen snow. It really sparkles!

Snowman party (for Lawn Fawn)


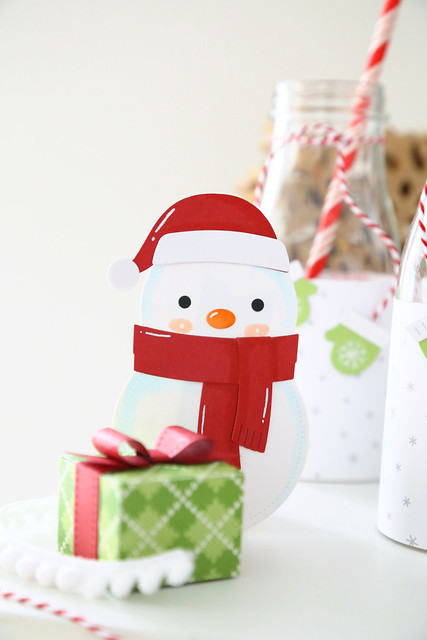
To create the snowmen, I used 2 circle dies and accessories from both Woodland Critter Huggers and Woodland Critter Hugger Winter Add-Ons.

I just think they are adorable! I got the idea from Yainea, who inspired me with her card last week.

Snowman party (for Lawn Fawn)

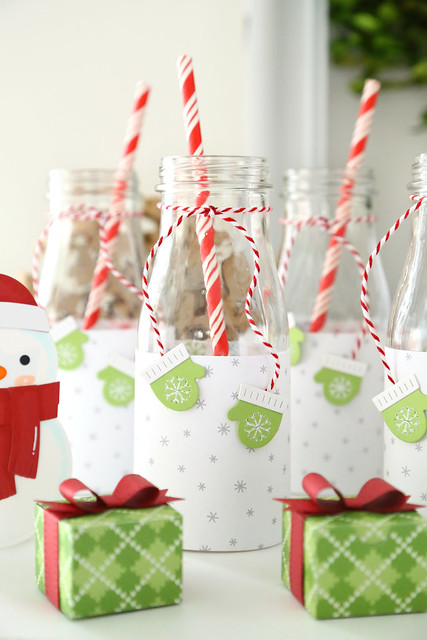
To dress up the milk bottles, I cut some snowflake patterned paper and wrapped it to cover the bottom half of the bottles. Then, I dangled little mittens from more Peppermint Cord.

Snowman party (for Lawn Fawn)


I used a white gel pen to trace the snowflake pattern on the front of each mitten. It looks like a stitched snowflake!

I hope this starts your wheels turning for your own holiday parties! Thanks for stopping by!

♥.

Tuesday, October 16, 2018

Christmas tree shakers (Lawn Fawn inspiration week)

Hi there!

Welcome back to another day of this month's Lawn Fawn inspiration week! Today, we're showing off the Outside In Stitched Christmas Tree Stackables as well as the Stitched Christmas Tree Frames.

I've used them both on this card:

Christmas tree shakers (Lawn Fawn inspiration week)


I created 2 Christmas tree shakers, and fit them into a layer of woodgrain patterned paper. I wanted everything to have dimension, but still lay pretty flat on the card.

The Christmas trees were filled with matching green sequins, and given little pops of color through the yellow stars and scarf and red heart (from Woodland Critter Huggers Winter Add-On.) 

Christmas tree shakers (Lawn Fawn inspiration week)

In lieu of a stamped sentiment, I opted for the Scripty Joy die. It's not obvious in the pictures, but I really wanted it to stand out, so I layered 3 die-cuts on top of each other. It helped give the die-cut a bit of dimension and clarity.

I hope you like it! If you'd like more details on this card, and to see it re-created from start to finish, head over to the Lawn Fawn blog and watch Kelly's video - she's made a version of this card today.

♥.

Wednesday, July 18, 2018

Woodland critter huggers (Lawn Fawn sneak peek week)

Hi there!


Lawn Fawn is showing off their Fall/Winter release all week long! Everything shown this week will be for sale at the end of August.

Today, I'm showing off a set of add-on dies for the Woodland Critter Huggers. The Woodland Critter Huggers Winter Add-On set includes mittens, a scarf, a santa hat, and earmuffs!

I've used a good number of them on this card:

Woodland treat huggers (Lawn Fawn sneak peek week)

I made a little reindeer treat hugger, and gave him a piece of dark chocolate to hold. I love a card and a treat all in one!

Woodland treat huggers (Lawn Fawn sneak peek week)

I added a scarf, the santa hat and a pair of mittens to the reindeer. Little white gel pen accents help everything really pop!

Woodland treat huggers (Lawn Fawn sneak peek week)

At his feet, I placed extra die-cuts from the set: the present, the little mug filled with whipped cream and the candy cane. I love how these dies were designed! For the present, I die-cut the box in white and the little ribbon in red. They fit together perfectly. Likewise, the candy cane is 2 dies - one for the white and one for the red part. And the mug has a slit in the top, so that the whipped cream can slide in.

I hope you like what I've made today, and be sure to check out the Lawn Fawn blog for so many more new product reveals - CLICK!

♥.