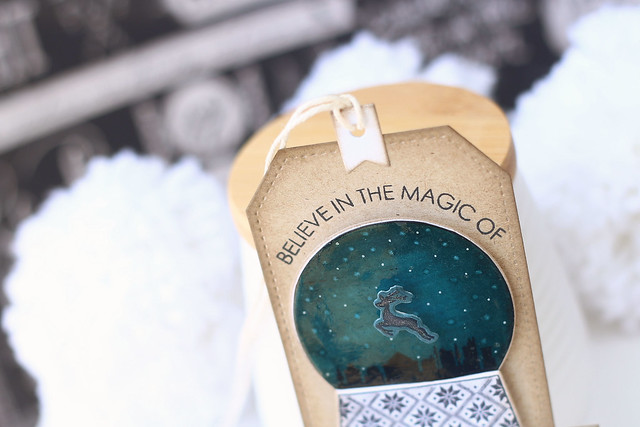
I have a lot to show you this morning, so without any of the usual chatter, lemme show you how to make these:
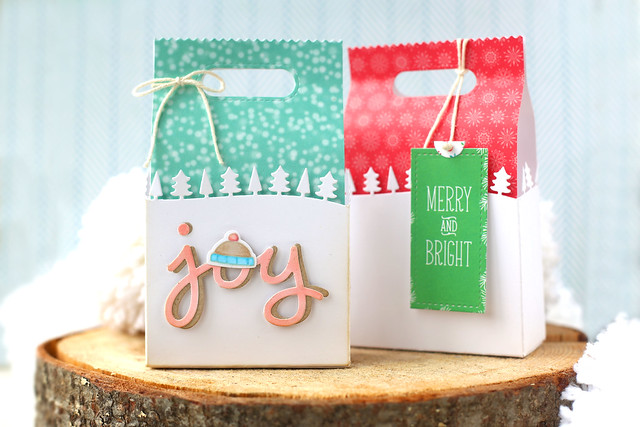
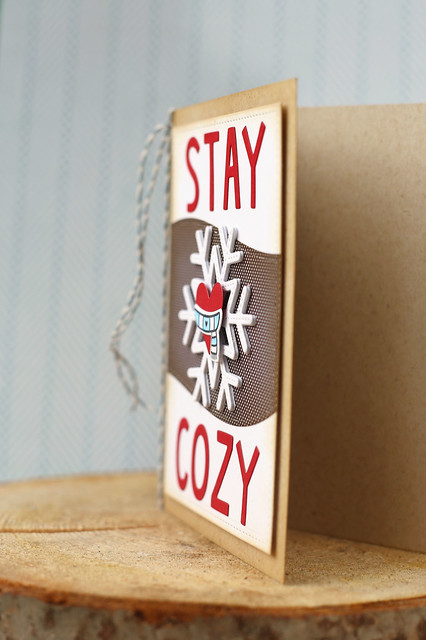
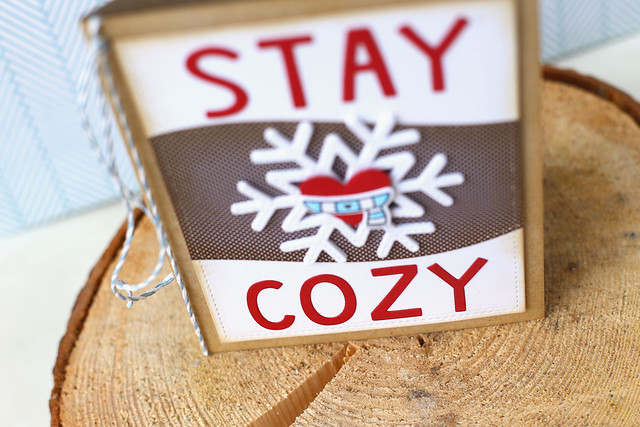
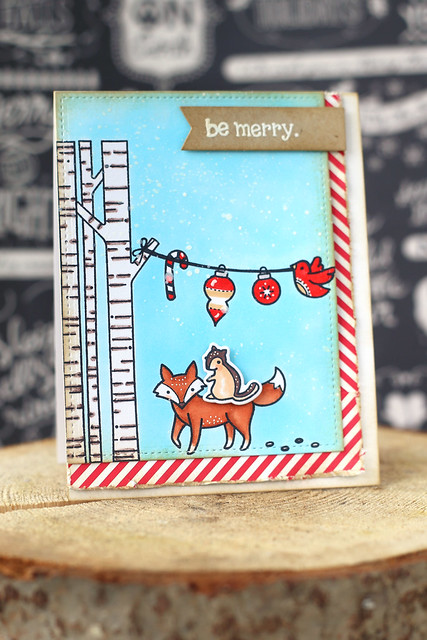
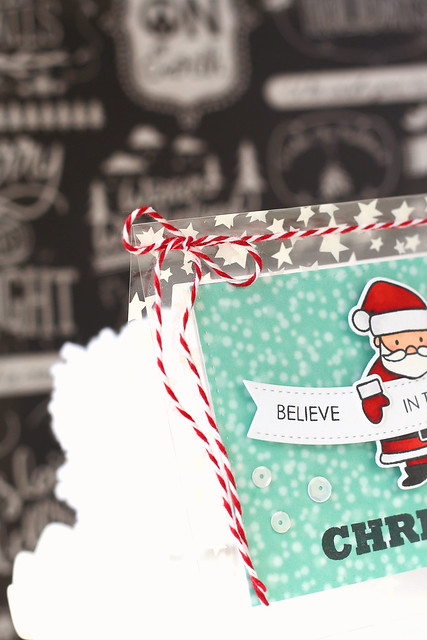
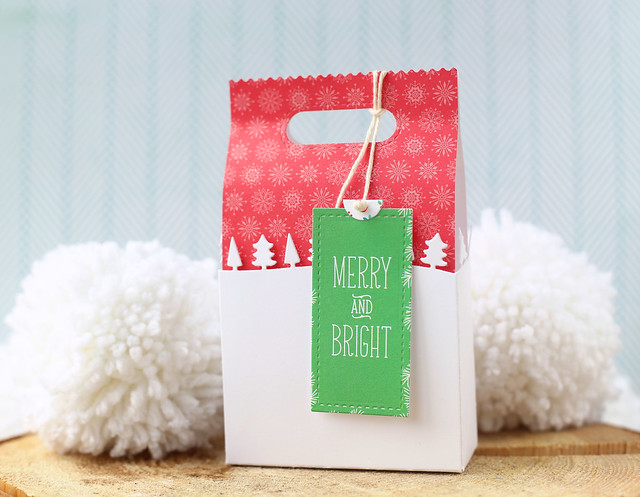
I made treat bags to show off lawn fawn's new snow day collection. It's the regular goodie bag, but I combined it with the forest border to give it an extra special look.
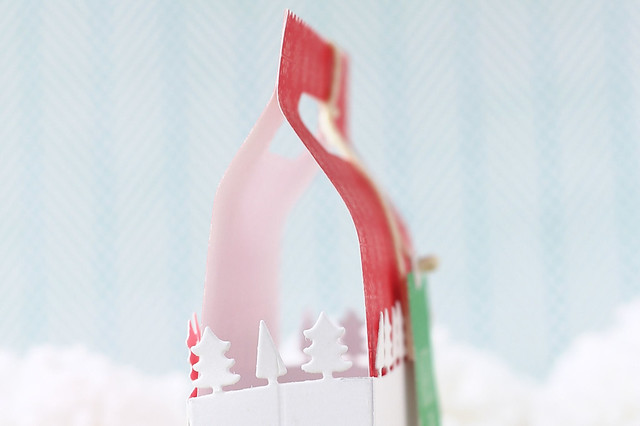
You could just cut a forest border, and tuck it inside, but seamless is so much nicer...
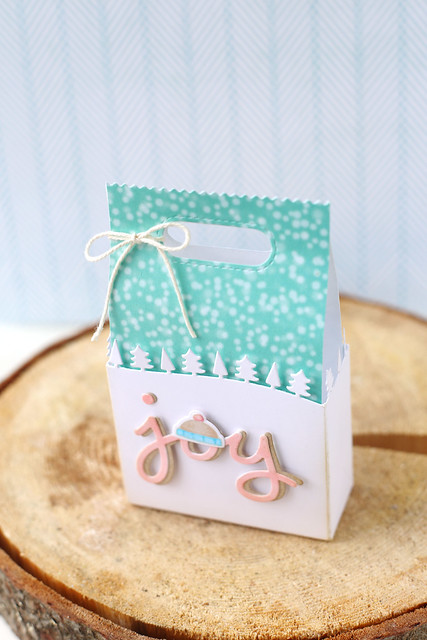
So let's get to the tutorial!
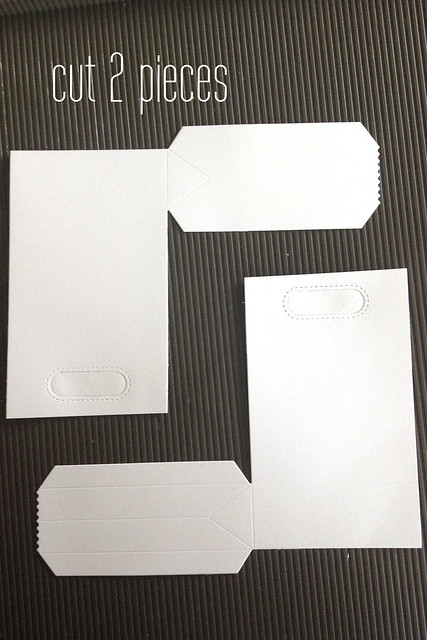
In case you can't read the type on the pictures, I'll repeat it: cut 2 goodie bag pieces.
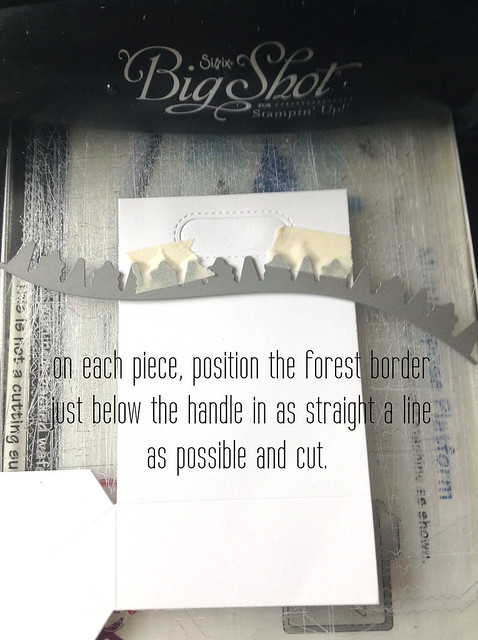
On each piece, try to find the straightest portion of the forest border die, and cut just below the handle. We want that thing off!
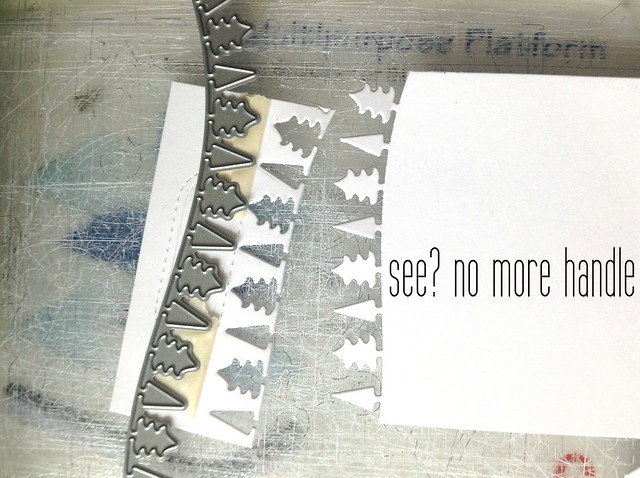
OFF.
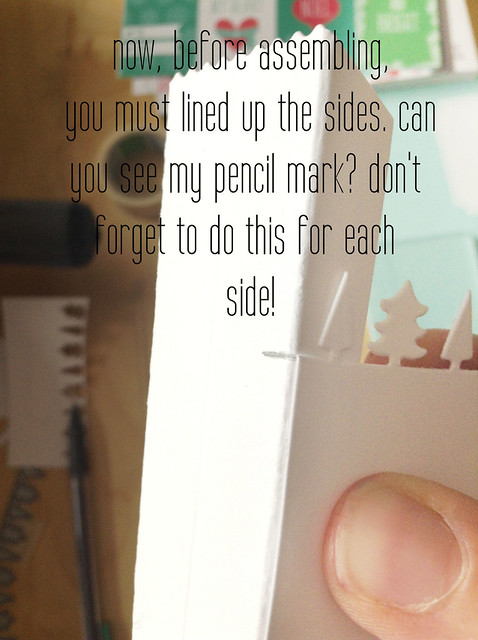
The trickiest part: don't assemble the bag yet! Hold the front of the bag, with the forest border and pinch it to the side. Make a pencil mark where you will want the edges to line up. Do this for each side!
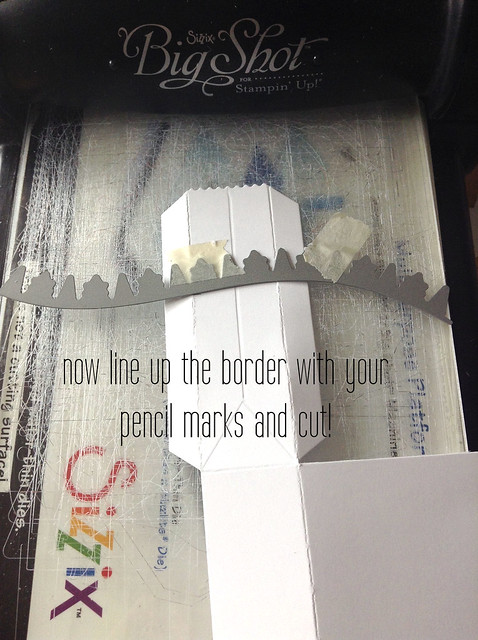
Once each side has a pencil marking, you can line it all up and send it through your machine.
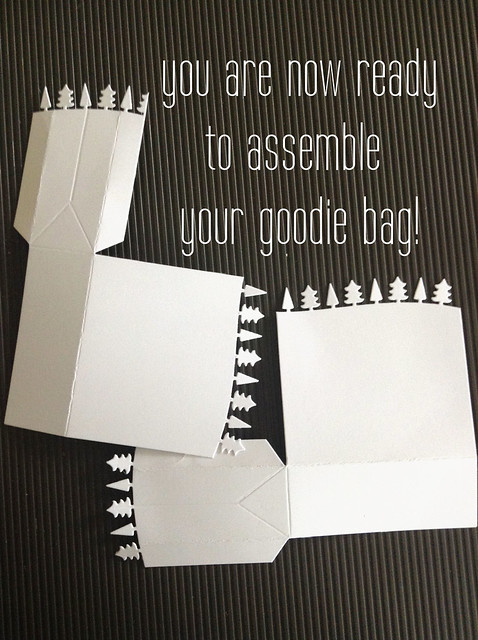
All ready to be assembled!
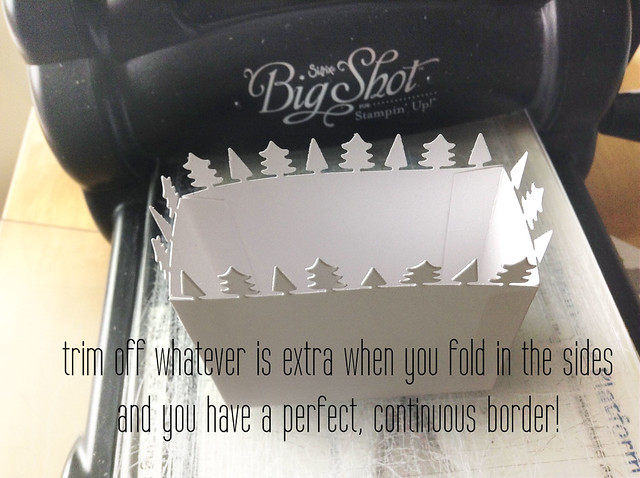
Trim off whatever is extra when you fold in the sides and there you have a very pretty looking holiday box!
You can stop here and it looks fantastic. I added some strips of patterned paper to the inside for an extra pop:
I hope you like it!
Check out the lawn fawn blog for more snow day collection inspiration - click!
♥.
I made treat bags to show off lawn fawn's new snow day collection. It's the regular goodie bag, but I combined it with the forest border to give it an extra special look.
You could just cut a forest border, and tuck it inside, but seamless is so much nicer...
So let's get to the tutorial!
In case you can't read the type on the pictures, I'll repeat it: cut 2 goodie bag pieces.
On each piece, try to find the straightest portion of the forest border die, and cut just below the handle. We want that thing off!
OFF.
The trickiest part: don't assemble the bag yet! Hold the front of the bag, with the forest border and pinch it to the side. Make a pencil mark where you will want the edges to line up. Do this for each side!
Once each side has a pencil marking, you can line it all up and send it through your machine.
All ready to be assembled!
Trim off whatever is extra when you fold in the sides and there you have a very pretty looking holiday box!
You can stop here and it looks fantastic. I added some strips of patterned paper to the inside for an extra pop:
I hope you like it!
Check out the lawn fawn blog for more snow day collection inspiration - click!
♥.