Monday, April 16, 2018

hoppy birthday (Lawn Fawn inspiration week)

Hi there!

Welcome back to another day of Lawn Fawn inspiration! Today, we're showing off the super happy Really Rainbow paper collection, and Happy Birthday Line Border die.
hoppy birthday (Lawn Fawn inspiration week)

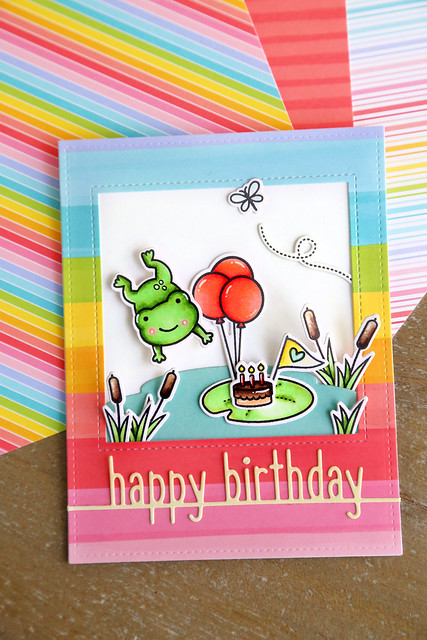
I made a little birthday scene for the birthday frog to jump into! The frog from Toadally Awesome and his birthday cake are framed out in Really Rainbow paper. It almost looks like a giant polaroid! I used a Outside In Stitched Square Stackable die to cut out the area for my scene.
hoppy birthday (Lawn Fawn inspiration week)

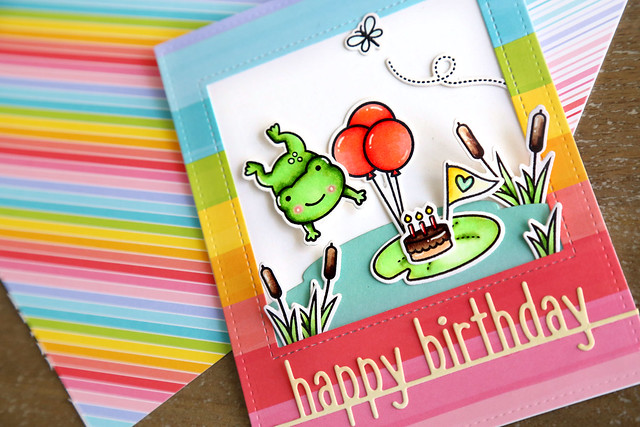
I finished off the card by adding the Happy Birthday Line Border strip to the bottom.

I hope you like it! There's more to see on the LF blog this morning - click!

♥.

Sunday, April 15, 2018

Out of this world (Lawn Fawn inspiration week)

Hi there!

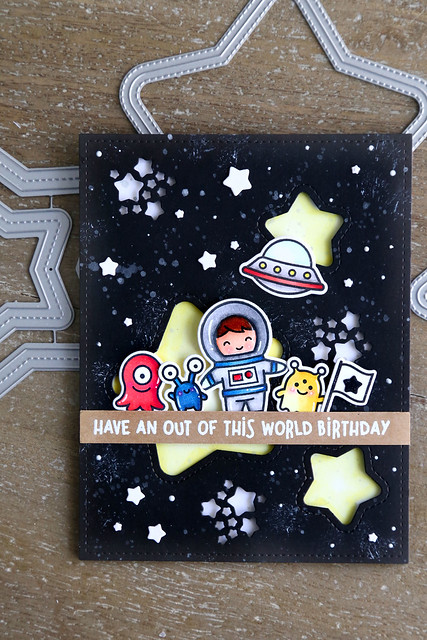
Welcome back to another day of this month's Lawn Fawn inspiration week. Today, we're showing off the Outside In Stitched Star Stackables, and the Stitched Star Frames. I've used both sets of dies on this card:

Out of this world (Lawn Fawn inspiration week)

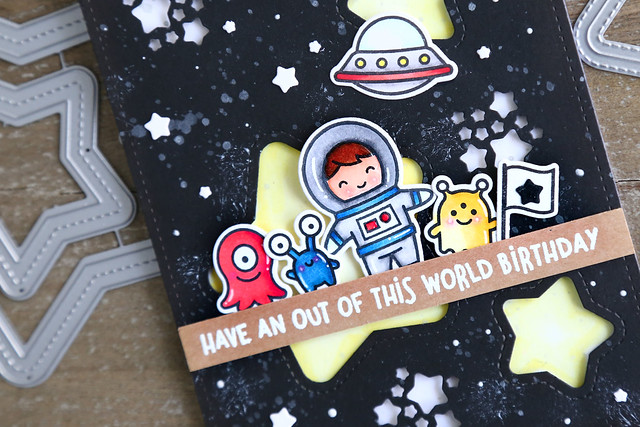
The aliens from Beam Me Up met up in outer space with the Astronaut from Out Of This World from one crazy birthday party!

I used the star dies to cut star shapes out of my black cardstock layer. I then flecked white paint over the entire area and colored the area behind the stars in a light yellow.

Out of this world (Lawn Fawn inspiration week)

All of the party peeps are standing on a kraft-colored sentiment strip that was white-heat-embossed.

To finish off, I added some small stars to fill in areas that I thought looked empty.

I hope you like it! There's more to see on the LF blog this morning - click!

♥.
Saturday, April 14, 2018

Slow down and enjoy (Lawn Fawn inspiration week)

Hi there!

Welcome back to day 2 of this month's Lawn Fawn inspiration week. Today, we're showing off Slow Down and Enjoy:

slow down & enjoy (lawn fawn inspiration week)


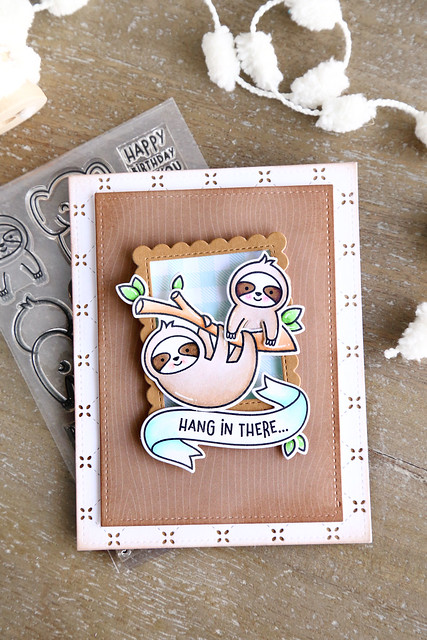
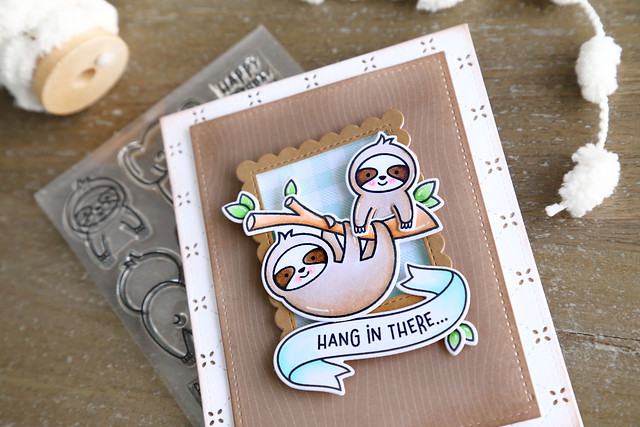
I paired the smaller sloth from Slow Down and Enjoy with the hanging one from Hang In There - I love them together!

I set them into a Mini Picture Frame and backed that with a blue gingham patterned paper.

The blue was echoed again in edges of the Bannertastic banner.

slow down & enjoy (lawn fawn inspiration week)

I kept the background neutral, with the woodgrain paper (I sponged its edges with a soft brown ink for more depth and interest) as well as the quilted base.

I hope you liked it! There's more to see on the LF blog this morning - click!

♥.
Friday, April 13, 2018

In the clouds (Lawn Fawn inspiration week)

Hi there!

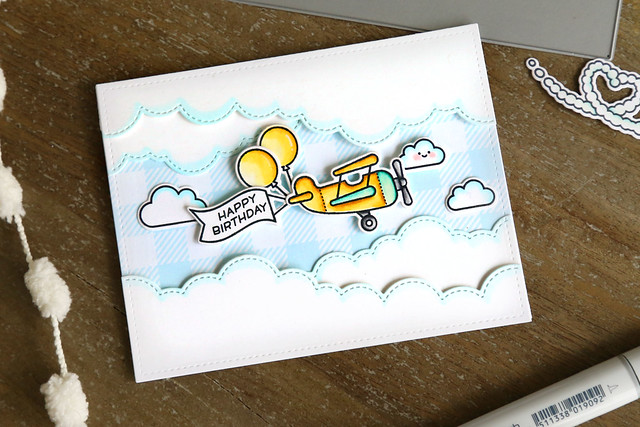
Welcome to Lawn Fawn's April inspiration week. Today, we're taking a closer look at the Cloudy Hillside Pop-up Add On dies. They are perfect for adding a fun element to the inside of a card, or for doing a little something like this:

in the clouds (Lawn Fawn inspiration week)

I started out with a piece of gingham patterned paper, and framed out the top and bottom with cloudy layers.

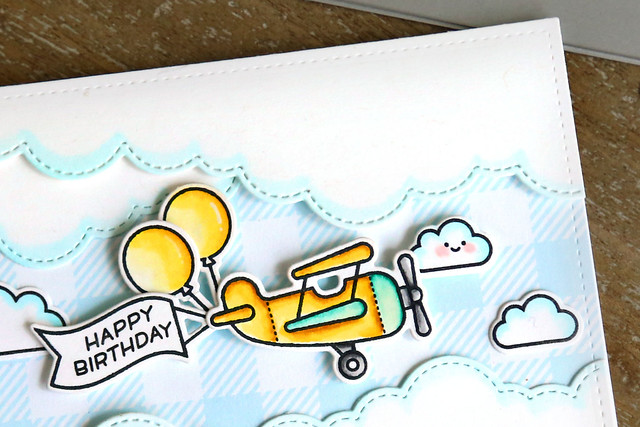
The images, from Plane and Simple, were a perfect match. I colored both the plane and the balloons in a buttery yellow.

in the clouds (Lawn Fawn inspiration week)

The one little smiley-faced cloud is the cutest!

I hope you like it - there's more to see on the LF blog this morning - click!

Tuesday, April 10, 2018

Party Pals (for Avery Elle)

Hi there!

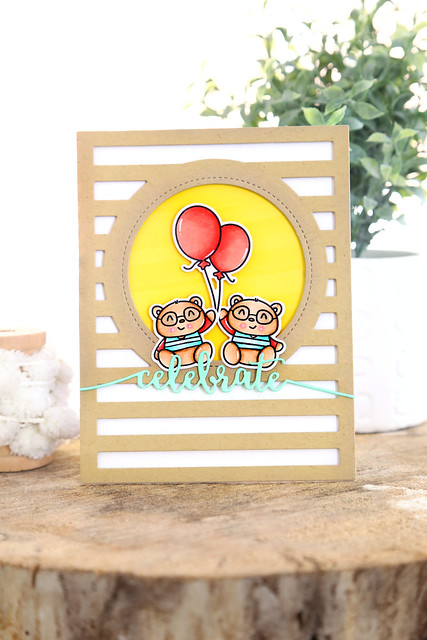
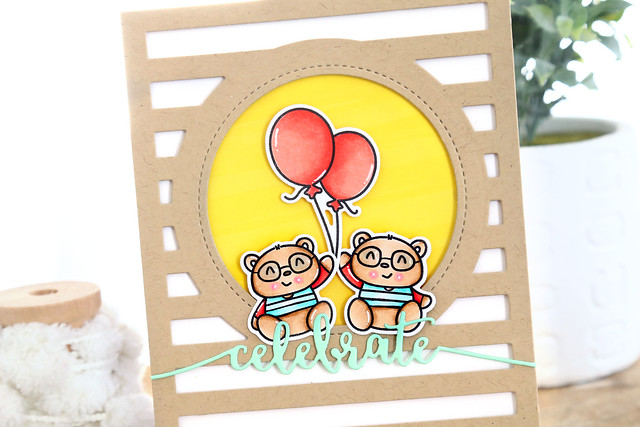
I'm here and on the Avery Elle blog this morning with a different take on those cute pandas from Party Pals:

Party Pals (for Avery Elle)


The lines around the eyes are meant to be colored in so that he looks like a panda, but I added some lines using a copic-friendly pen and voila! glasses. After everything was colored, I added glossy accents to those glasses, which is so fun in real life.

Since it was already going a quirky route, I also added a few extra lines to give the bears some sweaters. I know that some of you are experiencing springtime weather, but it just snowed the other day in Montreal. The bears looked cold.

Party Pals (for Avery Elle)

I gave them balloons to hold (from Toucan Party) and set them against a bright yellow background. To make that bright yellow really pop, but also not be super overwhelming, I confined it to the inside of the circle (from the Horizontal Stripes Ellements.) 

I opted to not stamp a greeting, but cut the word celebrate (from Sentimental Ellements) in a fun mint color. 

I hope you like it! Thanks for stopping by!

♥.

Monday, April 9, 2018

Daddy and me (Neat and Tangled)

Hi there!

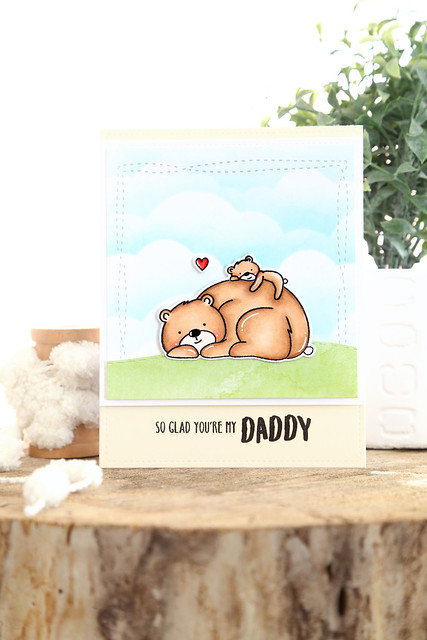
I'm here and on the Neat and Tangled blog this morning, with a card featuring our new Mommy Daddy and Me stamp set:
daddy and me (neat and tangled)

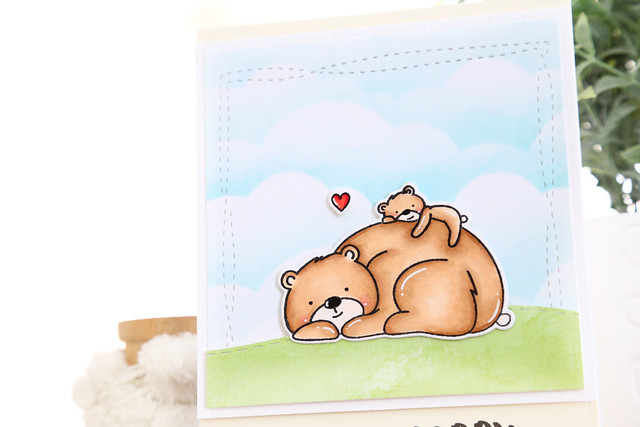
I used the image with the big bear and cub. I think it's sweet, how the cub's face is smushed in there a bit.

I started out by sponging a sky background for the bears to sit in front on, and gave them a ground to lay on using our Stitched Slopes die.

Once the bears were colored and cut out, I placed them onto their background and adhered everything to a cream-colored card base. I stamped the greeting directly onto the cream base and added a tiny heart to finish things off.

daddy and me (neat and tangled)

I like the simplicity of this card, especially to gift to dad. If it was for mom, I would probably add more, but this seemed like just enough for a "guy card."

I hope you like it! Thanks for stopping by!

♥.

Friday, April 6, 2018

Just Because (Pinkfresh Studio)

Hi there!

I have a one-layer floral number to share with you today:

Just because (Pinkfresh Studio)

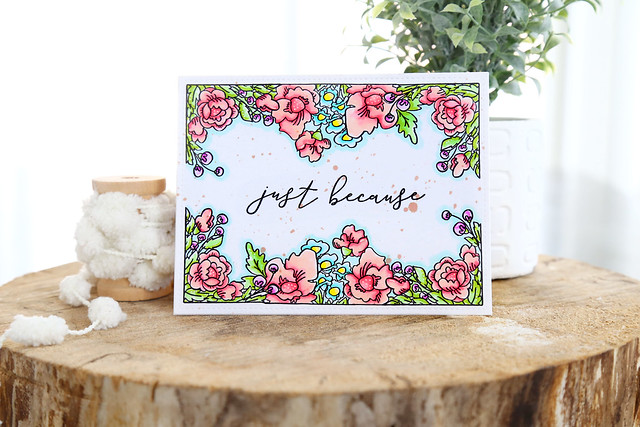
I used images from Pinkfresh Studio to create the card: the flowers from Always Flowers, and the sentiment from Bird With Flowers in the middle.

I started out by stamping the corner floral cluster into each corner of my card-front. Then, I tediously created masks (tip: I cut layers of masking paper at once to speed up the process) and stamped in the straight-lined flower arrangement to fill in the gap at the top and bottom.

At first, I thought about stamping more flowers to the left and right to create a true frame, but I thought that would look too busy.

Just because (Pinkfresh Studio)

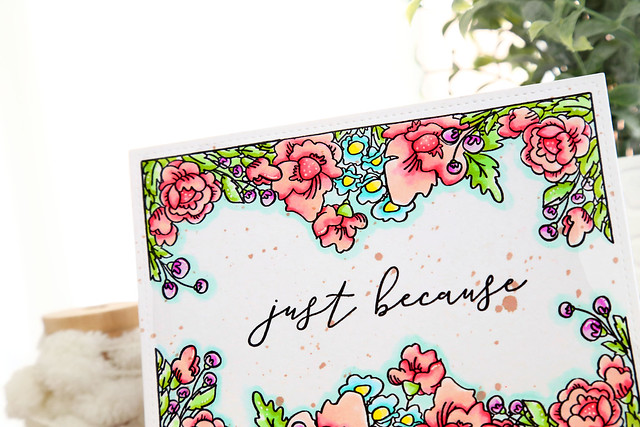
Once the flowers were colored, I used a light blue copic marker to trace around their outlines. I lightened and softened that blue line by coloring over it with a colorless copic marker (0).

To create more interest, I flecked one some light brown ink before stamping in my greeting.

I hope you like it! Thanks for stopping by!

♥.