Monday, September 29, 2014

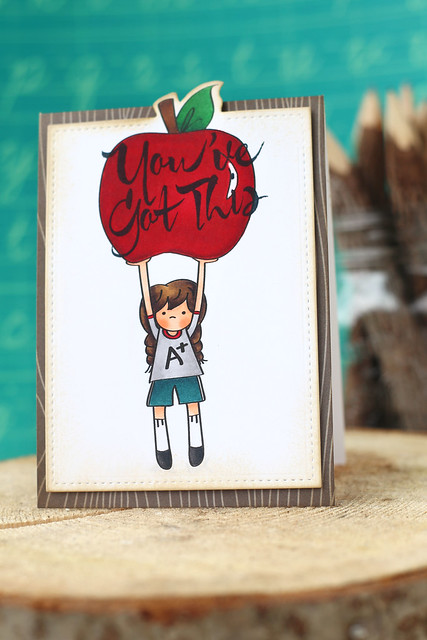
you've got this.

Just for fun, I'm sharing an illustration I made for Sofia.  She isn't a runner, and with her knees still recovering from last year's surgeries she was so nervous to have to run 2K in her gym class. I tucked this little card into her lunch box and hoped it would put a smile on her face.

you've got this.


I hand-drew the girl and her huge apple, then scanned and turned it into an illustrated digital image for myself.
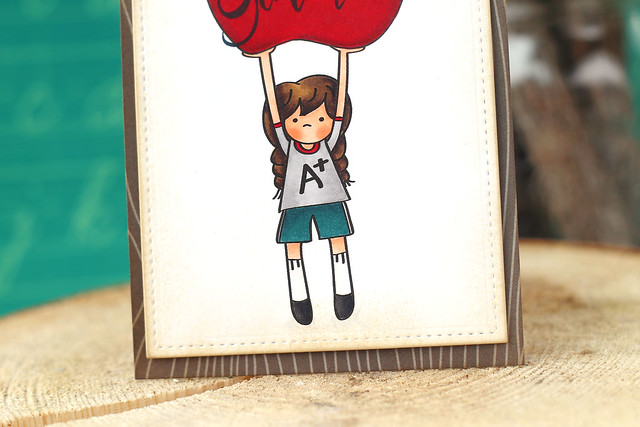
you've got this.

I thought she looked pretty cute in her little gym shorts and high socks. A little retro cool. But maybe not with black shoes. haha. Not sure why I colored those that color now that I look back.
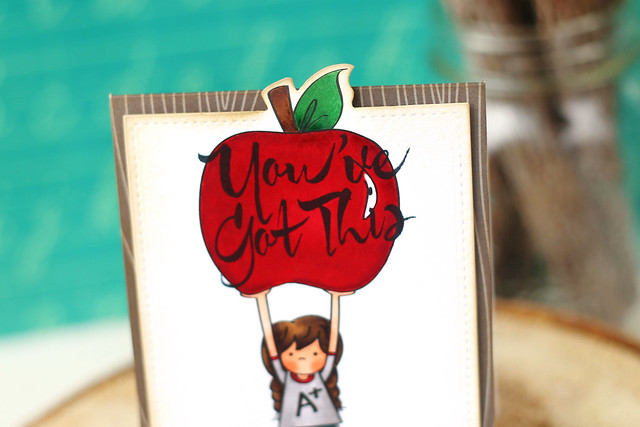
you've got this.

I used my favorite Avery Elle sentiment, and stamped it twice for a heavier and crisper impression. I wanted to make sure the sentiment would stand out.  I used a stamp-a-ma-jig to make sure that I landed in the exact same place on the second stamping.  My hands aren't steady enough to wing it.

I also did some fancy die-cutting around the apple stem and leaf: I washi-taped my stitched rectangle die where I wanted it and sent it through the big shot 3 times: once to cut the lower half of the rectangle, and then on either side, making sure not to cut where I had the apple bleeding outside of its borders.  Finally, some scissor work to cut the top of the apple and make it look seamless.

I loaded the whole thing onto a walnut notecard (I need more and more of these, I can't stop using them!) and popped it into Sofia's bag.

When she came home, she had tears in her eyes because she was in the slower half of her class, but when she said: I didn't give up, mama. some of the girls quit, but I made it to the end -

we celebrated.

Here's to not giving up. You've got this, not matter what your "this" may be.

♥.

Thursday, September 25, 2014

a big bear hug.

With lawn fawn's inspiration week over, I'm at the end of my marathon blogging of 9 days in a row.  And even though this the last project I'm sharing with you, it was the very first one I created.

When I received the Mama Elephant dies, I was trying to make little cards and things for the kids to brighten up their first days at school.

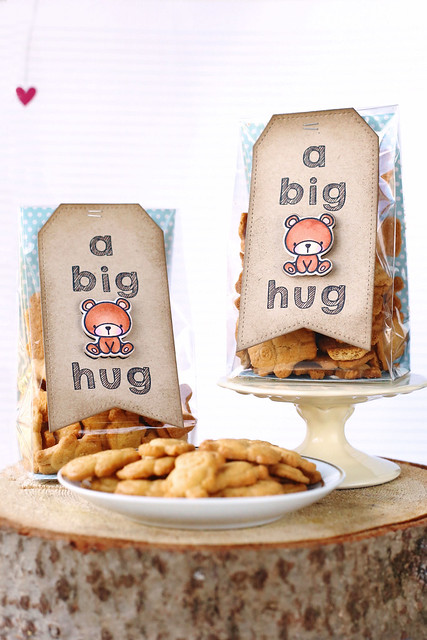
I used the new Tags a Lot dies to create these little bear hug packages for lunchtime treats:

a great big bear hug

My kids are huge fans of the carnival cupcakes set that was released last month, so I knew they would love these tags.  I didn't anticipate my son coming home telling me how much he loved the treat, but that he got teased by his friends.

womp, womp.

I guess we're at that age now. He told me to keep making him stuff, but could I please just give him the tags separately at home? ha.

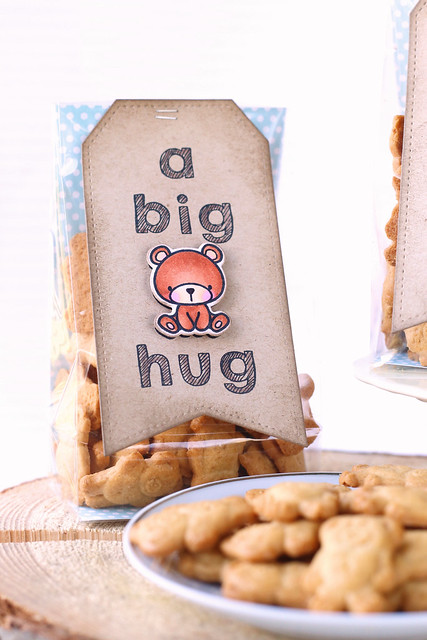
a great big bear hug

I combined the adorable bear image with a custom sentiment using sketchy letters.

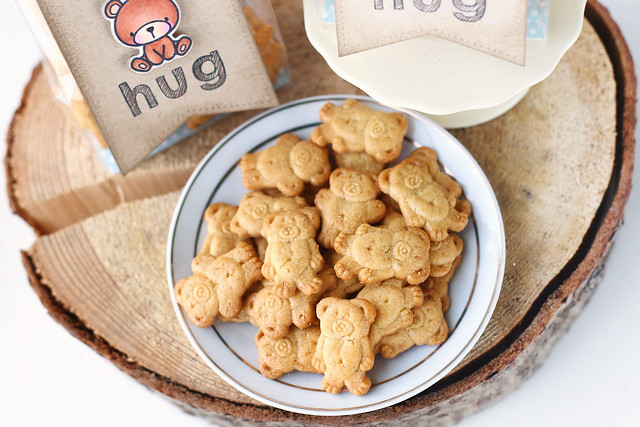
And inside the packages? Had to be bear cookies, of course!

a great big bear hug


I hope you like it, and thanks for stopping by!

♥.

Wednesday, September 24, 2014

milk and cookies.

We're hitting the tail end of Lawn Fawn's September inspiration week. What'd you think?

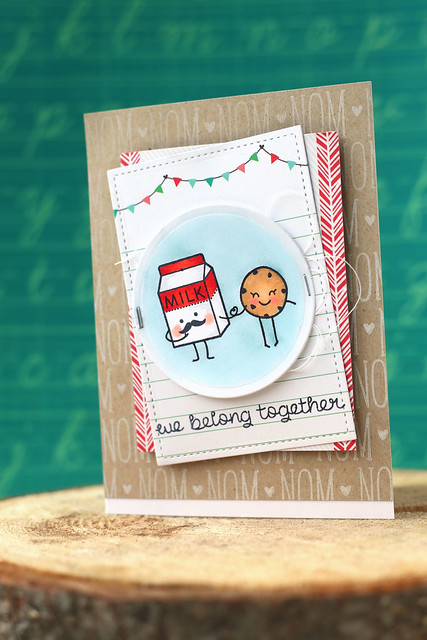
Today, we're showing off the adorable Milk and Cookies and its coordinating dies.

I spotted this print on pinterest:


and decided it had to be remade with my lawn fawn set.

milk and cookies.


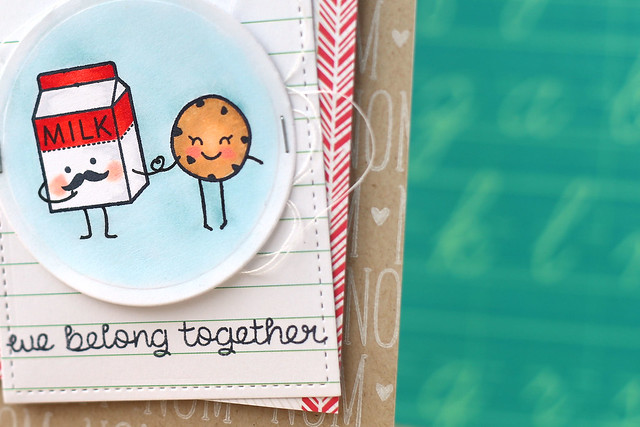
I kind of love their poses!  I gave the milk a mustache (ha) and the lady-cookie has demurely turned in feet.

milk and cookies.

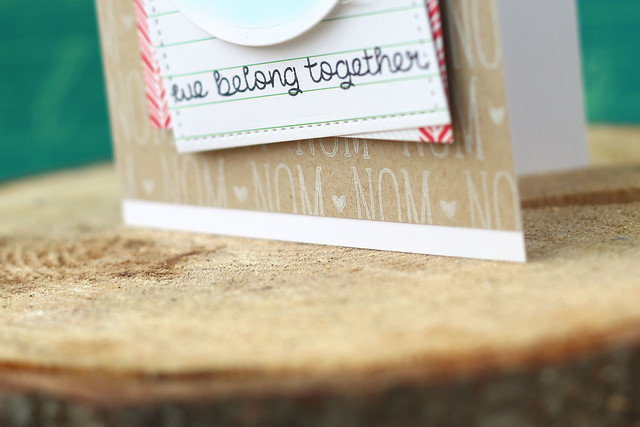
Where their hands meet it twirls into a heart. awwww.  I kept this card pretty scrappy by cutting 2 stitched rectangles (from the snow day paper collection) and angling them over a stamped background.

nom, nom, nom.

milk and cookies.

I hope you like it!

If you want to see what else I've done with this set, check out my milk & cookies party.

And don't forget to stop by the lawn fawn blog and see what the rest of the design team has cooked up.

♥.
Tuesday, September 23, 2014

snow day.

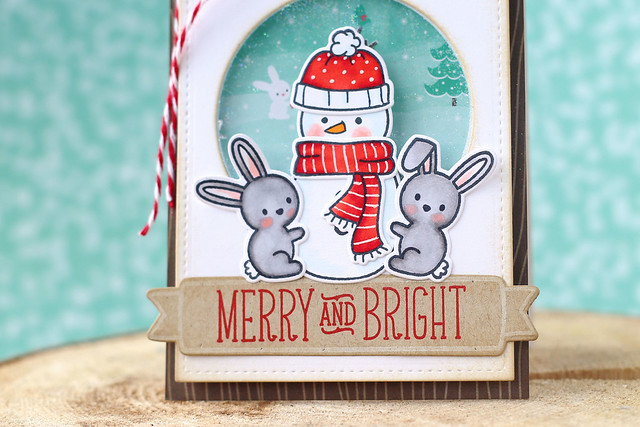
Hi there! We're nearing the end of Lawn Fawn's September inspiration week - I hope you've enjoyed it so far.  Today we're showing off the most adorable set, Snow Day, and its coordinating dies.

snow day


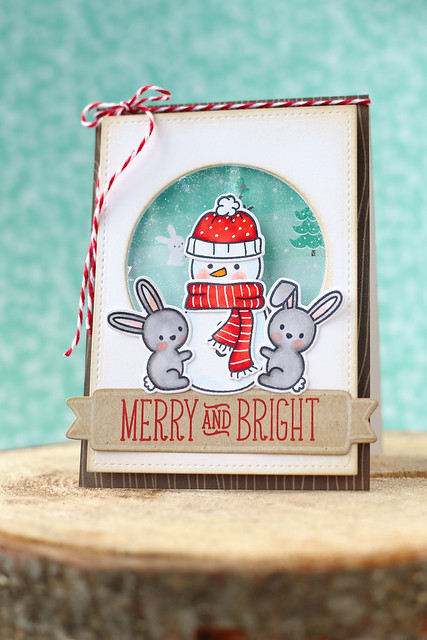
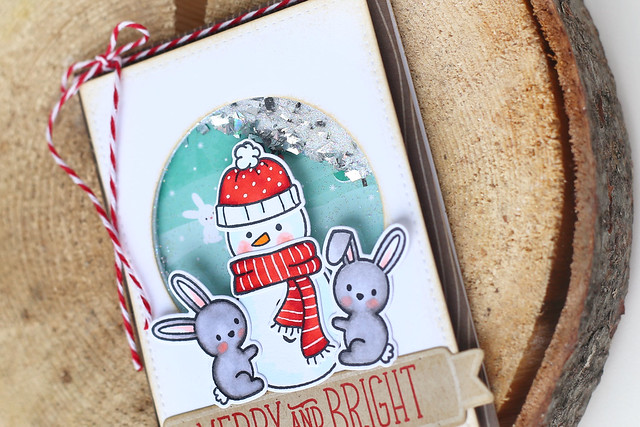
I made a shaker card!  I pulled out my favorite snowman and paired him with his new bunny friends. When I first showed this card to Kelly Marie, she said it looked like the snowman had groupies. haha.

snow day

I colored and positioned them in front of the shaker window. I chose a paper from the snow day collection, and positioned it so it looked like there were more bunnies and birds playing in the snow behind them.

snow day

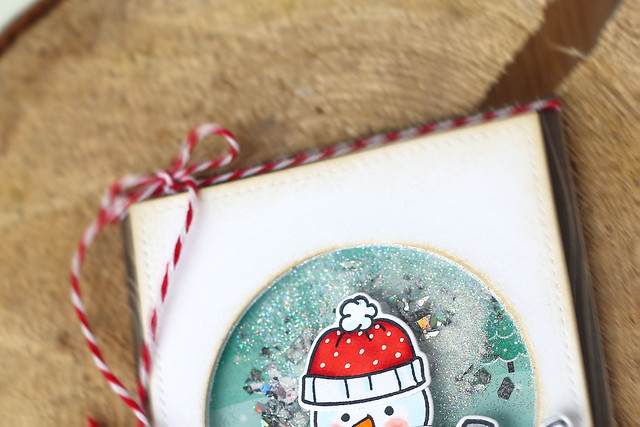
Tilt it back to see all of the glitter, ready to fall.

snow day

It's a blizzard, y'all.

I hope it! There's more from the rest of the design team on the Lawn Fawn blog today - click!

Monday, September 22, 2014

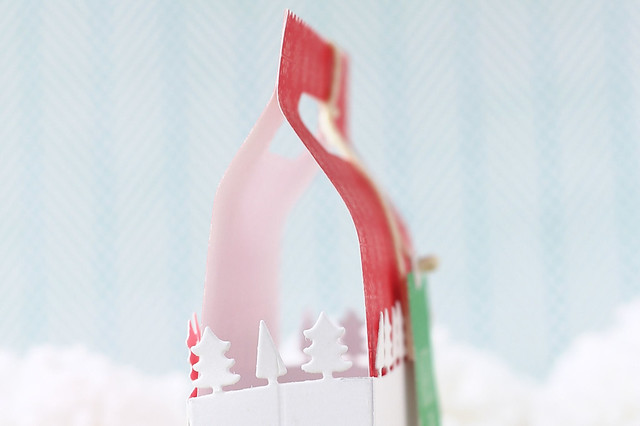
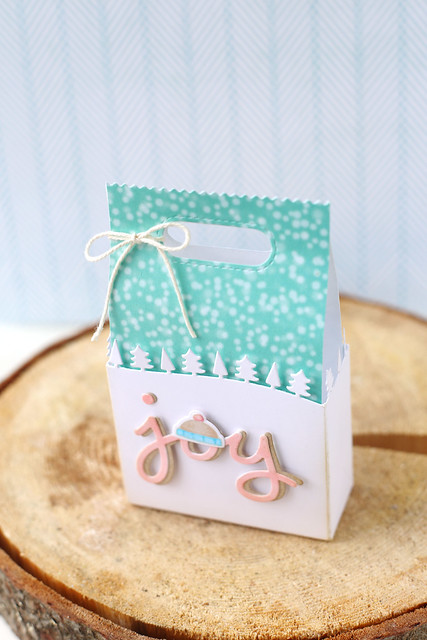
forest bordered goodie bags.

I have a lot to show you this morning, so without any of the usual chatter, lemme show you how to make these:

forest border goodie bags

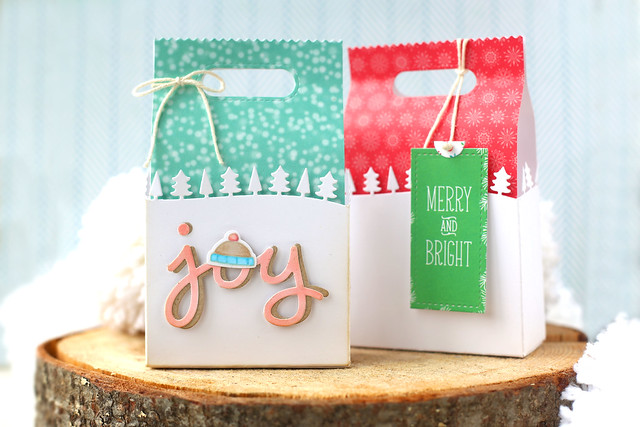
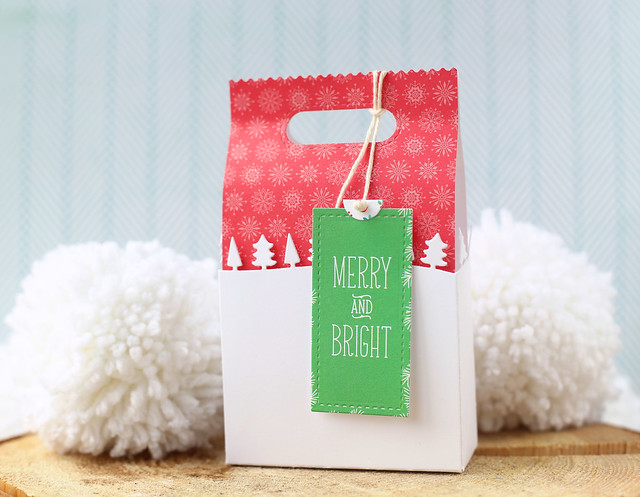
I made treat bags to show off lawn fawn's new snow day collection.  It's the regular goodie bag, but I combined it with the forest border to give it an extra special look.

forest border goodie bags

You could just cut a forest border, and tuck it inside, but seamless is so much nicer...

forest border goodie bags


So let's get to the tutorial!

forest border goodie bags


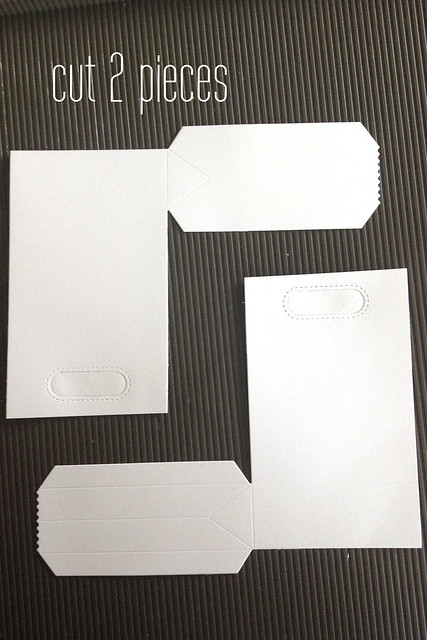
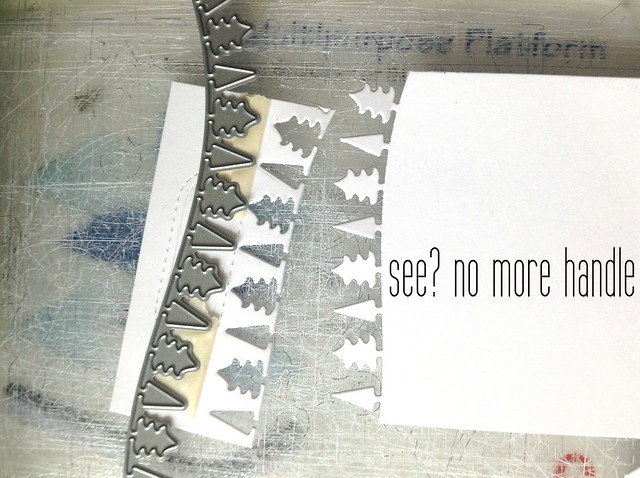
In case you can't read the type on the pictures, I'll repeat it: cut 2 goodie bag pieces.

forest border goodie bags


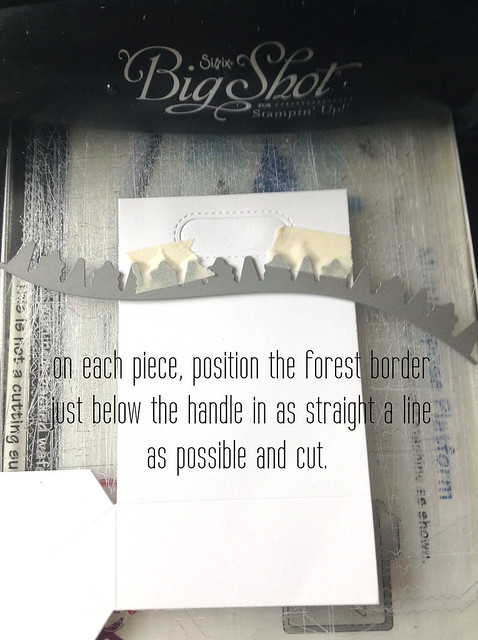
On each piece, try to find the straightest portion of the forest border die, and cut just below the handle. We want that thing off!

forest border goodie bags

OFF.

forest border goodie bags

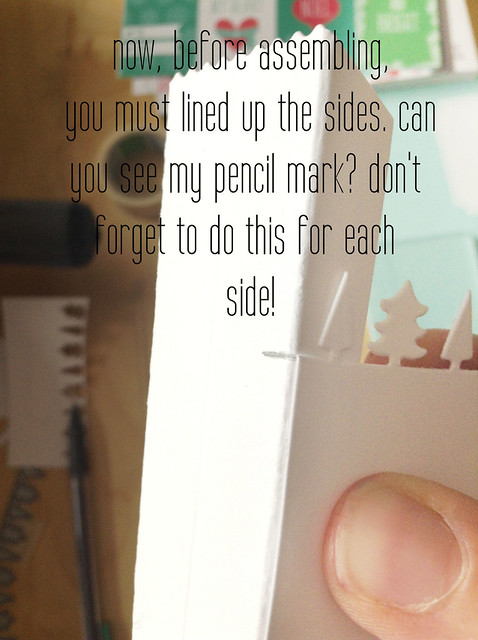
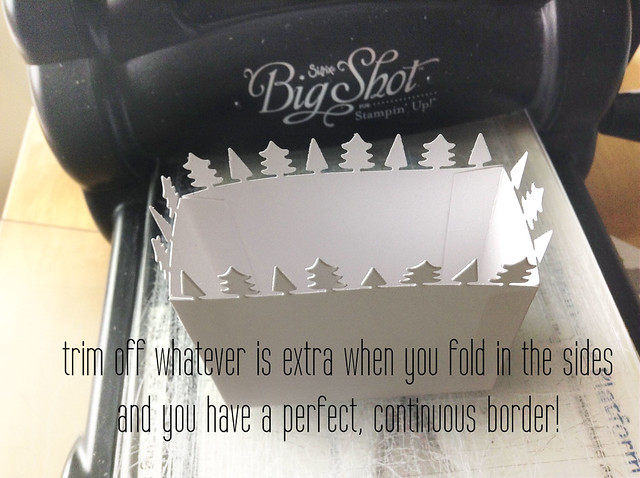
The trickiest part: don't assemble the bag yet! Hold the front of the bag, with the forest border and pinch it to the side. Make a pencil mark where you will want the edges to line up. Do this for each side!

forest border goodie bags


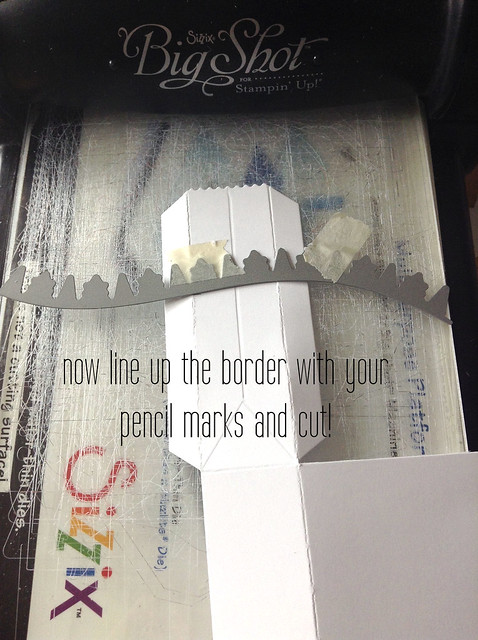
Once each side has a pencil marking, you can line it all up and send it through your machine.

forest border goodie bags

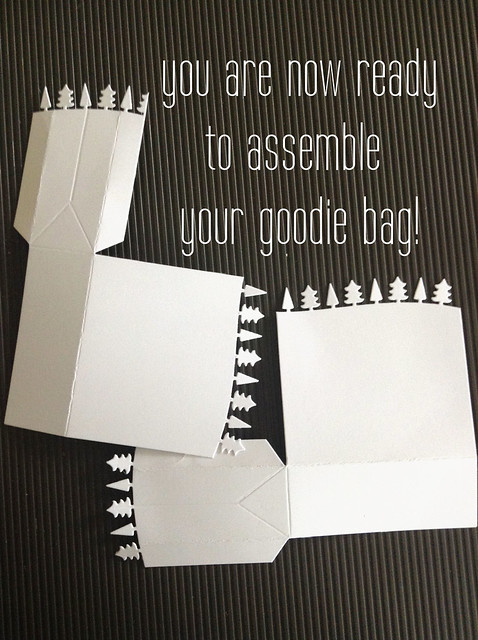
All ready to be assembled!

forest border goodie bags

Trim off whatever is extra when you fold in the sides and there you have a very pretty looking holiday box!

You can stop here and it looks fantastic. I added some strips of patterned paper to the inside for an extra pop:

forest border goodie bags

I hope you like it!

Check out the lawn fawn blog for more snow day collection inspiration - click!

♥.
Sunday, September 21, 2014

stay cozy.

It's getting colder here. Sweater weather, air-conditioning turned off, near freezing temperatures in the morning. Tall boots, too.

I even had a salted mocha latte at starbucks the other day.

Just keep all of that in as we continue to show wintery/christmasy things to promote lawn fawn's latest release. (a friend sent me an annoyed email telling me to knock it off since it was still officially summer... ha)

Today, I'm showing off stitched snowflakes.

stay cozy


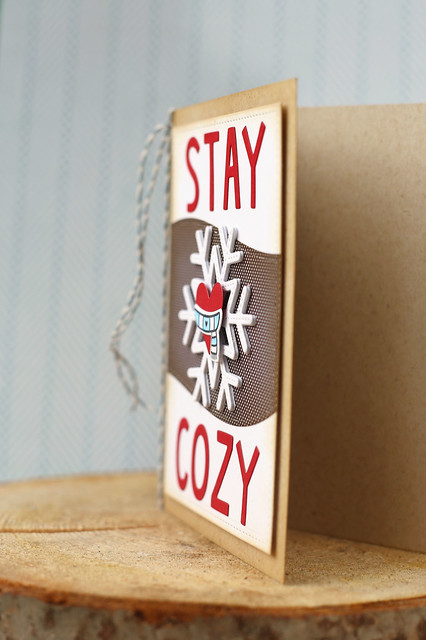
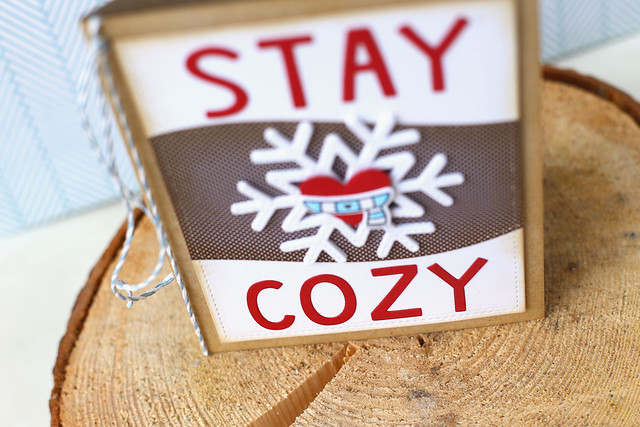
I used Finley's abcs and the Snow Day heart layered over a stitched snowflake.

stay cozy

I gave the snowflake some chunkiness by layering 4 of them together. No need for foam tape now!

stay cozy

The wavy middle panel was created by die-cutting the same rectangle shape as my base layer, and then using the stitched hillside borders on either side. I love the finished look I got by keeping a stitched border all around.

I hope you like it! There's more to see on the lawn fawn blog today - click!

♥.
Saturday, September 20, 2014

donut you know...
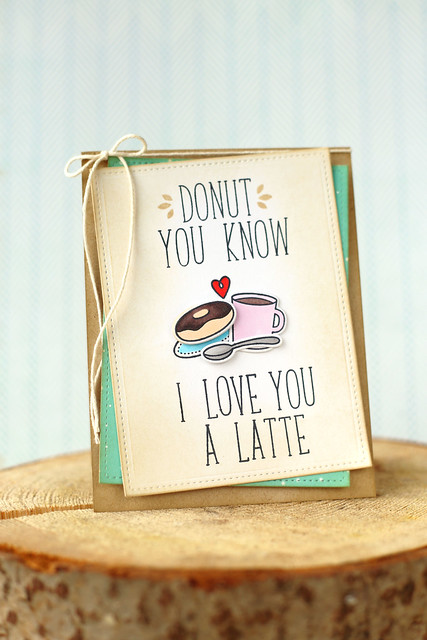
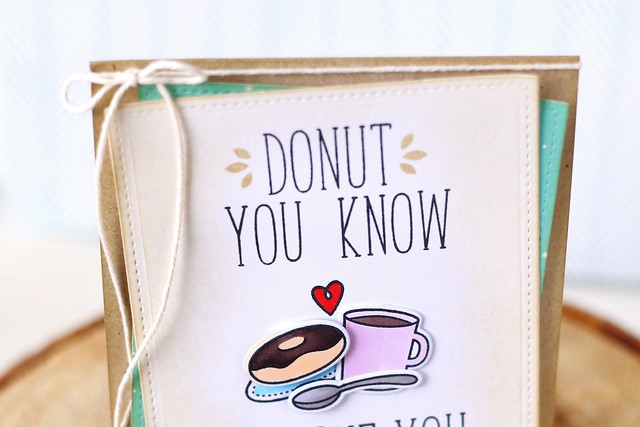
It's time for another day of lawn fawn inspiration! If you like all things punny, you'll love what I whipped up for today's showcase of love you a latte (if you don't, you'll roll your eyes and call me a dweeb like my husband did, haha):

donut you know...


I kept the design sweet and simple so the images and lettering could take center stage.  The little accents on either side of the word donut are from another new set, deck the halls.

donut you know...

The new stitched rectangles are so perfect for quick cards that look polished.

In other news, I bought a donut pan. I need to try it out soon.

I hope you like what I created today!

♥.


Friday, September 19, 2014

joy to the woods {lawn fawn september inspiration week}

Welcome to the first day of Lawn Fawn's September inspiration week! Today is our showcase of Joy to the Woods, and its coordinating set of dies.

joy to the woods {lawn fawn inspiration week}


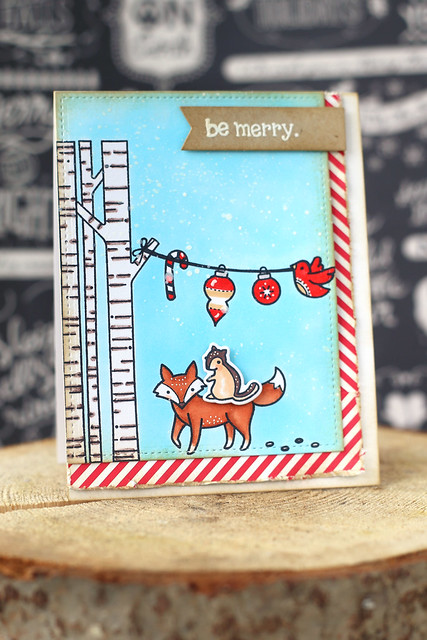
I think this card has a bit of a folksy feel, don't you?  The artwork is a bit less cutesy than we're used to seeing from lawn fawn, too. I really love this set, and all the things you can do with it!

joy to the woods {lawn fawn inspiration week}

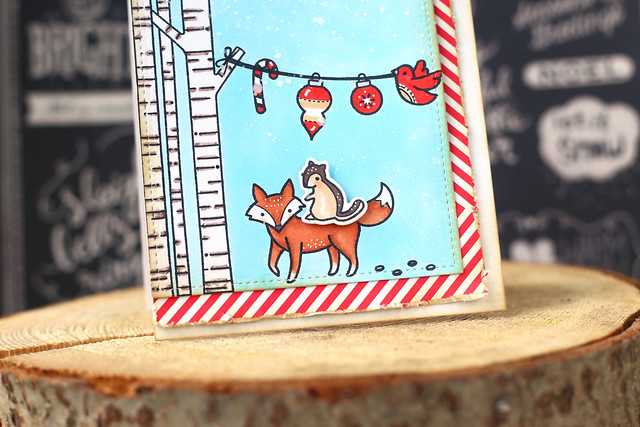
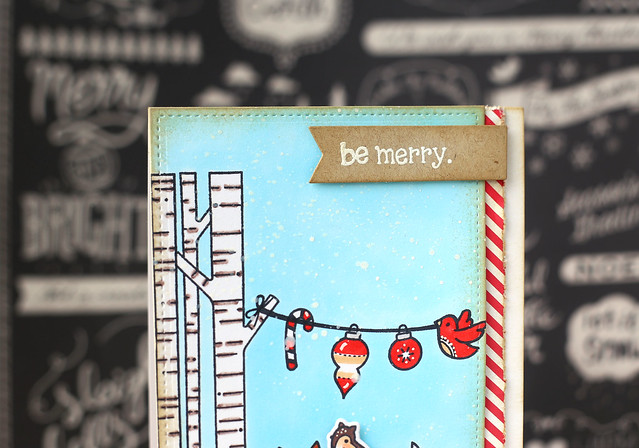
I let the chipmunk have a ride on the fox's back as they checked out the ornaments that the bird was holding up.

After coloring the images, including the entire background, I masked only some of the images before spraying a blizzard, (mister huey's opaque white spray) then went around accenting the images with a white gel pen. I felt like this worked well with the folksy feel of the card.

Behind the images, I tried my best to line up 2 scraps of striped red paper (from last year's lawn fawn christmas collection) so that it looked like the stripes were going in opposite directions.

joy to the woods {lawn fawn inspiration week}

I hope you like it!

Check out the lawn fawn blog for more Joy to the Woods inspiration - click!

Thursday, September 18, 2014

Cozy Christmas...

I'm back again here and on the Mama Elephant blog today, for a closer look at the new Cozy Christmas dies and what you can do using them.

cozy christmas {mama elephant designer series}

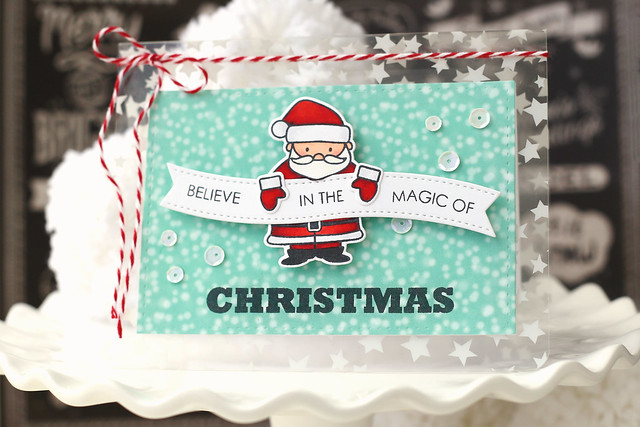
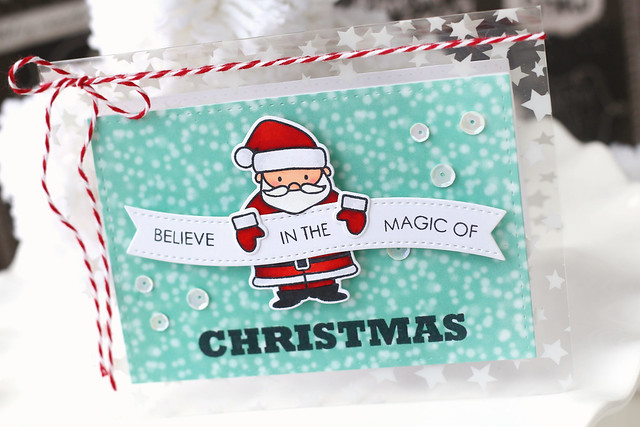
I think this Santa is so cute, and it's extra nice not having to cut out those arms!  I stamped, colored and die-cut Santa and his extra arms, and wanted to have him perch over the sentiment banner (from the new Tags a Lot die set.)

but he was too short.

womp, womp.

cozy christmas {mama elephant designer series}

Here's what I did: i cut him in half. Complicated, right? ha.

Having sliced Santa above his belt, I was able to take my scissors and cut around his beard a bit, so that when I put the card together, his beard could overhand onto the sentiment banner.

cozy christmas {mama elephant designer series}

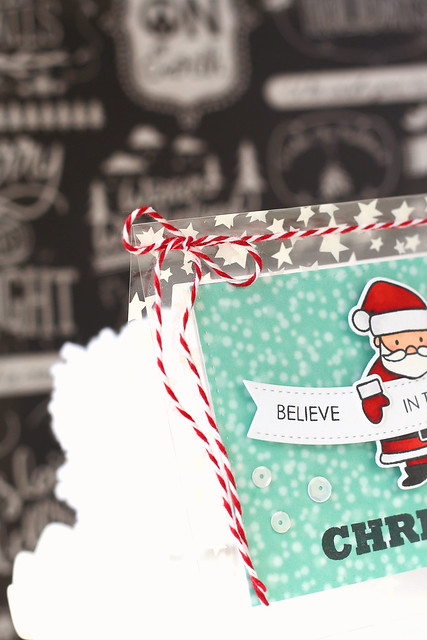
Once I had everything stamped out (including the sentiment from Believe in Magic,) I adhered the focal rectangle to a starry clear card base. I think this is my first-ever acetate card base. Pretty nifty.

A length of candy-cane twine and some pretty sequins finished it off. That was that!  I hope you like what I made for you today, Visit the Mama Elephant store to see what else is new this month - click!

In other news.

I will be back tomorrow, and the day after that, and the day after that, and for the next 6 days in a row - because today marks the beginning of Lawn Fawn's September inspiration week!

Check out their big giveaway post here.

And, did you see the exclusive set lawn fawn designed for Simon Says Stamp's big Stamptember event? You can see it here.

THEN. I just want to show you this sneak of what I worked on all day yesterday:


My niece is turning 4 at the end of October and wants a mermaid party. You recognize some of the stamps: lawn fawn's critters in the sea and the frame from sweater weather. But what's that on the left? Oh yeah. I drew myself a mermaid. And she fits right into the lawn fawn scene with an ease that blew my socks off. I can't wait to keep making more decorations for this party. 

The more I play around in Illustrator, the more excited I get to create new images. I cannot wait for you to see what I have in store in October! Stay tuned!


♥.

Wednesday, September 17, 2014

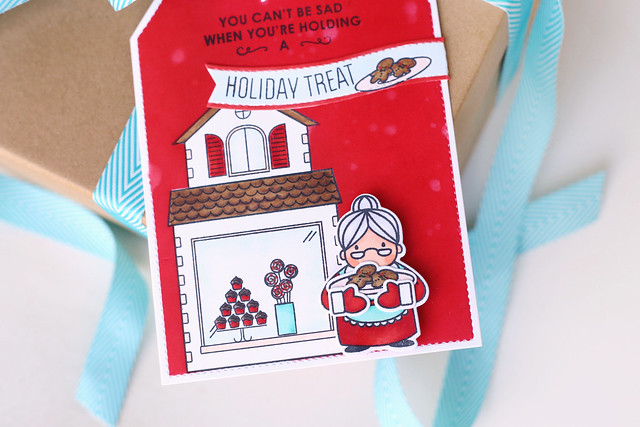
You can't be sad... {mama elephant designer series}

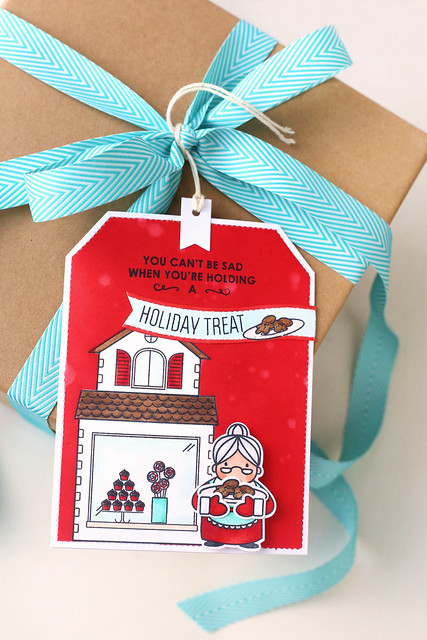
Hi there! I'm here and on the Mama Elephant blog today, to show off the brand new "tags a lot" die. I went bananas when I first saw this tag set. If you're thinking who needs another tag set - the answer is you do. this one. The oversized tag is making my life.

you can't be sad... {mama elephant designer series}

Who needs holiday cards when the tag is card-sized? Fantastic.

I combined the following sets for my tag:  toy shop, cozy christmas, and carnival toppers.

you can't be sad... {mama elephant designer series}

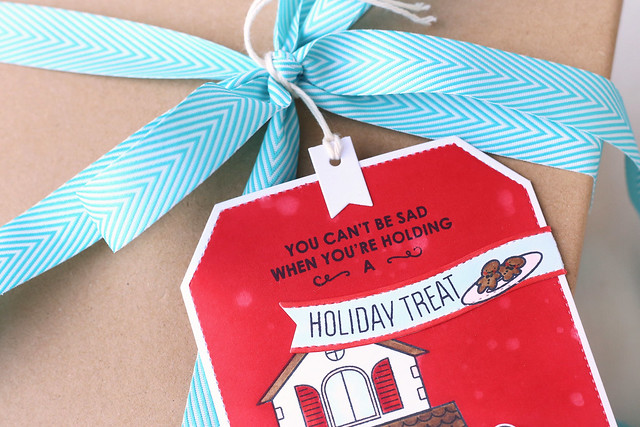
You can't be sad when you're holding a holiday treat is my new fave. I did some selective inking to achieve this sentiment. Forget cupcakes! Gimme a plate of gingerbread cookies, please.

you can't be sad... {mama elephant designer series}

I stamped the toy shop directly onto the tag, masking it and the tag's edges to be able to sponge on the rich, red ink.  I like the pop of white around the outside of the tag!

I also created a bit of a bokeh effect by splattering water onto the tag. The red distress ink reacted with the water and gave this great effect.  In front of it all, Mrs. Claus is standing out front passing out free samples.

I hope you like it!  I'll be back tomorrow with a Cozy Christmas card.

♥.

Sunday, September 14, 2014

Mama Elephant first look: believe in magic dies

Hi! I'm here with a pair of projects to show off the new Mama Elephant dies for Believe in Magic. I have loved this set since it was released last year, and now I love it even more! The dies will be available for purchase as of September 15th.

believe in the magic {mama elephant first look}

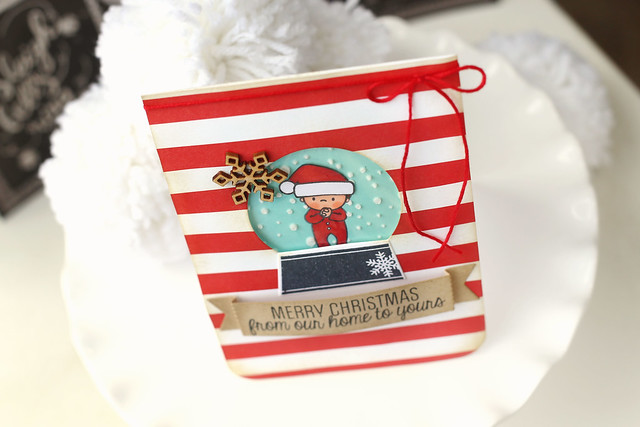
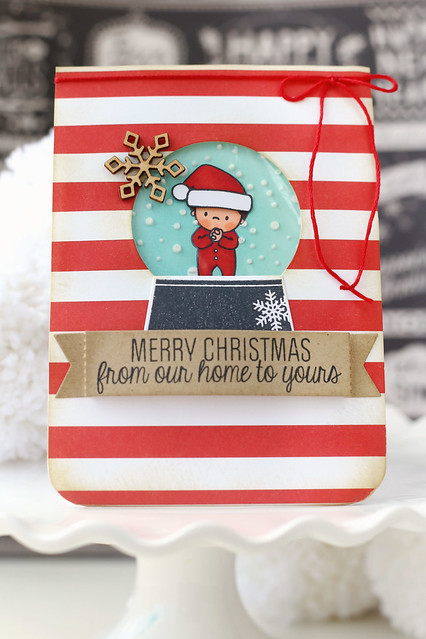
My first card features a snowglobe-santa-baby. hee. I love that he's wearing Christmas pjs, and a Santa hat (borrowed from Santa himself, from the Cozy Christmas set.) I stamped the little boy, masked him, and swirled a light blue ink all around. Keeping the mask on, I used white embossing paste and a snowfall stencil to create the snowglobe blizzard.

believe in the magic {mama elephant first look}

Once the inside of the snowglobe was all set, I grabbed some candy-cane striped patterned paper and used the globe's die to create an opening through which to peek my santa-baby.  On the back of the patterned paper, I taped down some clear packaging (ok, really just a piece of a ziploc sandwich bag. i'm so fancy.) and propped it all up onto a white card base.

believe in the magic {mama elephant first look}


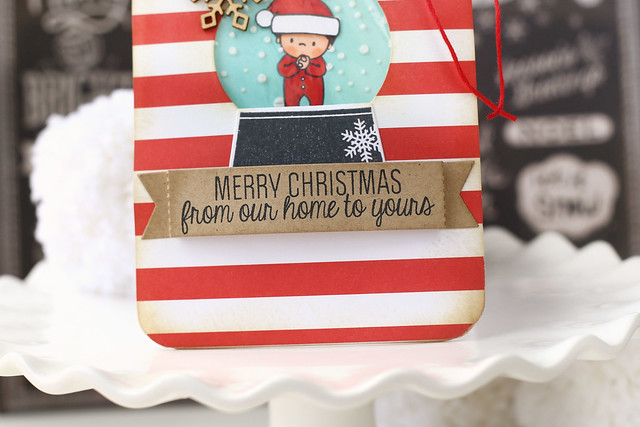
The base of the snowglobe was adhered to the front of the card, as was the cozy greeting.

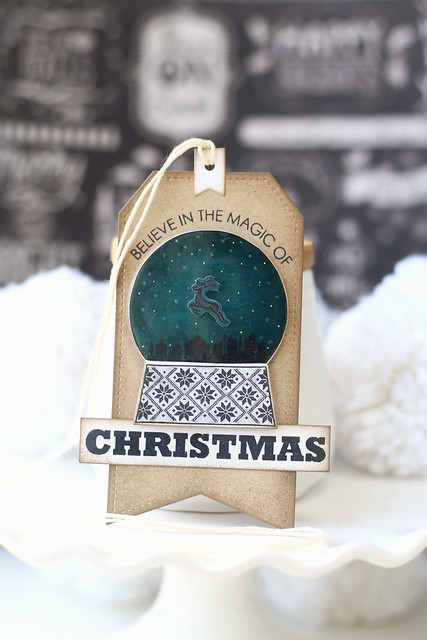
My second project uses the Believe in Magic stamp set and die set in a more straightforward way:

believe in the magic {mama elephant first look}

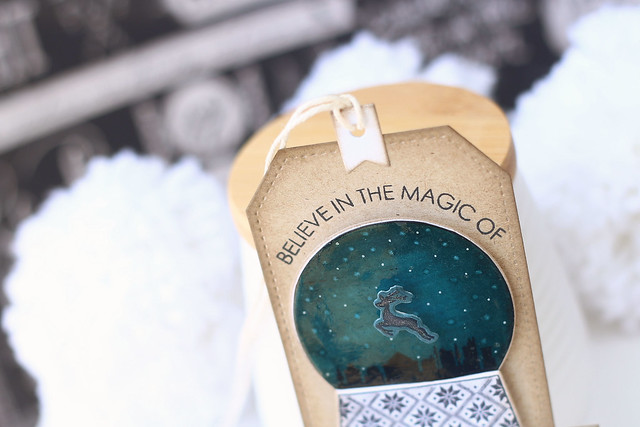
I love everything about this tag.  The night sky, the dark reindeer (that requires no cutting, thank you new dies) and the twinkle of stars overhead.

I colored the sky with dark blue and black copic markers, and then used the colorless blender to remove dots of color. I also used a white gel pen to add brighter dots of stars.

believe in the magic {mama elephant first look}

I stamped the reindeer in black and colored the die-cut outline to match the sky.  I then used a wink of stella glitter pen to make him stand out a bit more.  Before placing the reindeer onto the globe, I brushed on a thin layer of glossy accents.  It shines in real life!

I hope you like both of my projects today, and thank for stopping by!

♥.

Friday, September 12, 2014

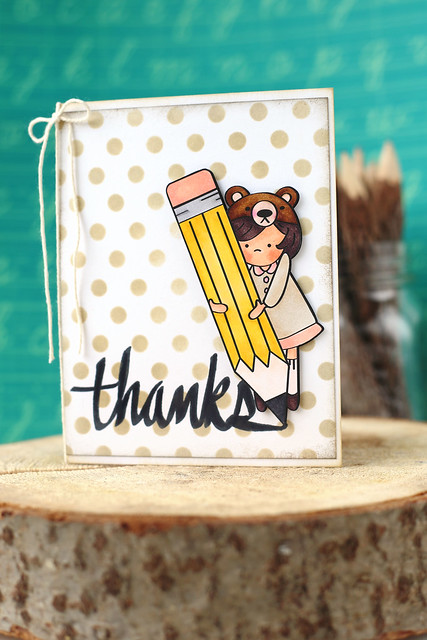
the girl with the bear hat - a free digi stamp

Hey there!

I know not all of you are into digi stamps, but as I work and practise on translating my hand-drawn doodles into illustrated artwork, I just love to be able to share a little something with you.

the girl with the bear hat - free digi stamp


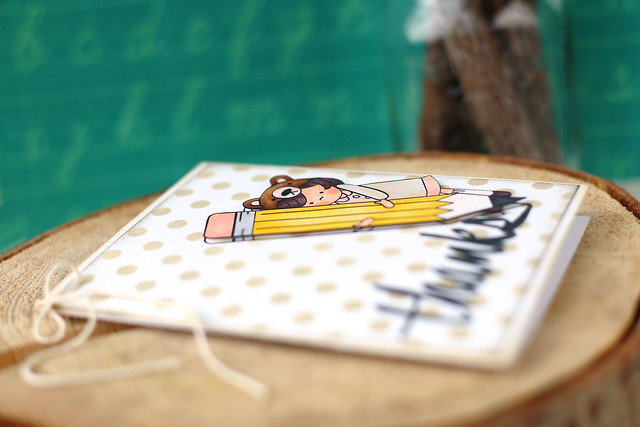
I drew a few back to school images, but I had in mind that she could be used for just about anything. Stick her next to a dear Santa sentiment, or a happy birthday and it would be just as cute. I love her bear hat and little school-girl dress.

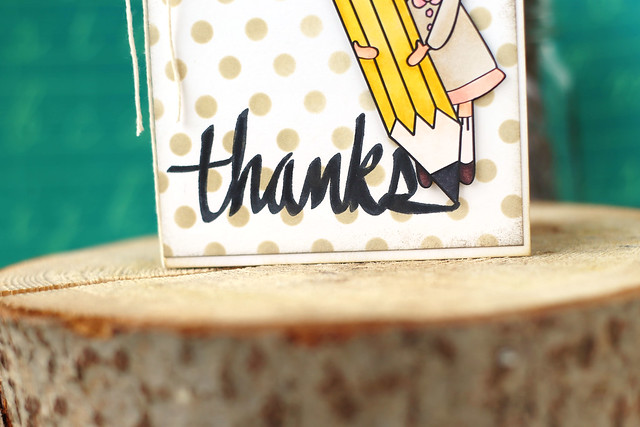
I used a stencil on the background and printed her again so that I could fussy cut and pop her up. The sentiment is by Altenew.

the girl with the bear hat - free digi stamp

This is my little gift to you, thanks for visiting my blog! I hope you like her.  If you decide to download and color her, leave me a link in the comments so I could come see - it always gives me a thrill!

the girl with the bear hat - free digi stamp

If you want to download the png file, click HERE.

If you would rather download the jpg file, click HERE.

If you want to check out last month's free digi stamp, click HERE.

♥.

Wednesday, September 10, 2014

milk & cookies {a mini party for lawn fawn}

hi there!

this month's lawn fawn party is a yummy one...

milk & cookies

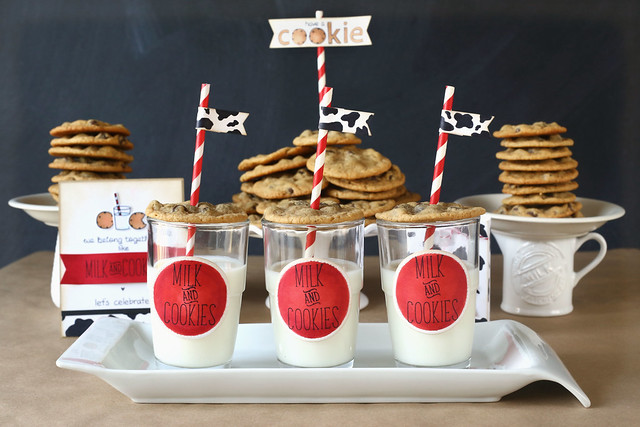
Create some decor using the new milk & cookies and violet's abcs stamp sets, bake up a batch of chocolate chip cookies, and suddenly it's a party.


milk & cookies


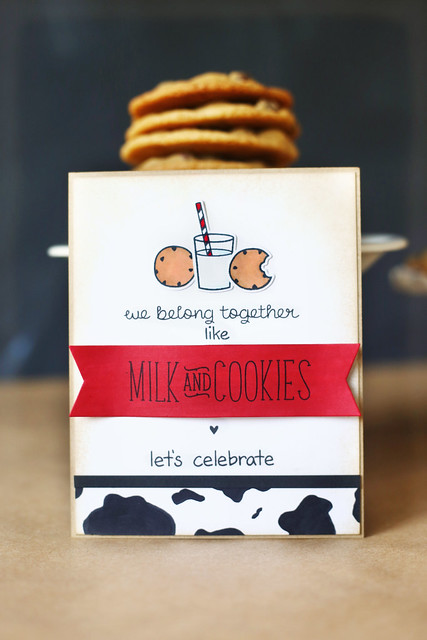
This would make the perfect little anniversary or valentine's day card too! I added some free-handed cow print throughout the decor, (and by free-handed, I mean it was me and a black copic marker, squiggling and splotching all over the place) starting with this invitation.

milk & cookies


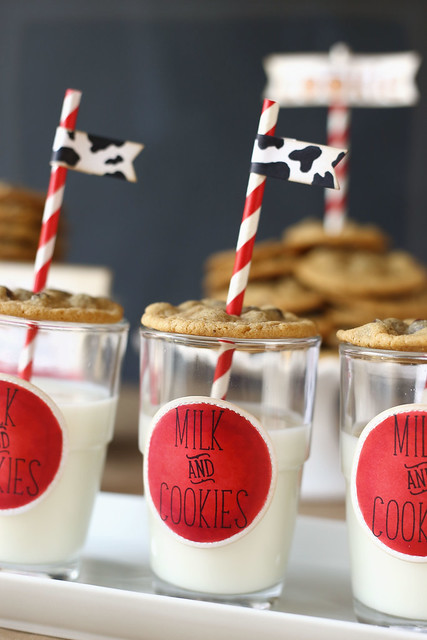
These labels are my favorite. I love the white border left around the die-cut edge, and the variation of color you get by sponging the ink on.  Violet's ABCS are so perfect, with that little fancy "and" in the middle, don't you think?

milk & cookies

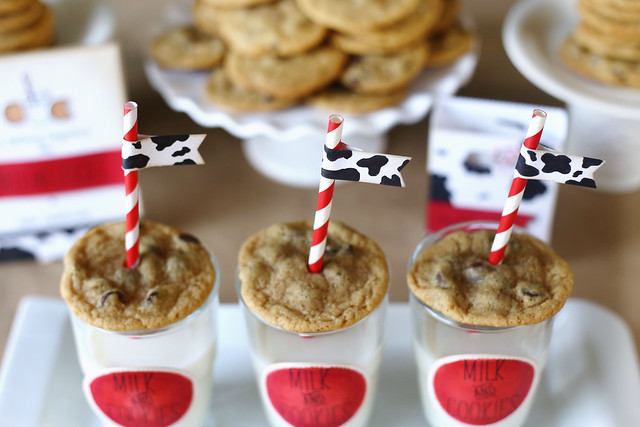
The cookies on top don't hurt either. My kids loved this after-school snack!

milk & cookies


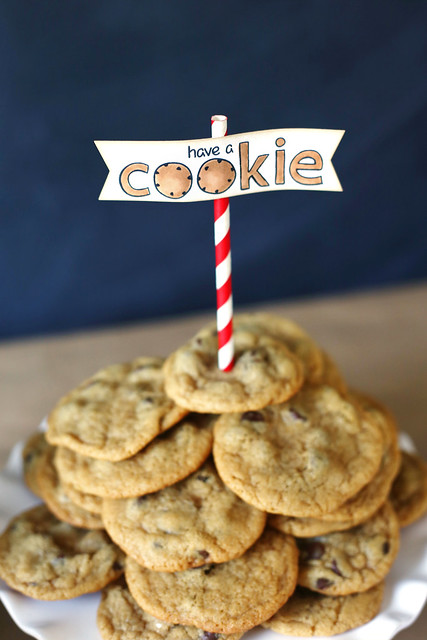
I made a simple flag to decorate the plate of cookies, swapping out the double o's for two cookies and coloring everything to look like baked goodies.  To create the double-ended banner, I used the one-sided flag, (from the large stitched journaling card die set) sending it halfway through my Big Shot, and then flipping it over and doing the same on the other side. easy peasy. I also did the same thing for the milk & cookies banner on the invitation you saw above.

Every party needs a take-home favor.

milk & cookies

I scribbled on the fancy cow-print again, added a little tag and tucked a couple of cookies inside. These were for my hubs, who couldn't party with us after school. A consolation prize, ha.

I hope you like my milk & cookies party! Hop over to the lawn fawn blog for a link to the chocolate chip cookie recipe I've been using for years - it's foolproof, especially if you slightly underbake the cookies. YUM!

♥.